How I Built My Halloween Candy Machine
Our neighborhood is very popular on Halloween, so last year, we found ourselves completely under-prepared when we ran out of candy within an hour. Of course, we couldn’t stay at our house and face trick-or-treaters with no candy, so we decided, instead, to go for a walk.
As we walked on Halloween night, one thing we kept seeing was folks sitting on their porches dropping candy to kids through PVC pipes. Since the pandemic was still going strong, this allowed them to give out candy while staying distanced from others. Watching how much the kids loved the novelty of candy being dropped through a pipe sparked an idea for me. What if I automated the whole candy-giving-out process and sort of turned it into a game? After a full year of designing and building, I finally finished this machine to do just that.
In this post, I’ll break down the steps I took to create this machine. If you’re interested in the details of how it works (it’s super neat, btw!), read on. But if you like visuals better, skip to the gallery to see a visual record of my progress.
What's Inside the Candy Machine
 I made a machine for dispensing candy to trick-or-treaters for Halloween. Here are the updates over the last 3 years.
 Hardware
As a software developer, the hardest part of this whole thing was designing and creating the physical components – that’s all the physical parts, not just the circuitry. The real challenge, the thing I spent the majority of my time on, was designing a physical mechanism to reliably and consistently deliver the same amount of candy every time it’s activated.
Delivery Mechanism
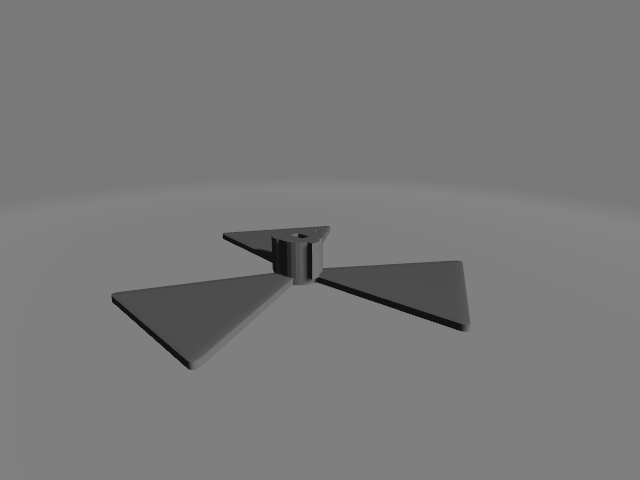
For months, I pursued an idea that just didn’t work out, trying to fine-tune something that just couldn’t work (you can see some of the videos and images of the failed design in the gallery below). Then, right as I was about to give up for good, my wife gave me a great suggestion: use a fan.
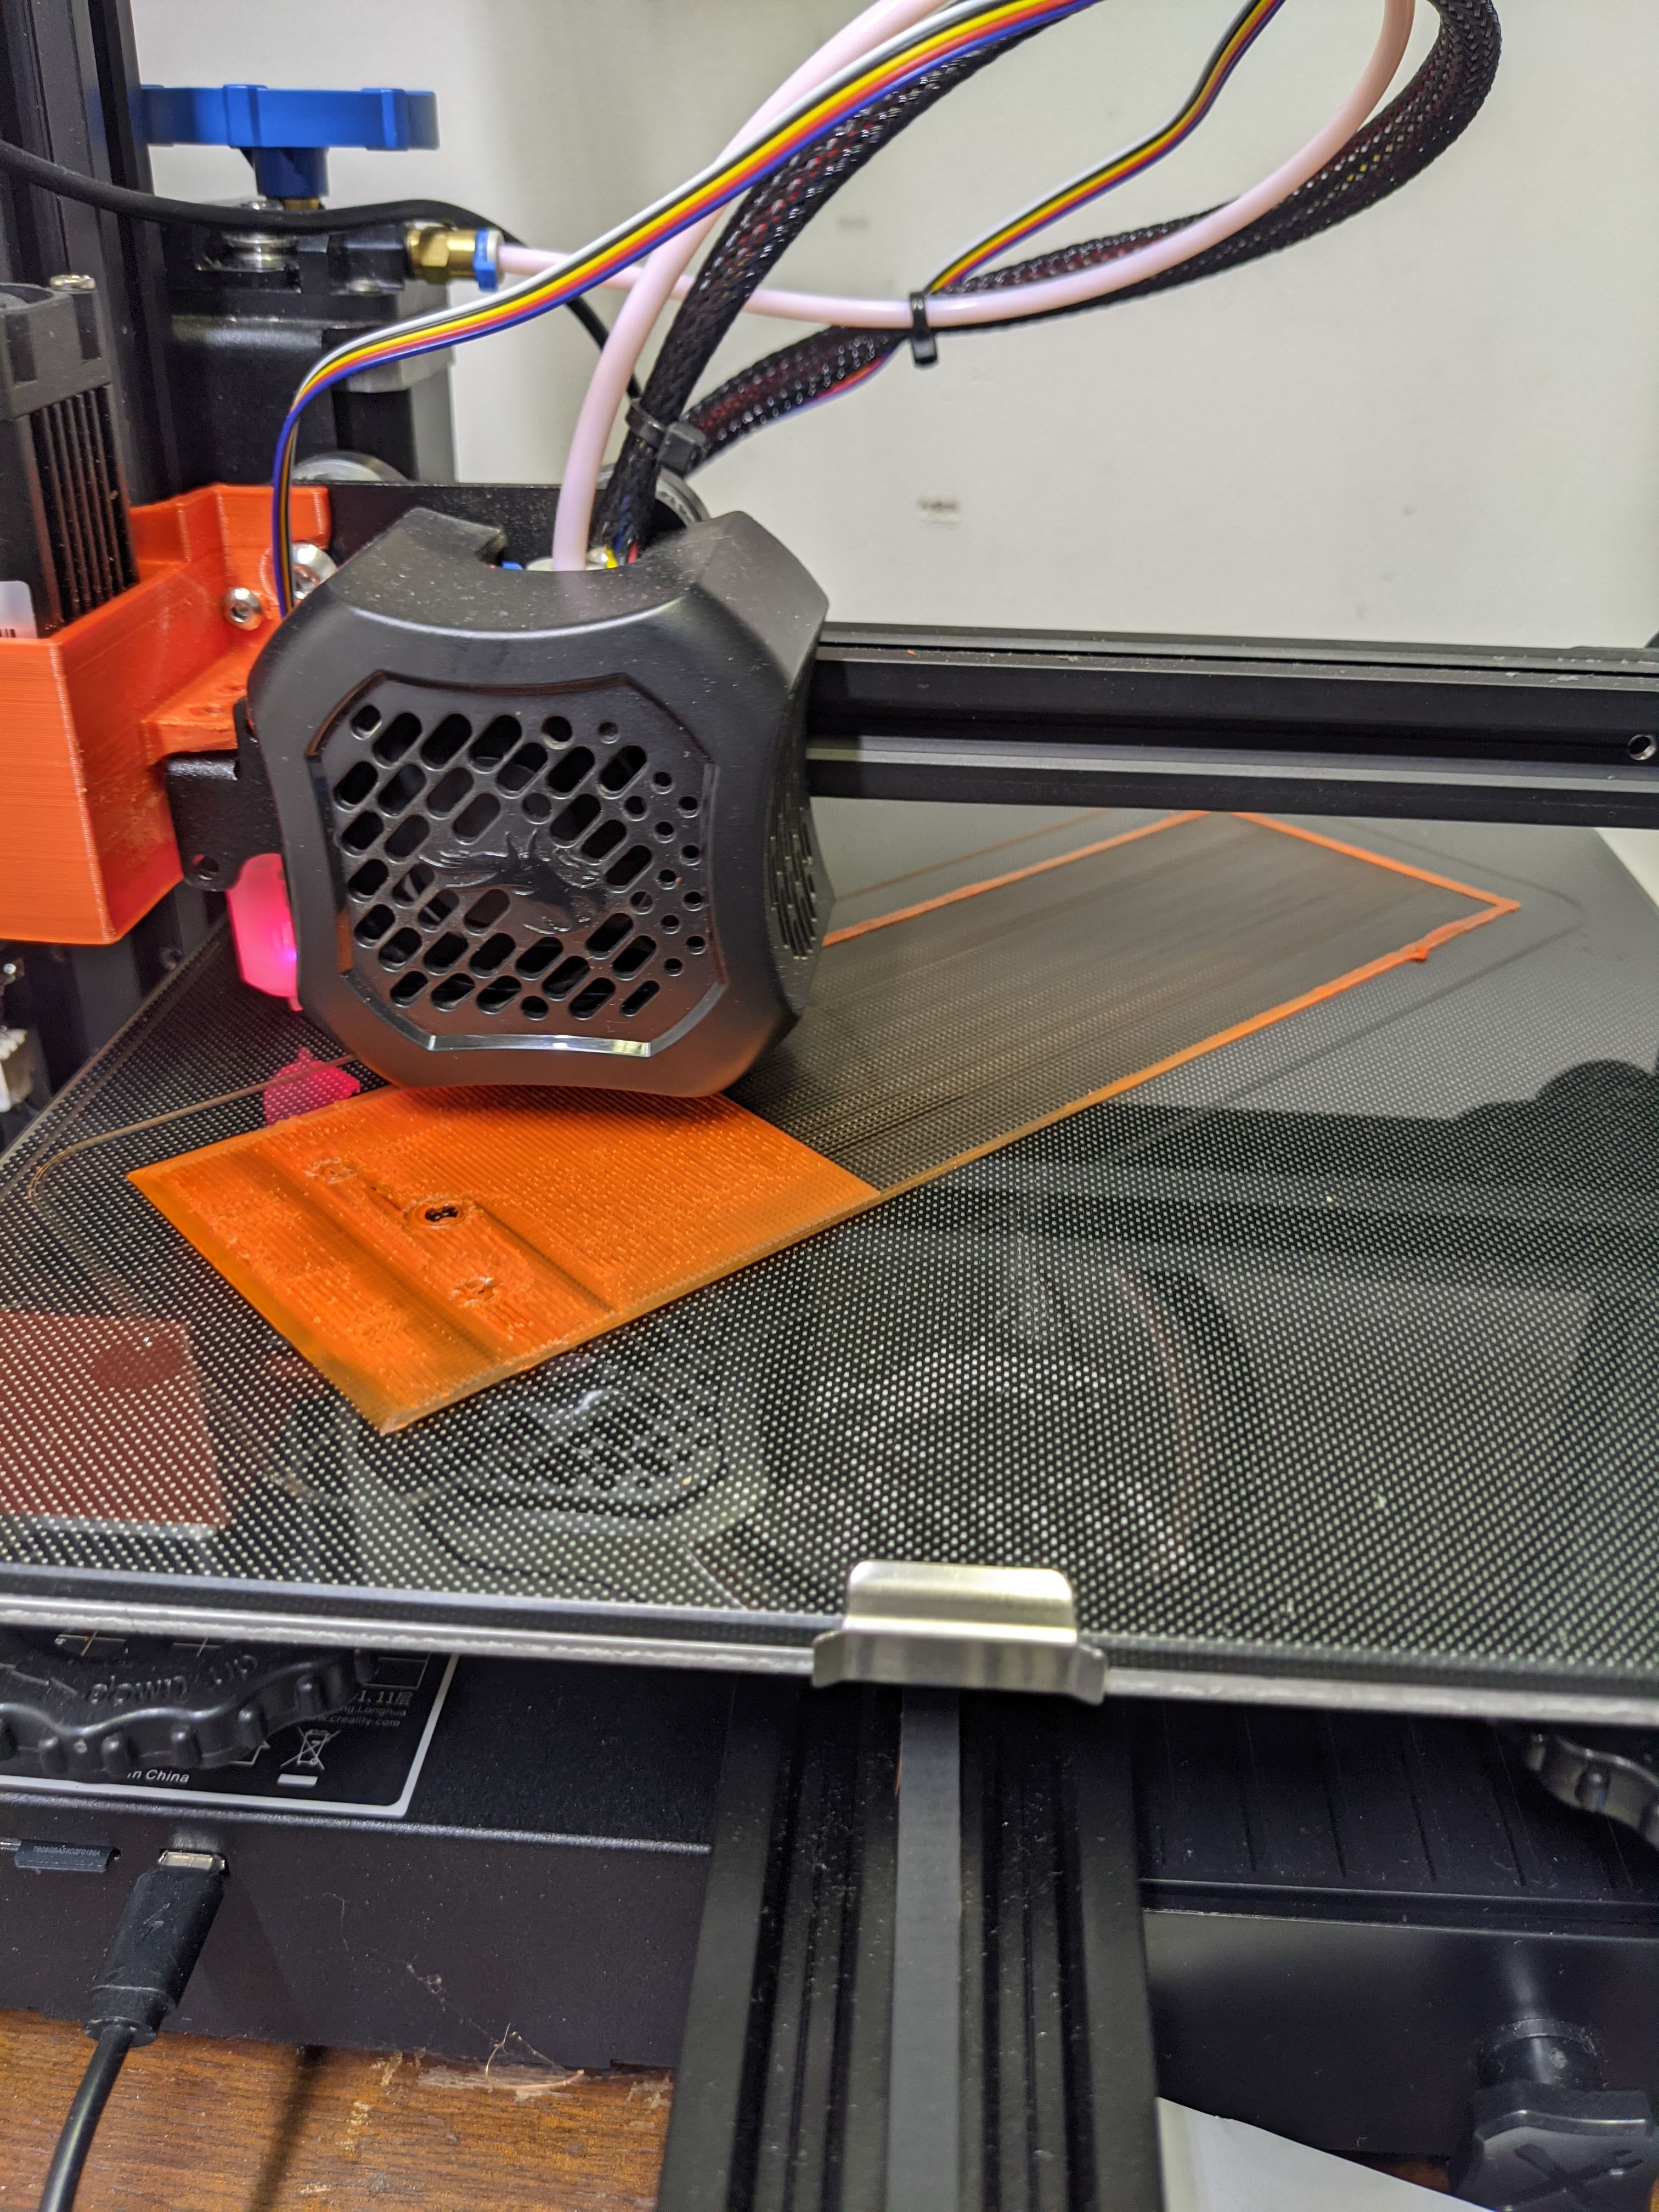
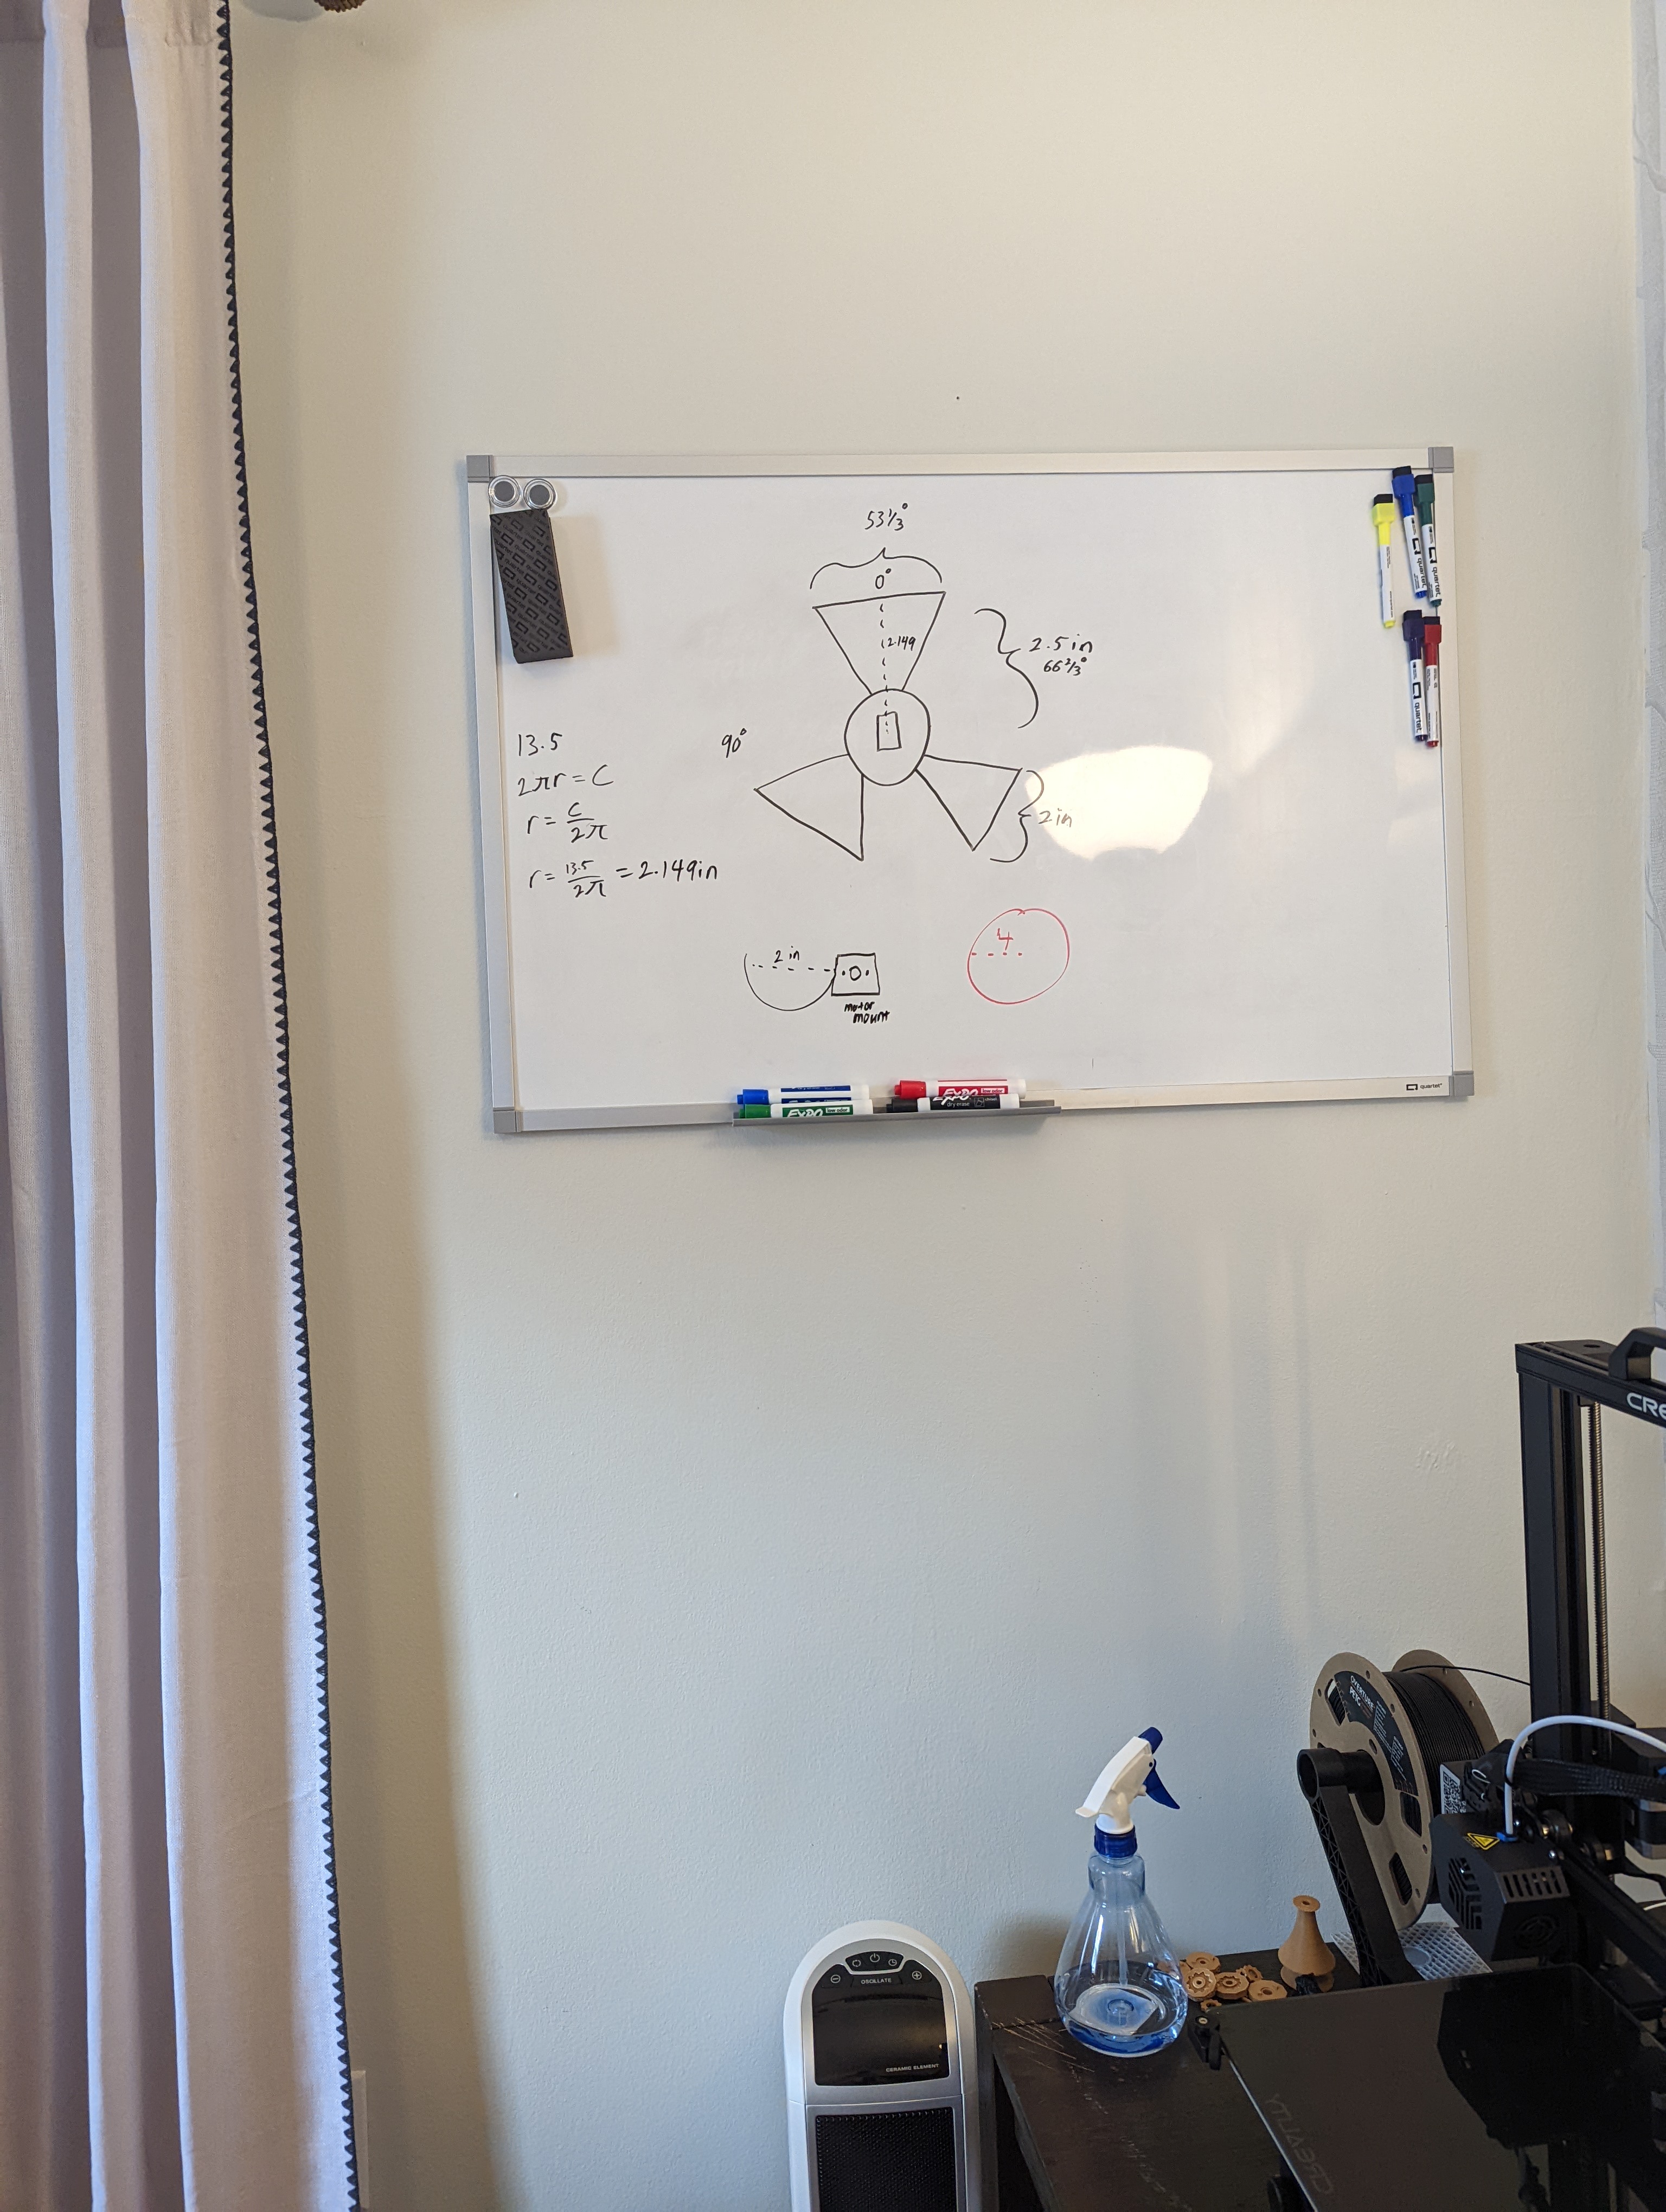
The idea is actually pretty straight-forward. You just load candy into a PVC pipe mounted at an angle and block the end with a fan blade that can be moved by a motor. Here is my first iteration of this idea in action:

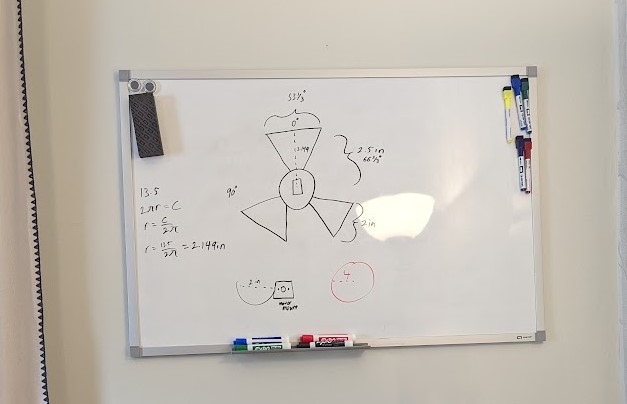
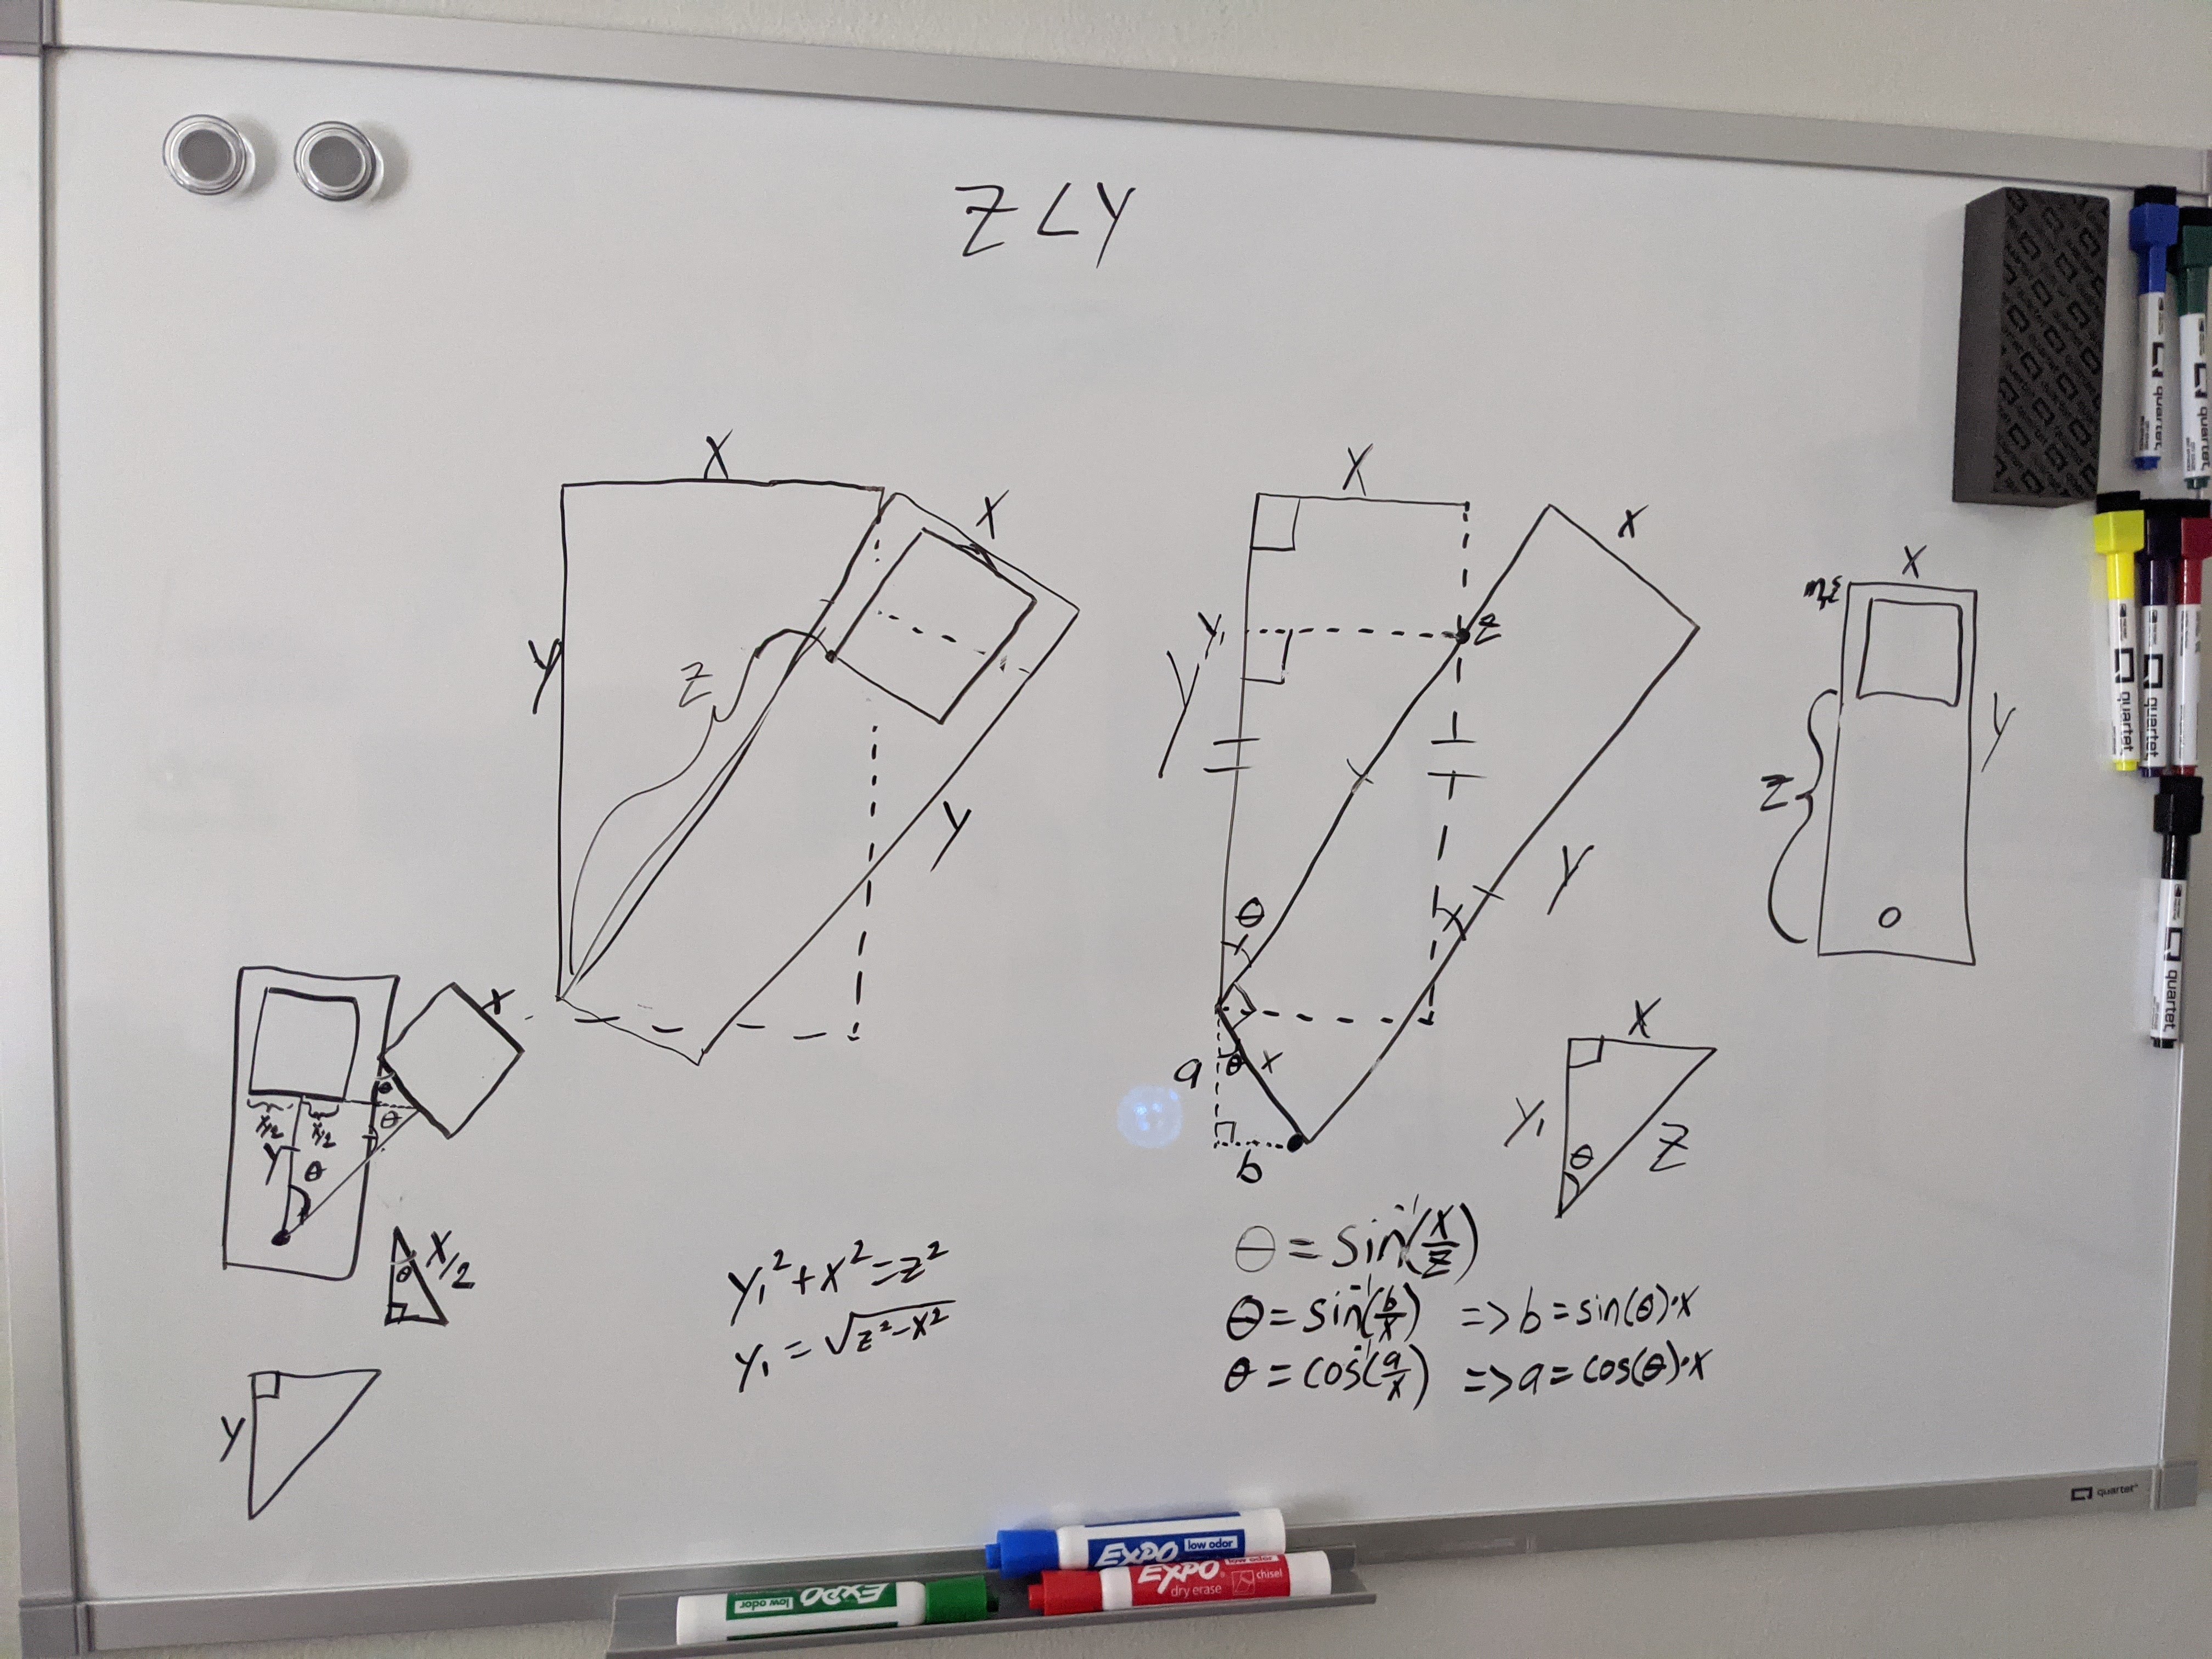
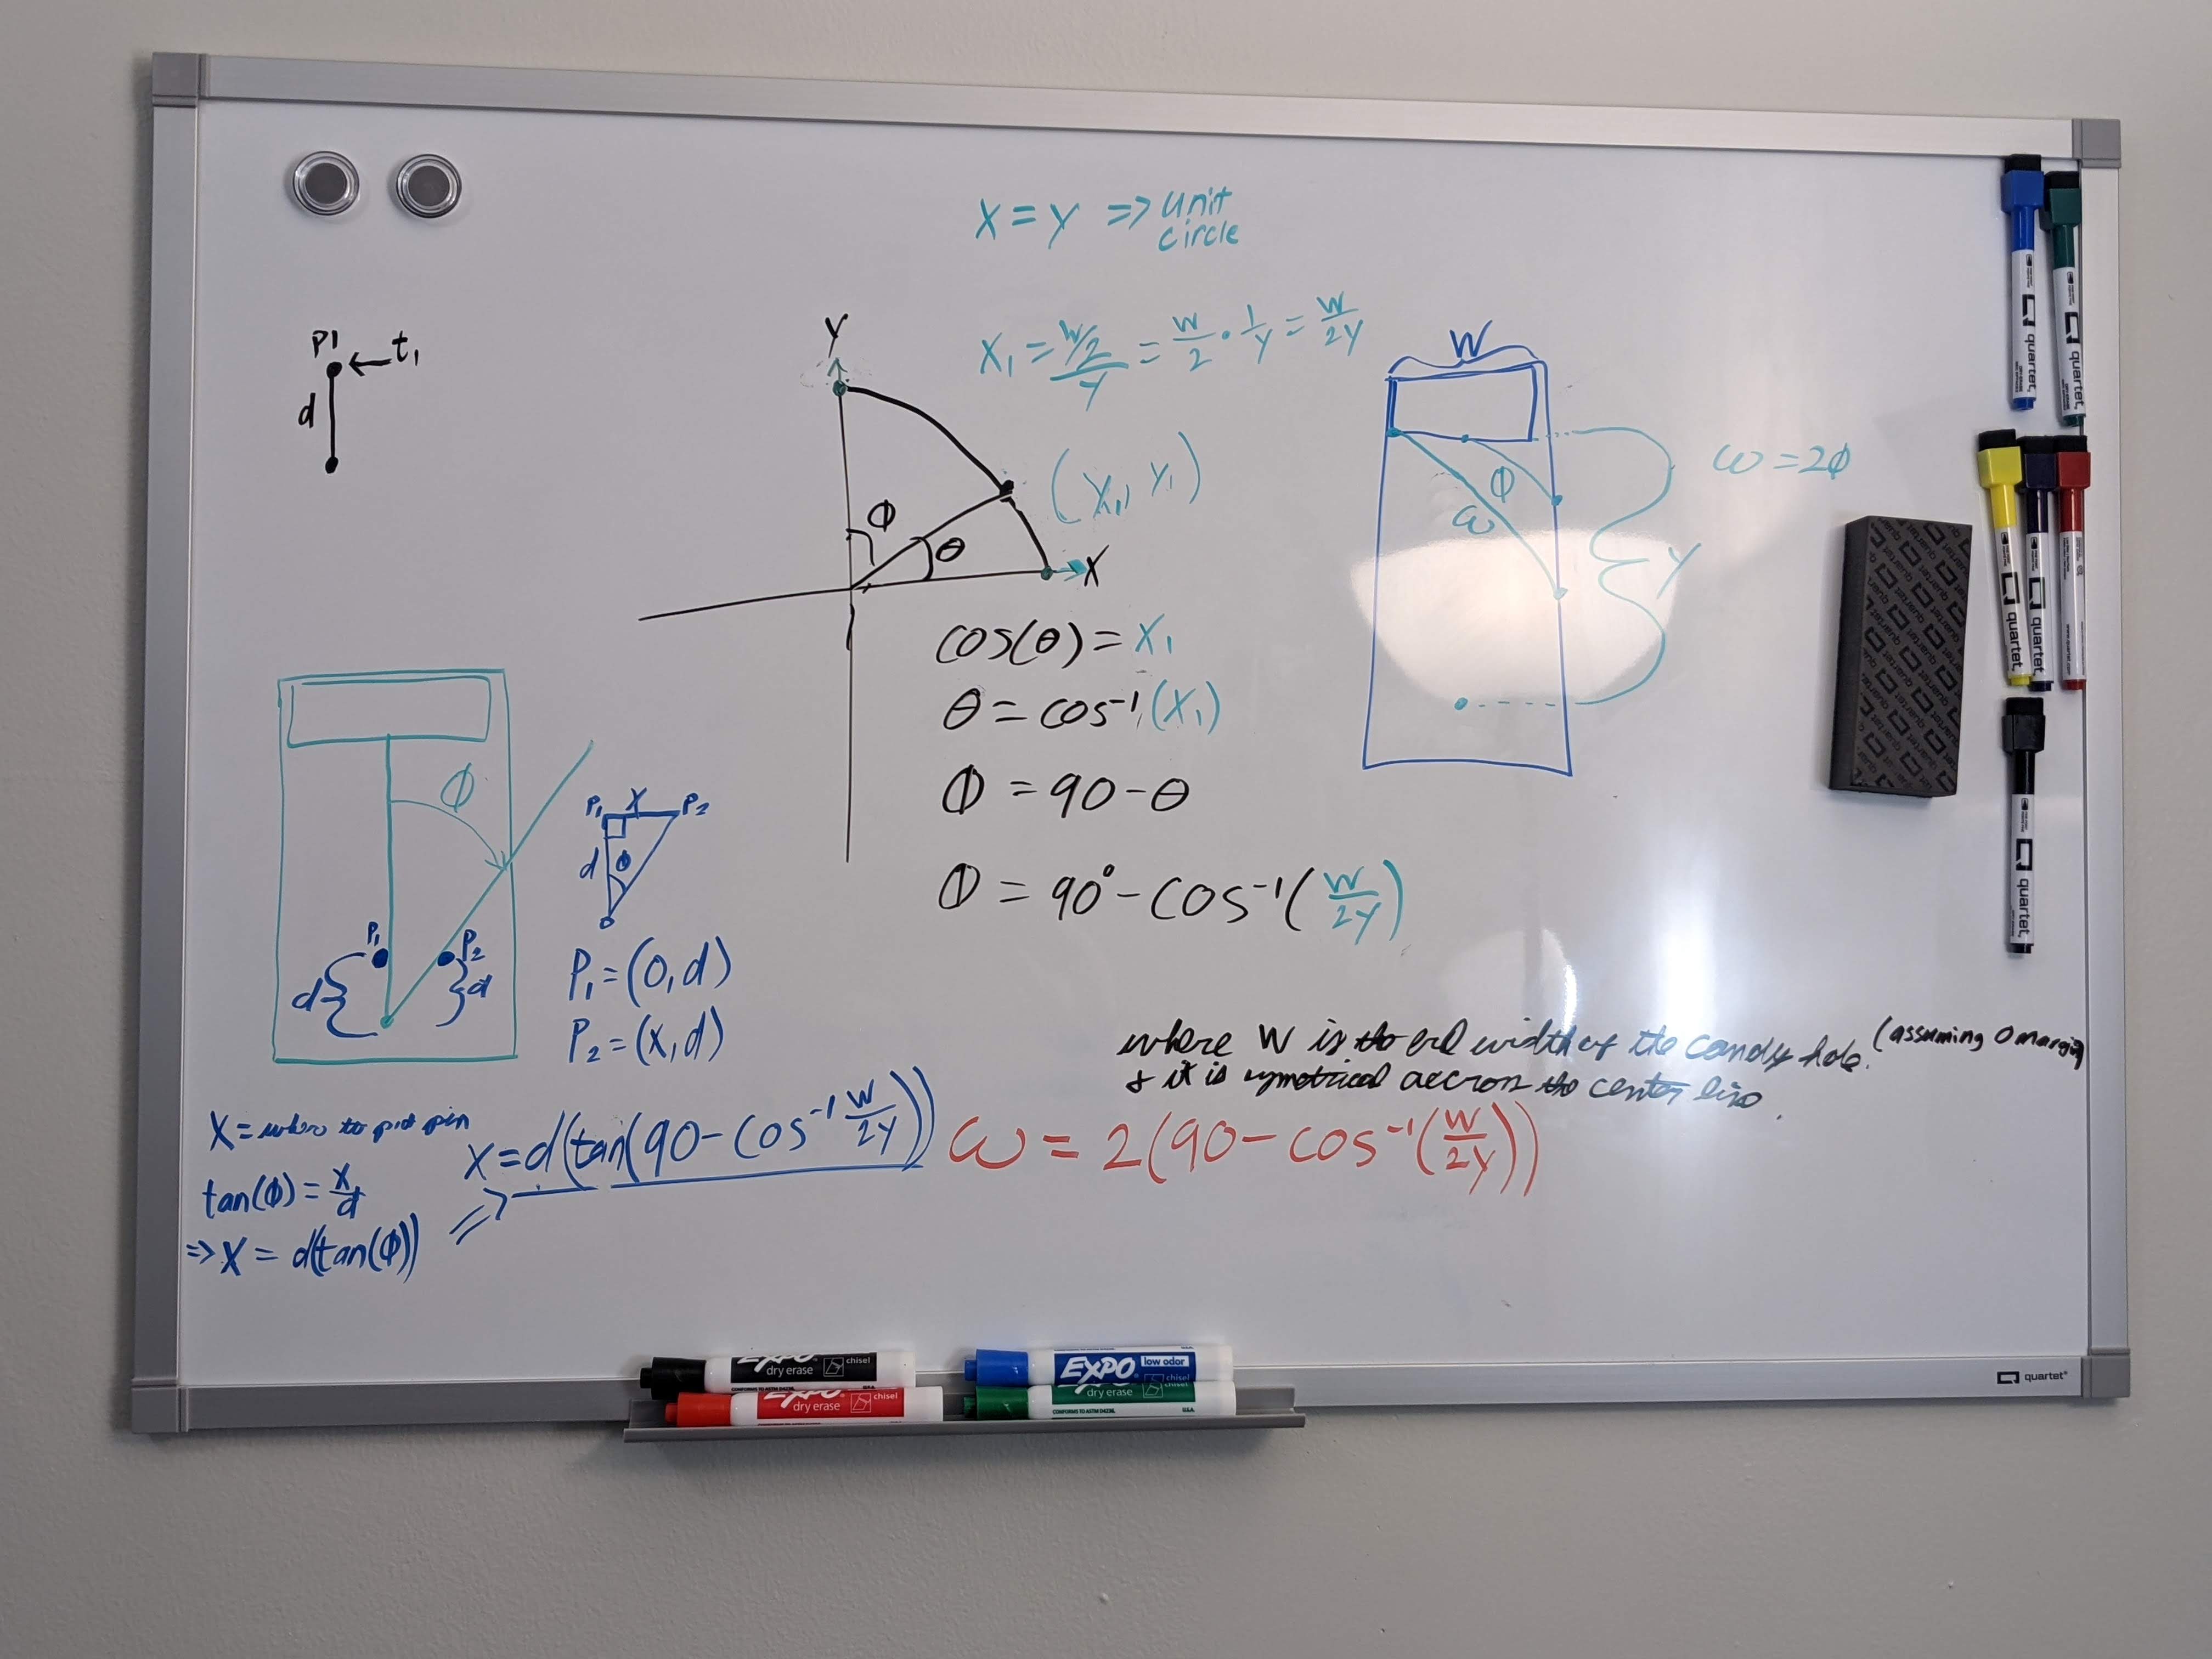
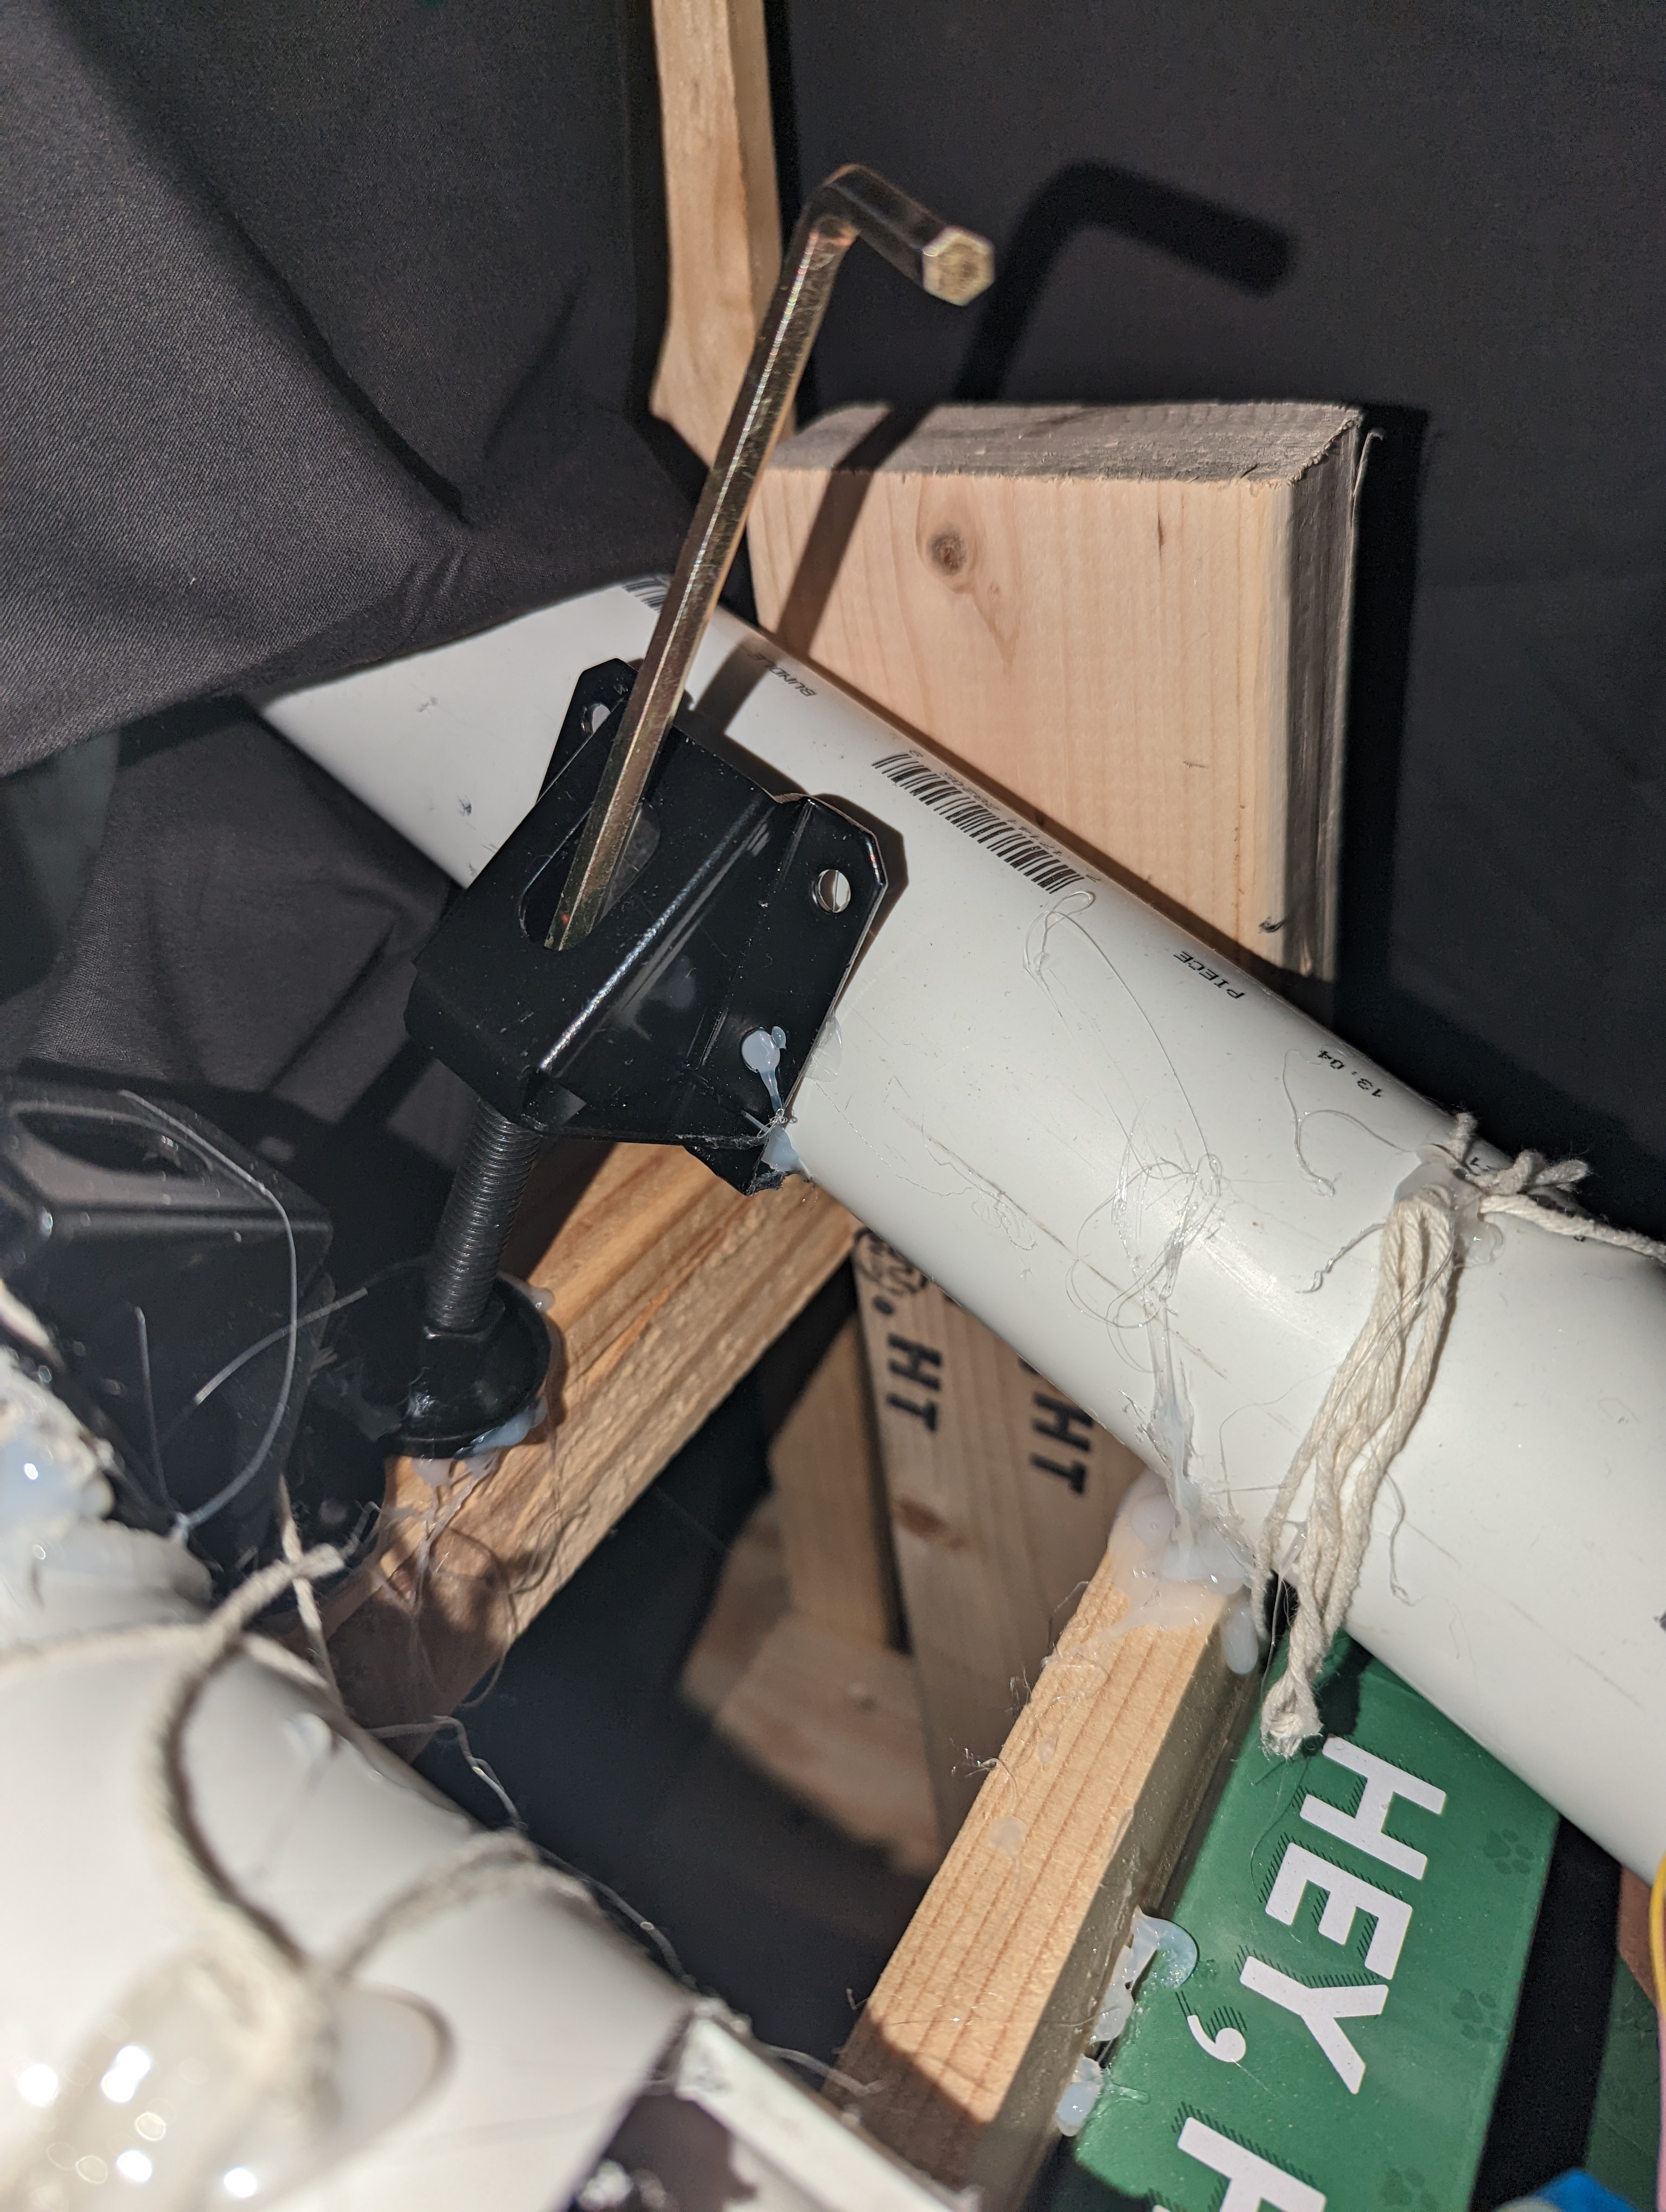
It was also important to get the angle of the PVC pipes just right. If they were too low, the candy couldn’t overcome friction to slide past the fan, but if it was too high, too many pieces of candy would fall at once. To speed up the process of finding the correct angle as well as to allow for adjustments in the future, I bought a pack of adjustable furniture feet on Amazon. I was able to mount the pipes on these feet, then adjust the heights of the pipes by turning a screw.

Motors and Circuits
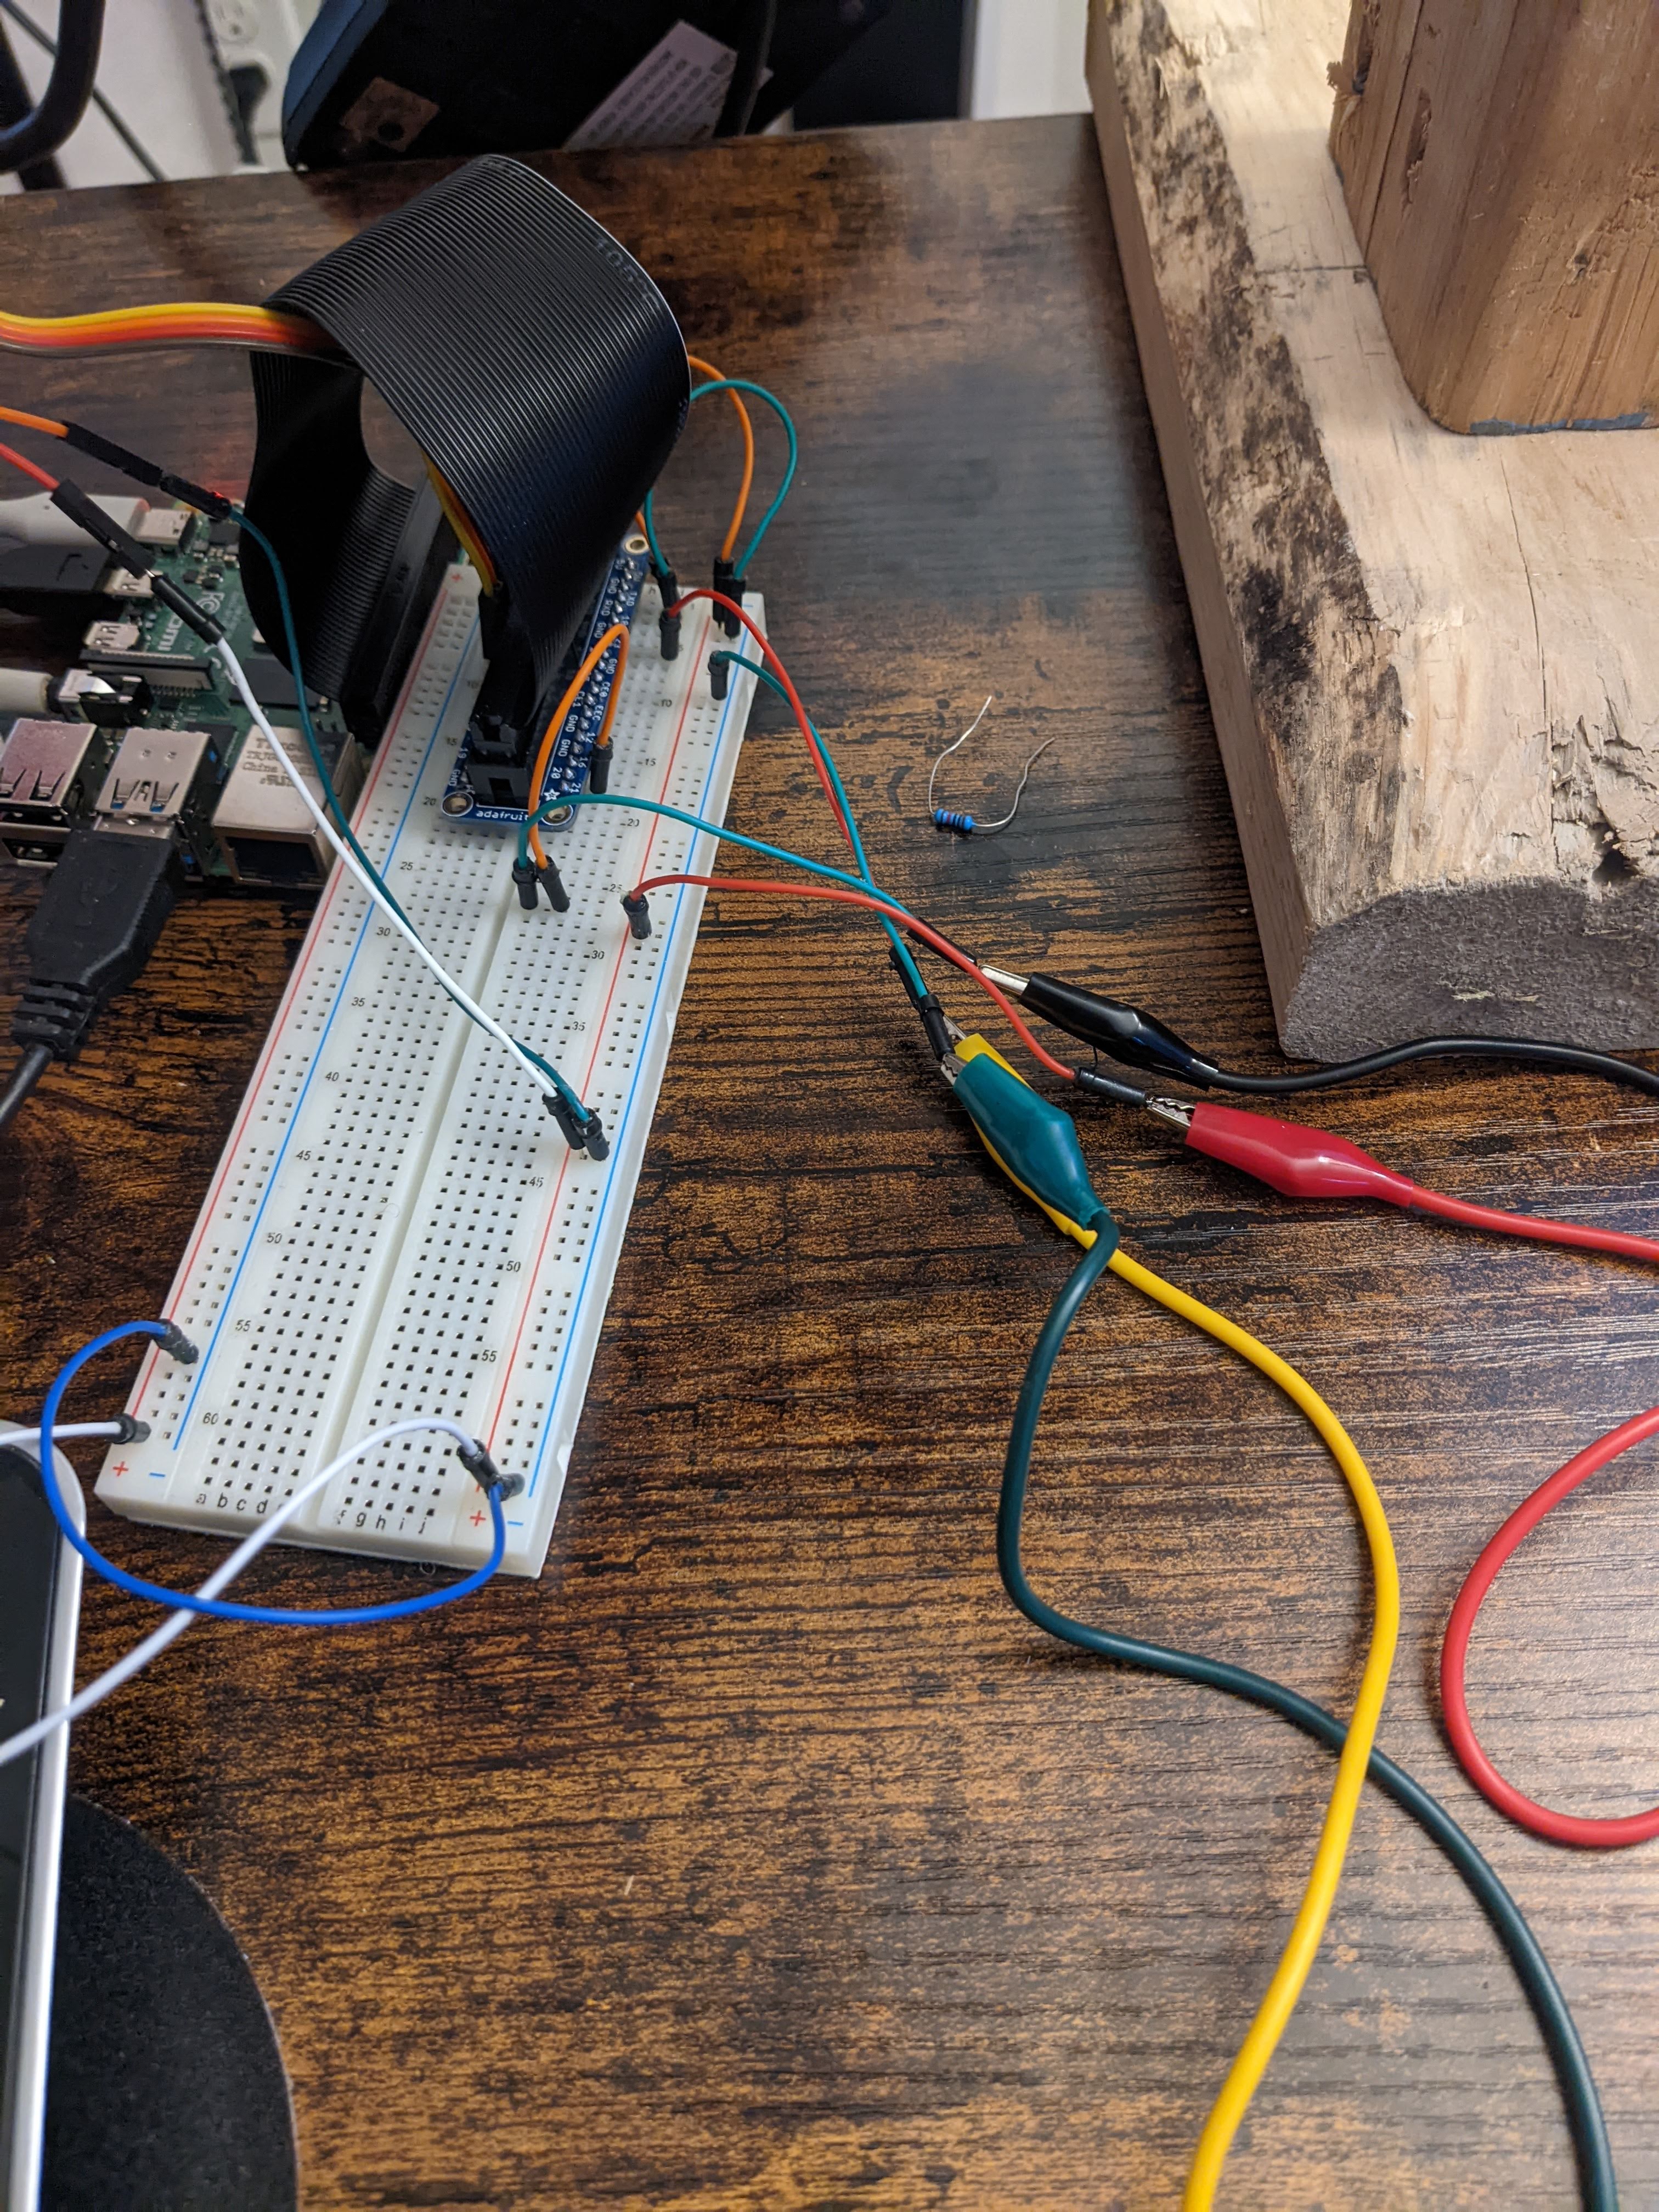
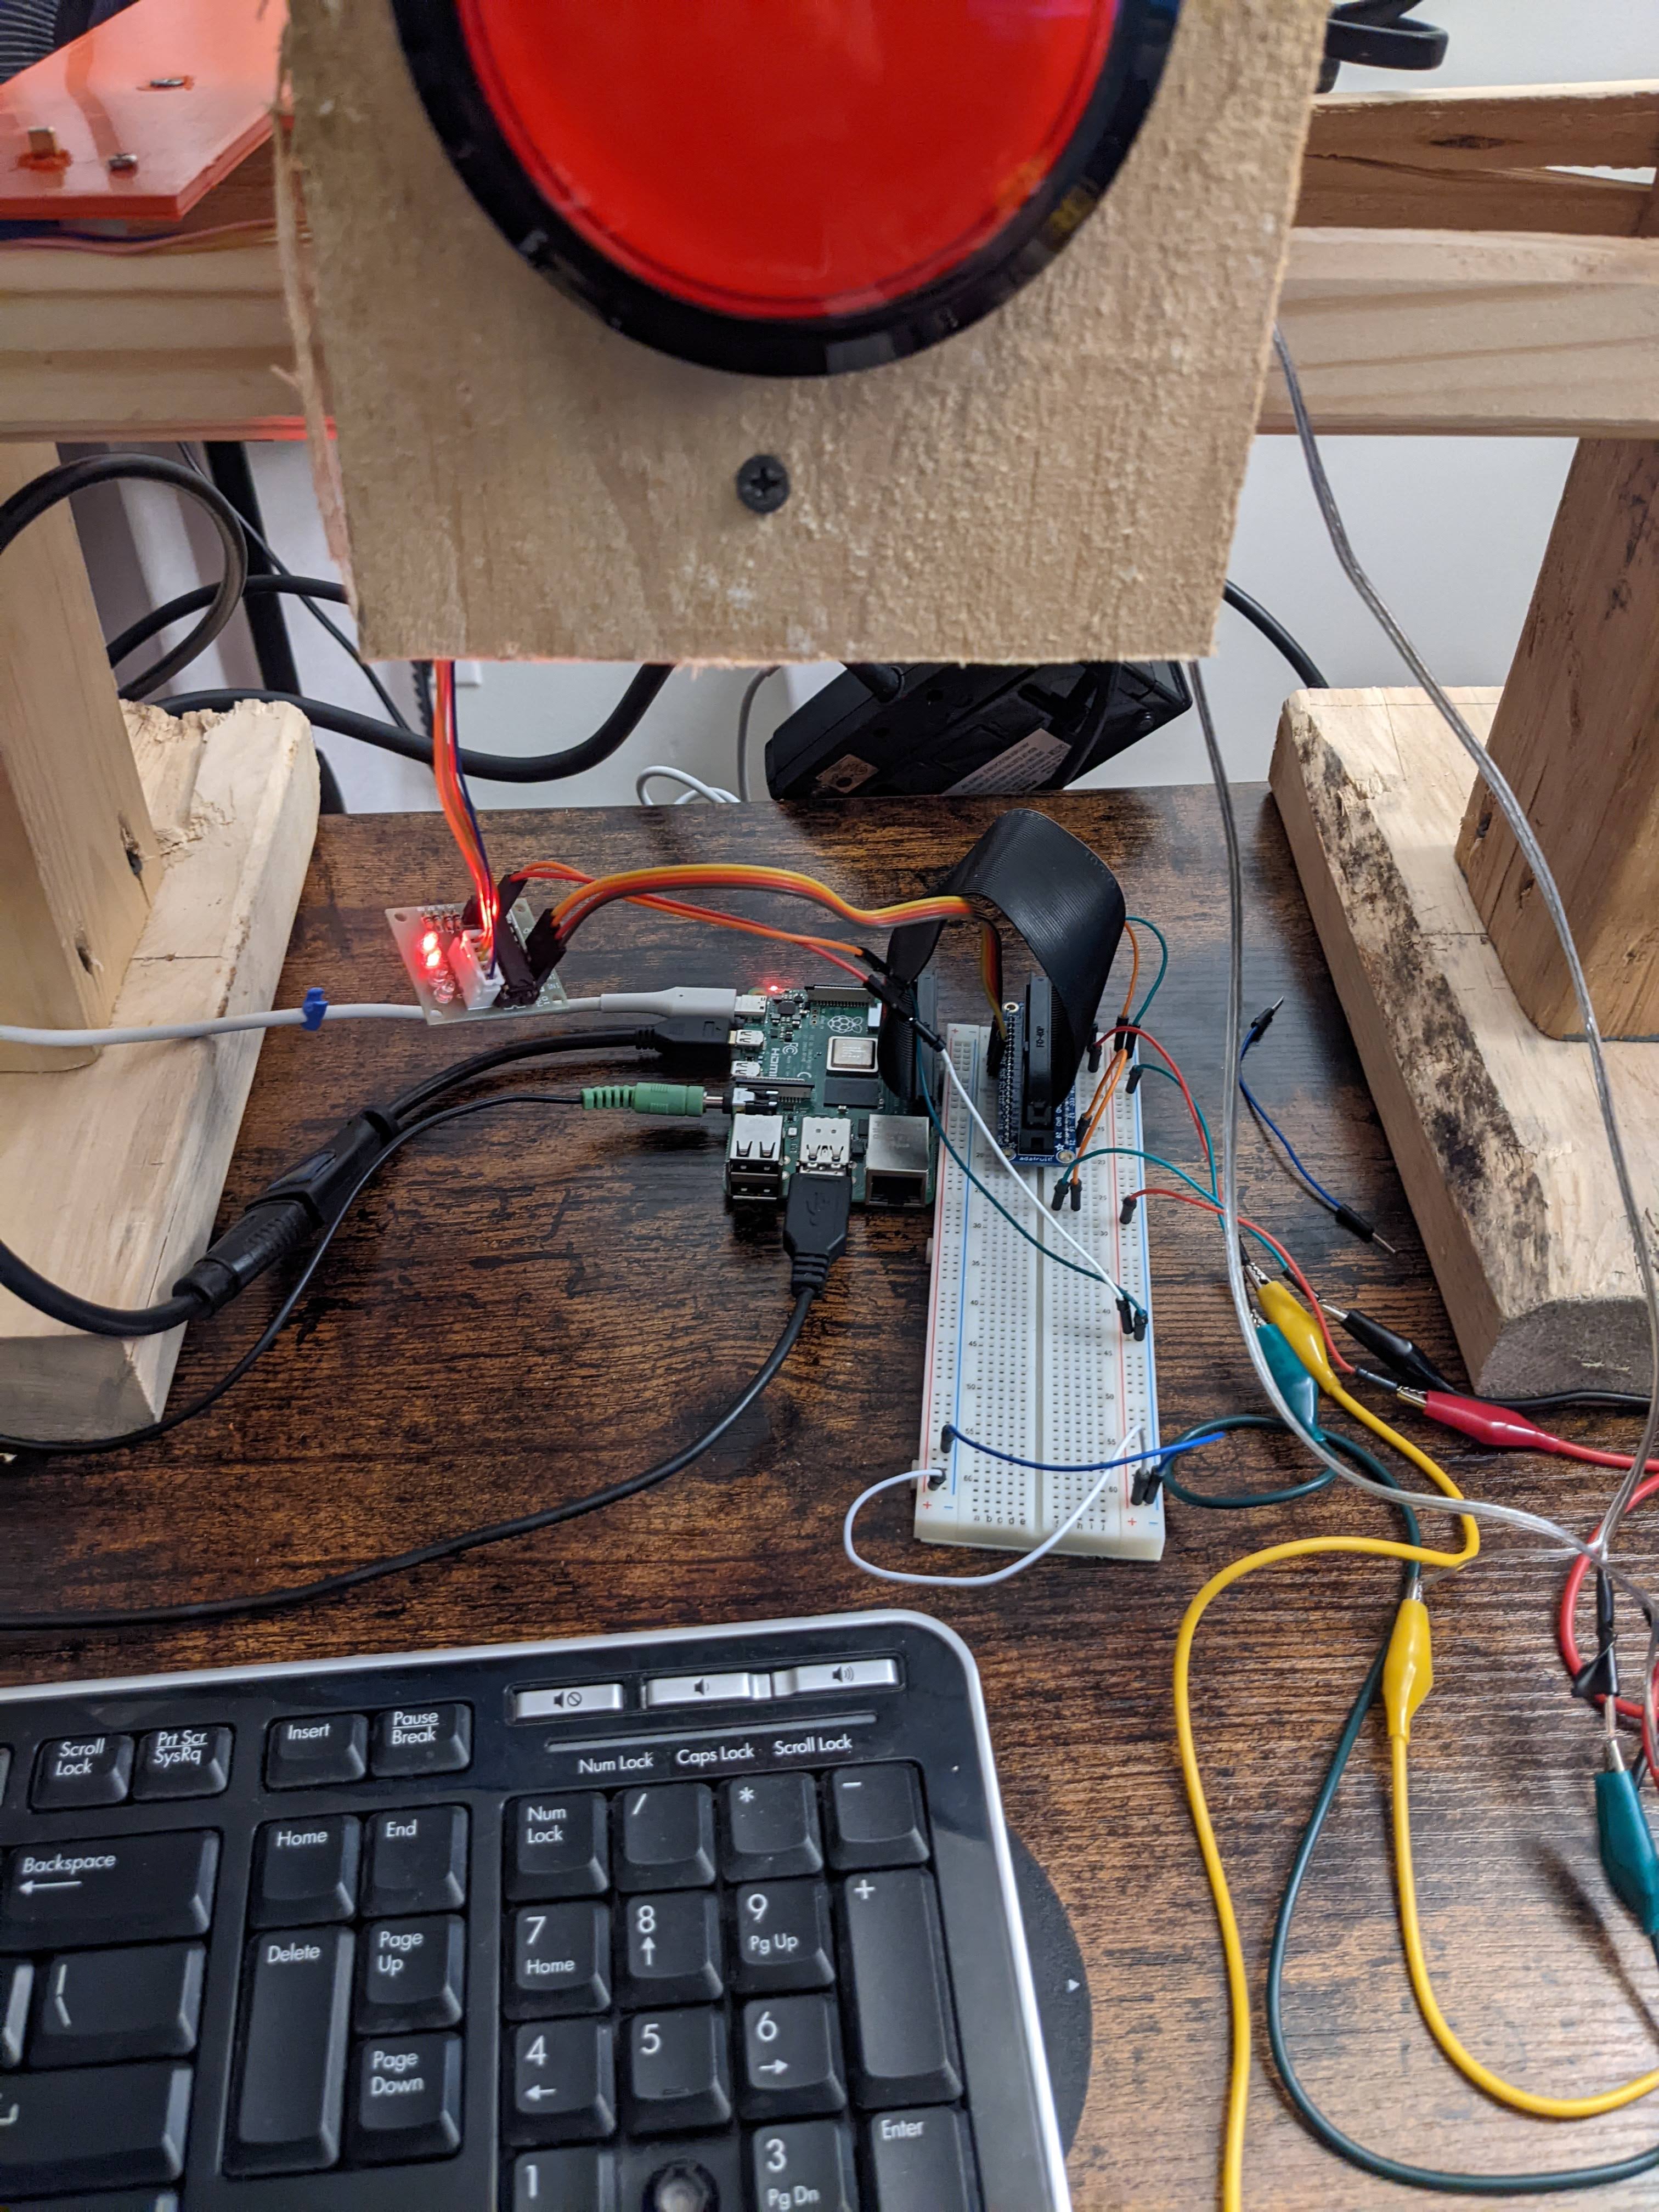
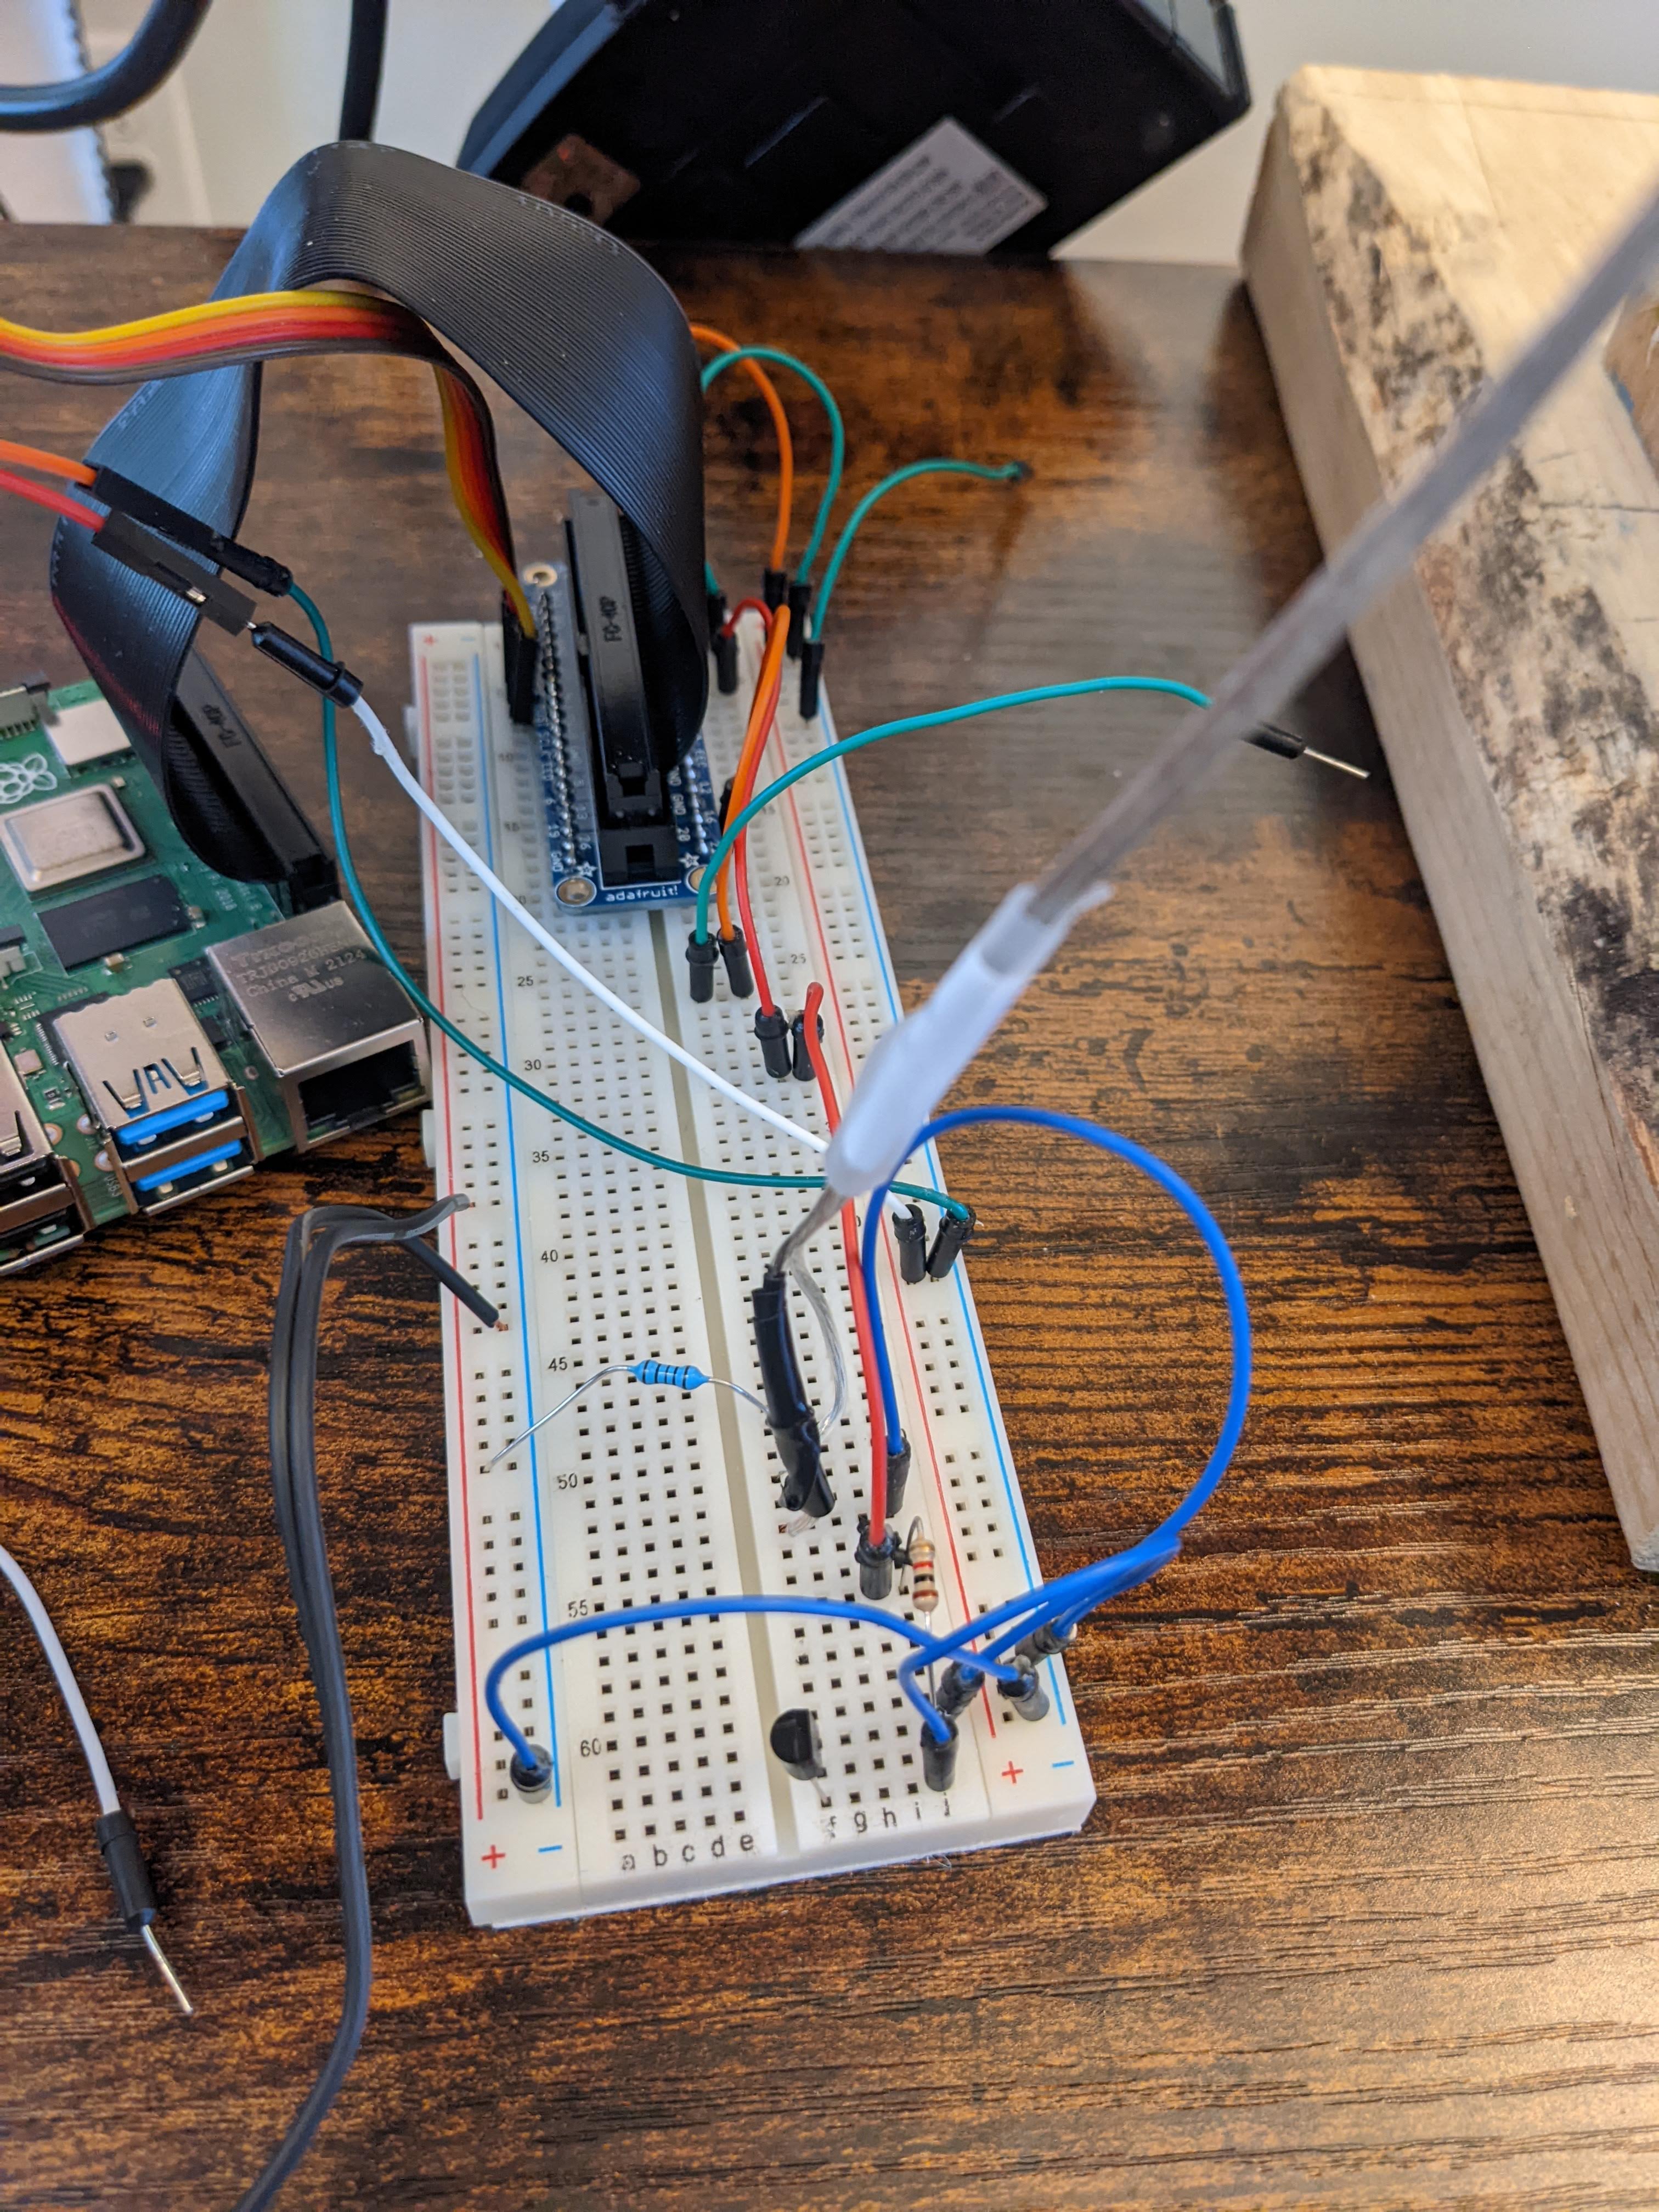
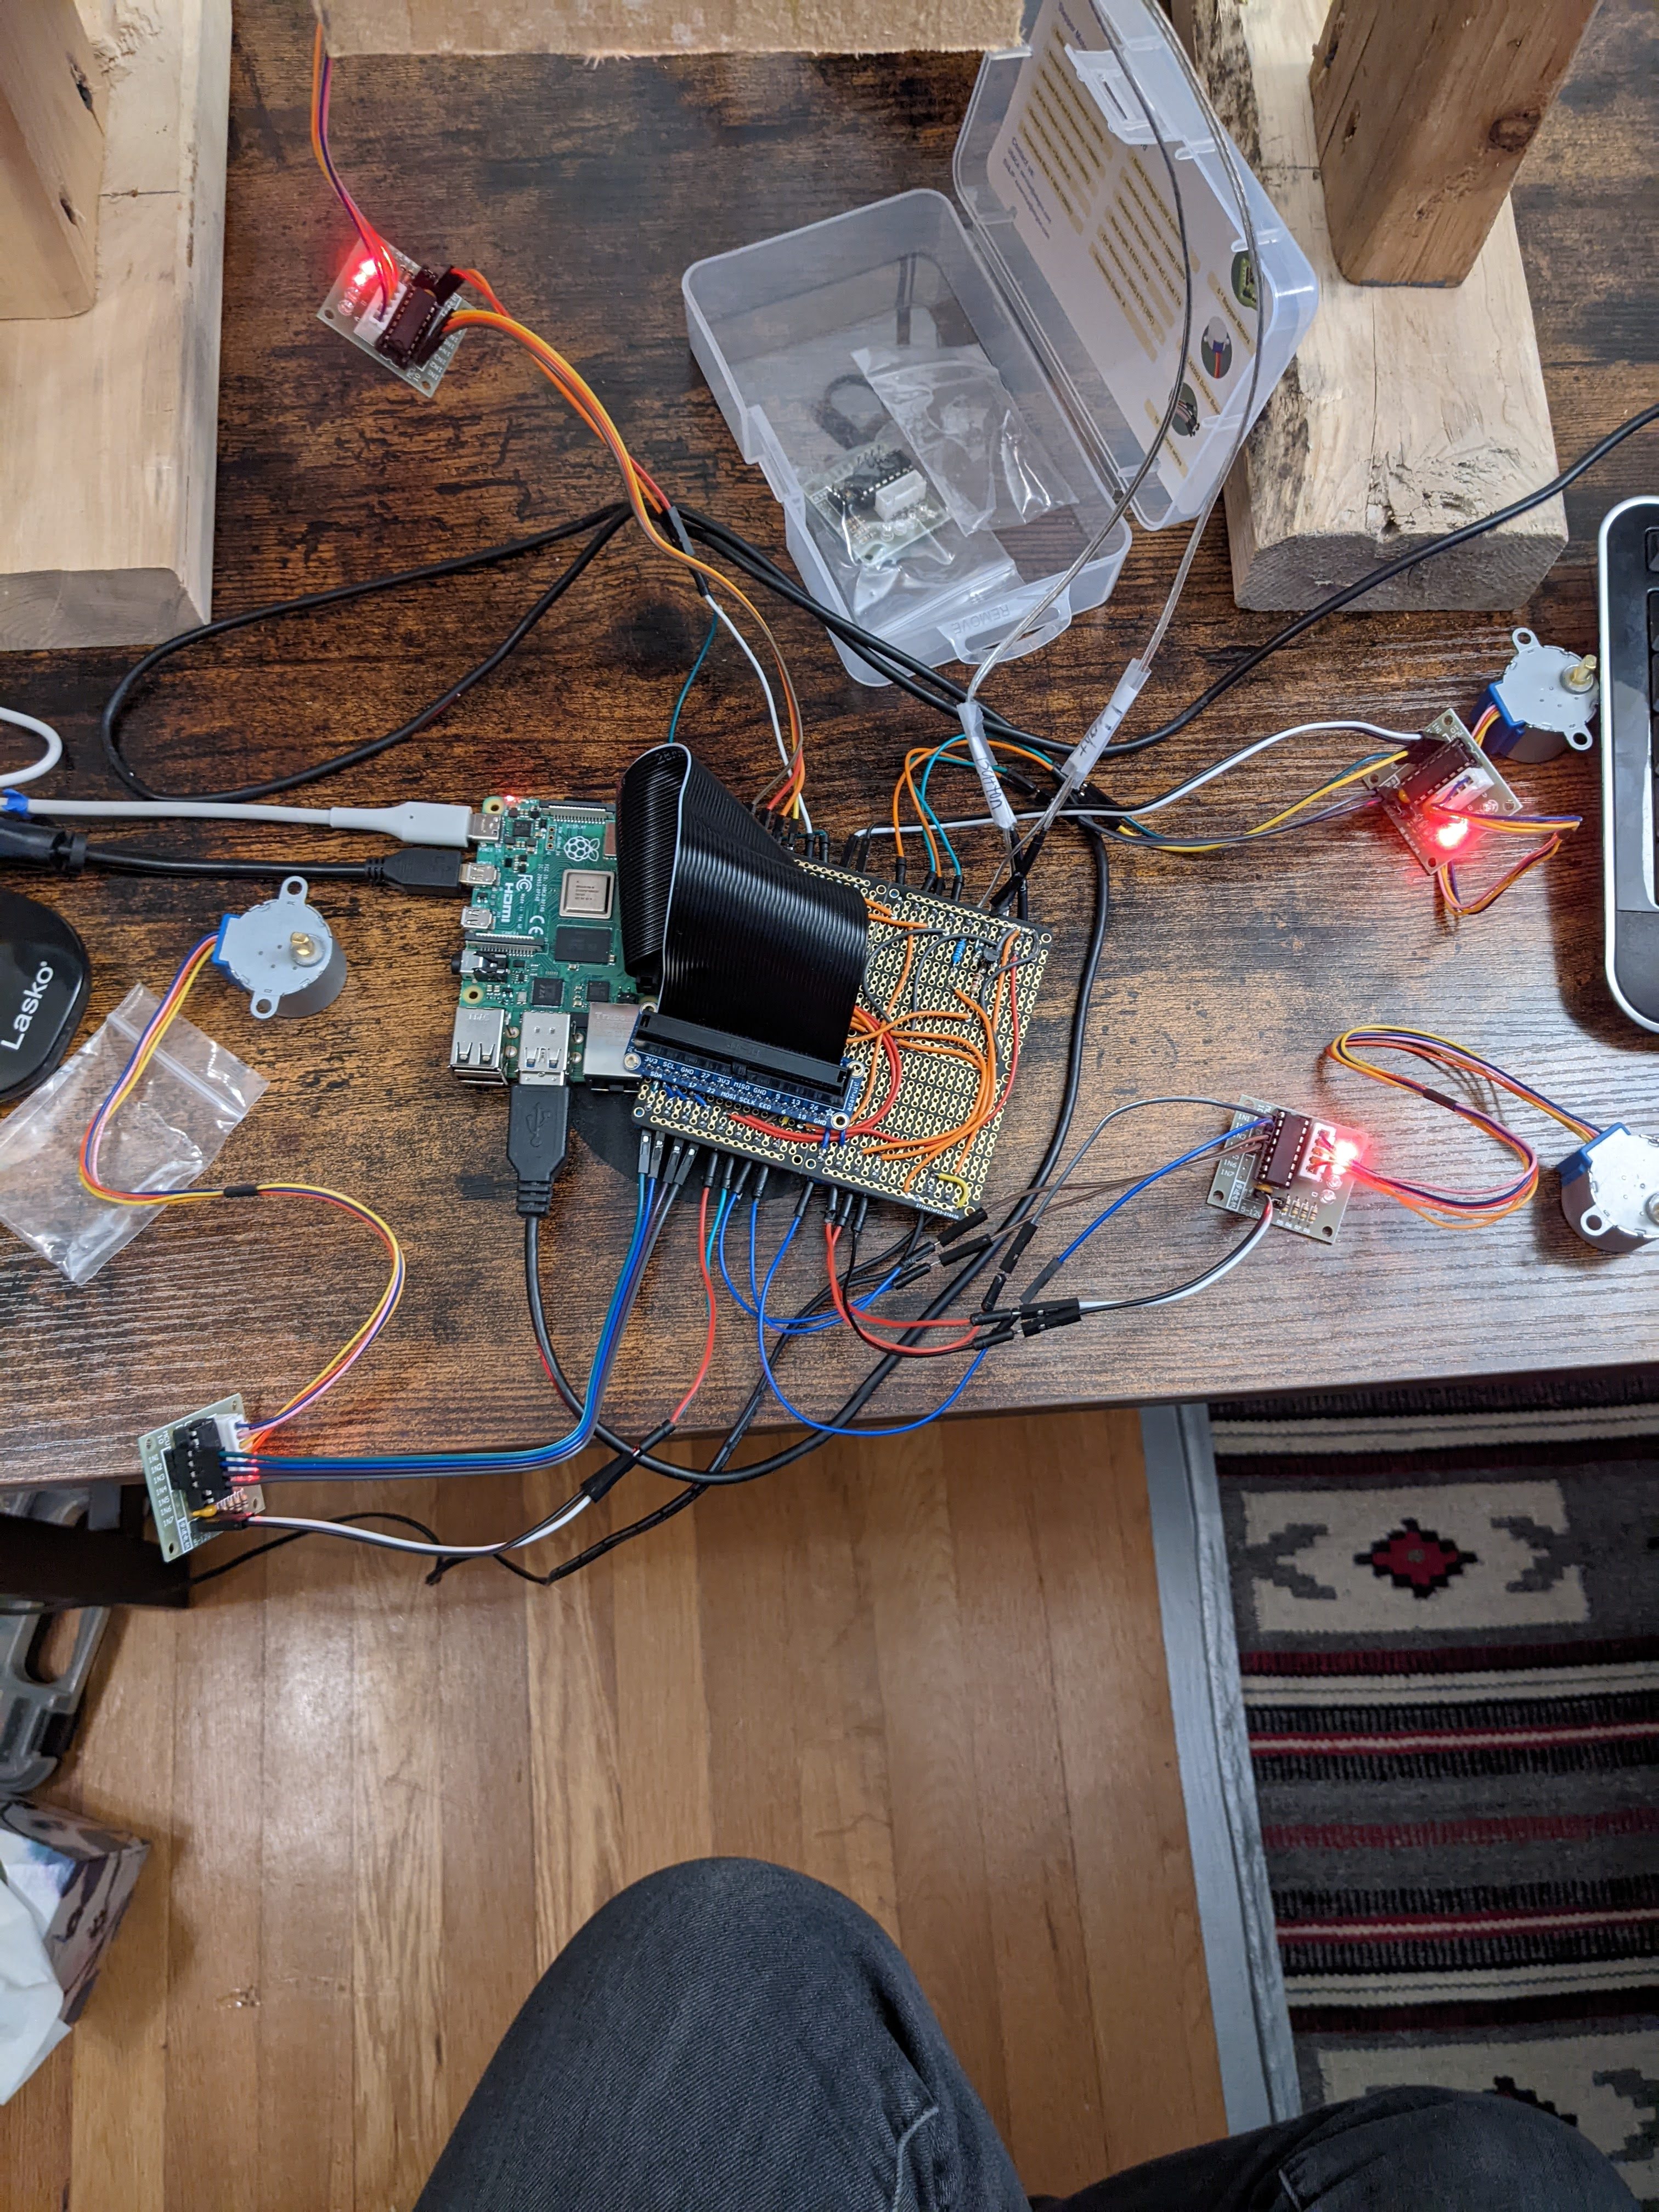
The entire system runs on a Raspberry PI 4. There are five main components:
- The monitor – just connected to the rpi via HDMI
- The button – a switch connected to a single GPIO input pin and a PWM light connected to a GPIO output
- The motors – four (only three are used) stepper motors connected to drivers connected to GPIO on the rpi
- The microswitches – Attached to each fan to determine the fan’s position; attached to GPIO inputs
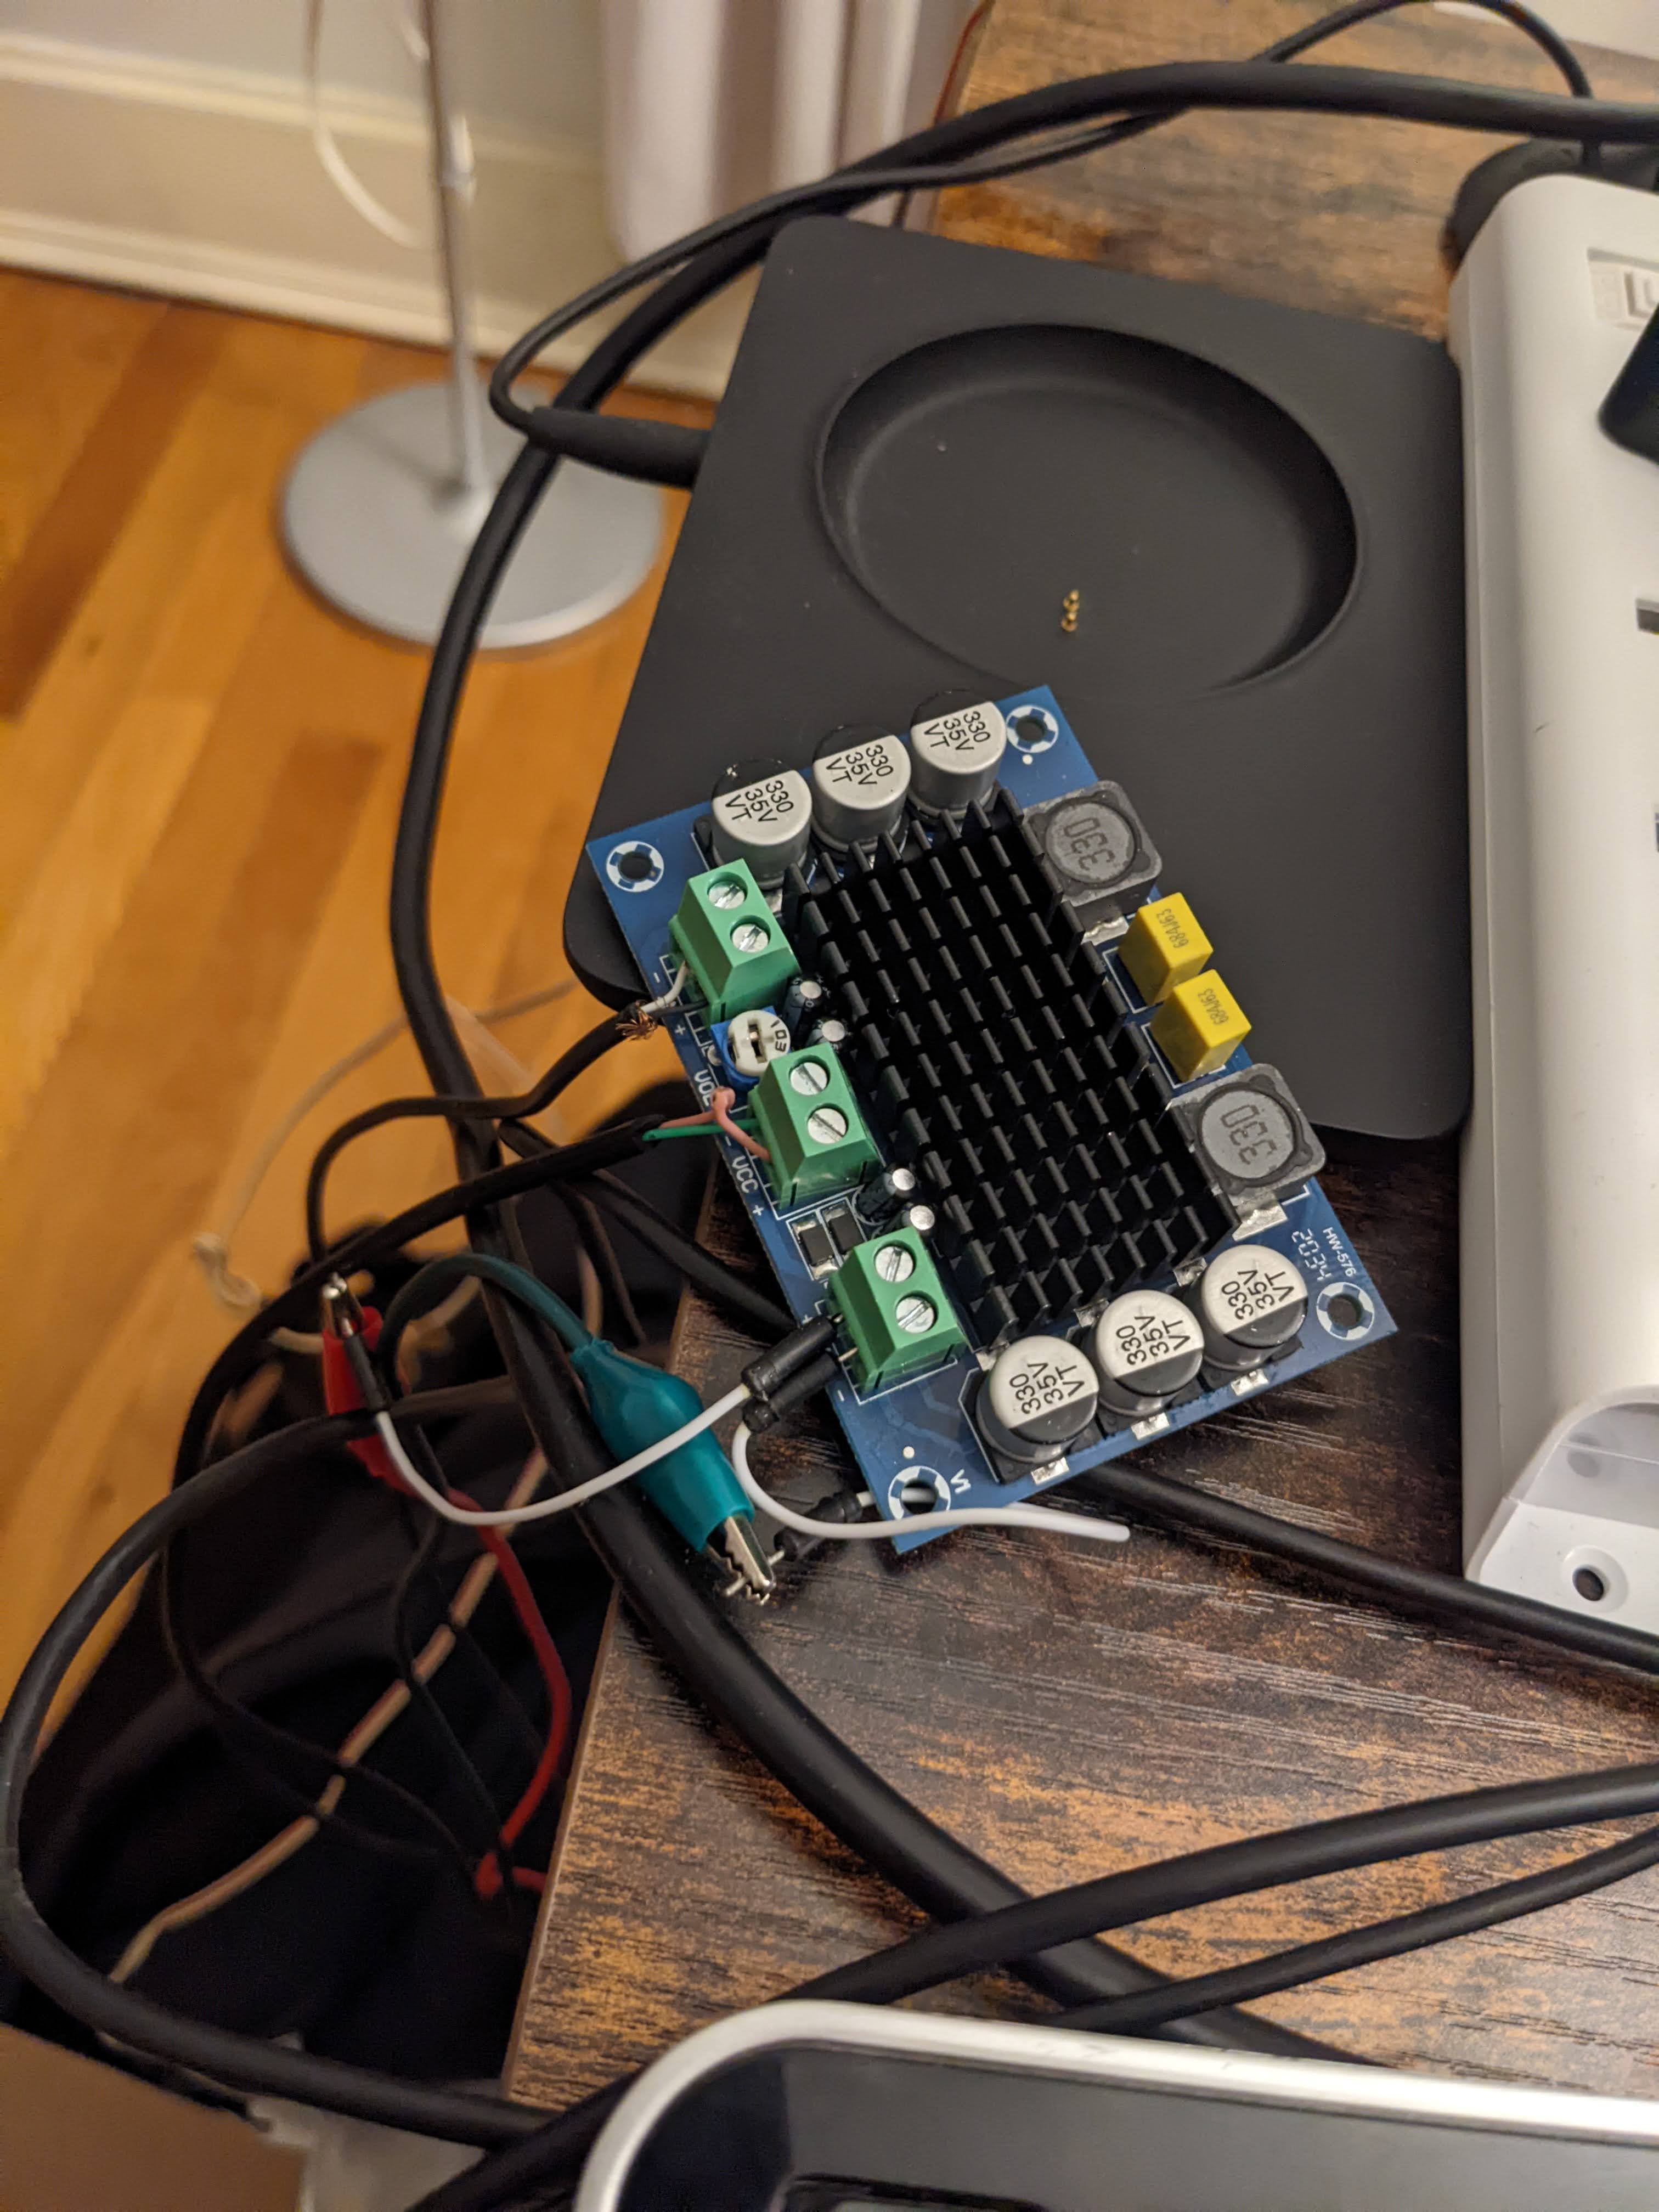
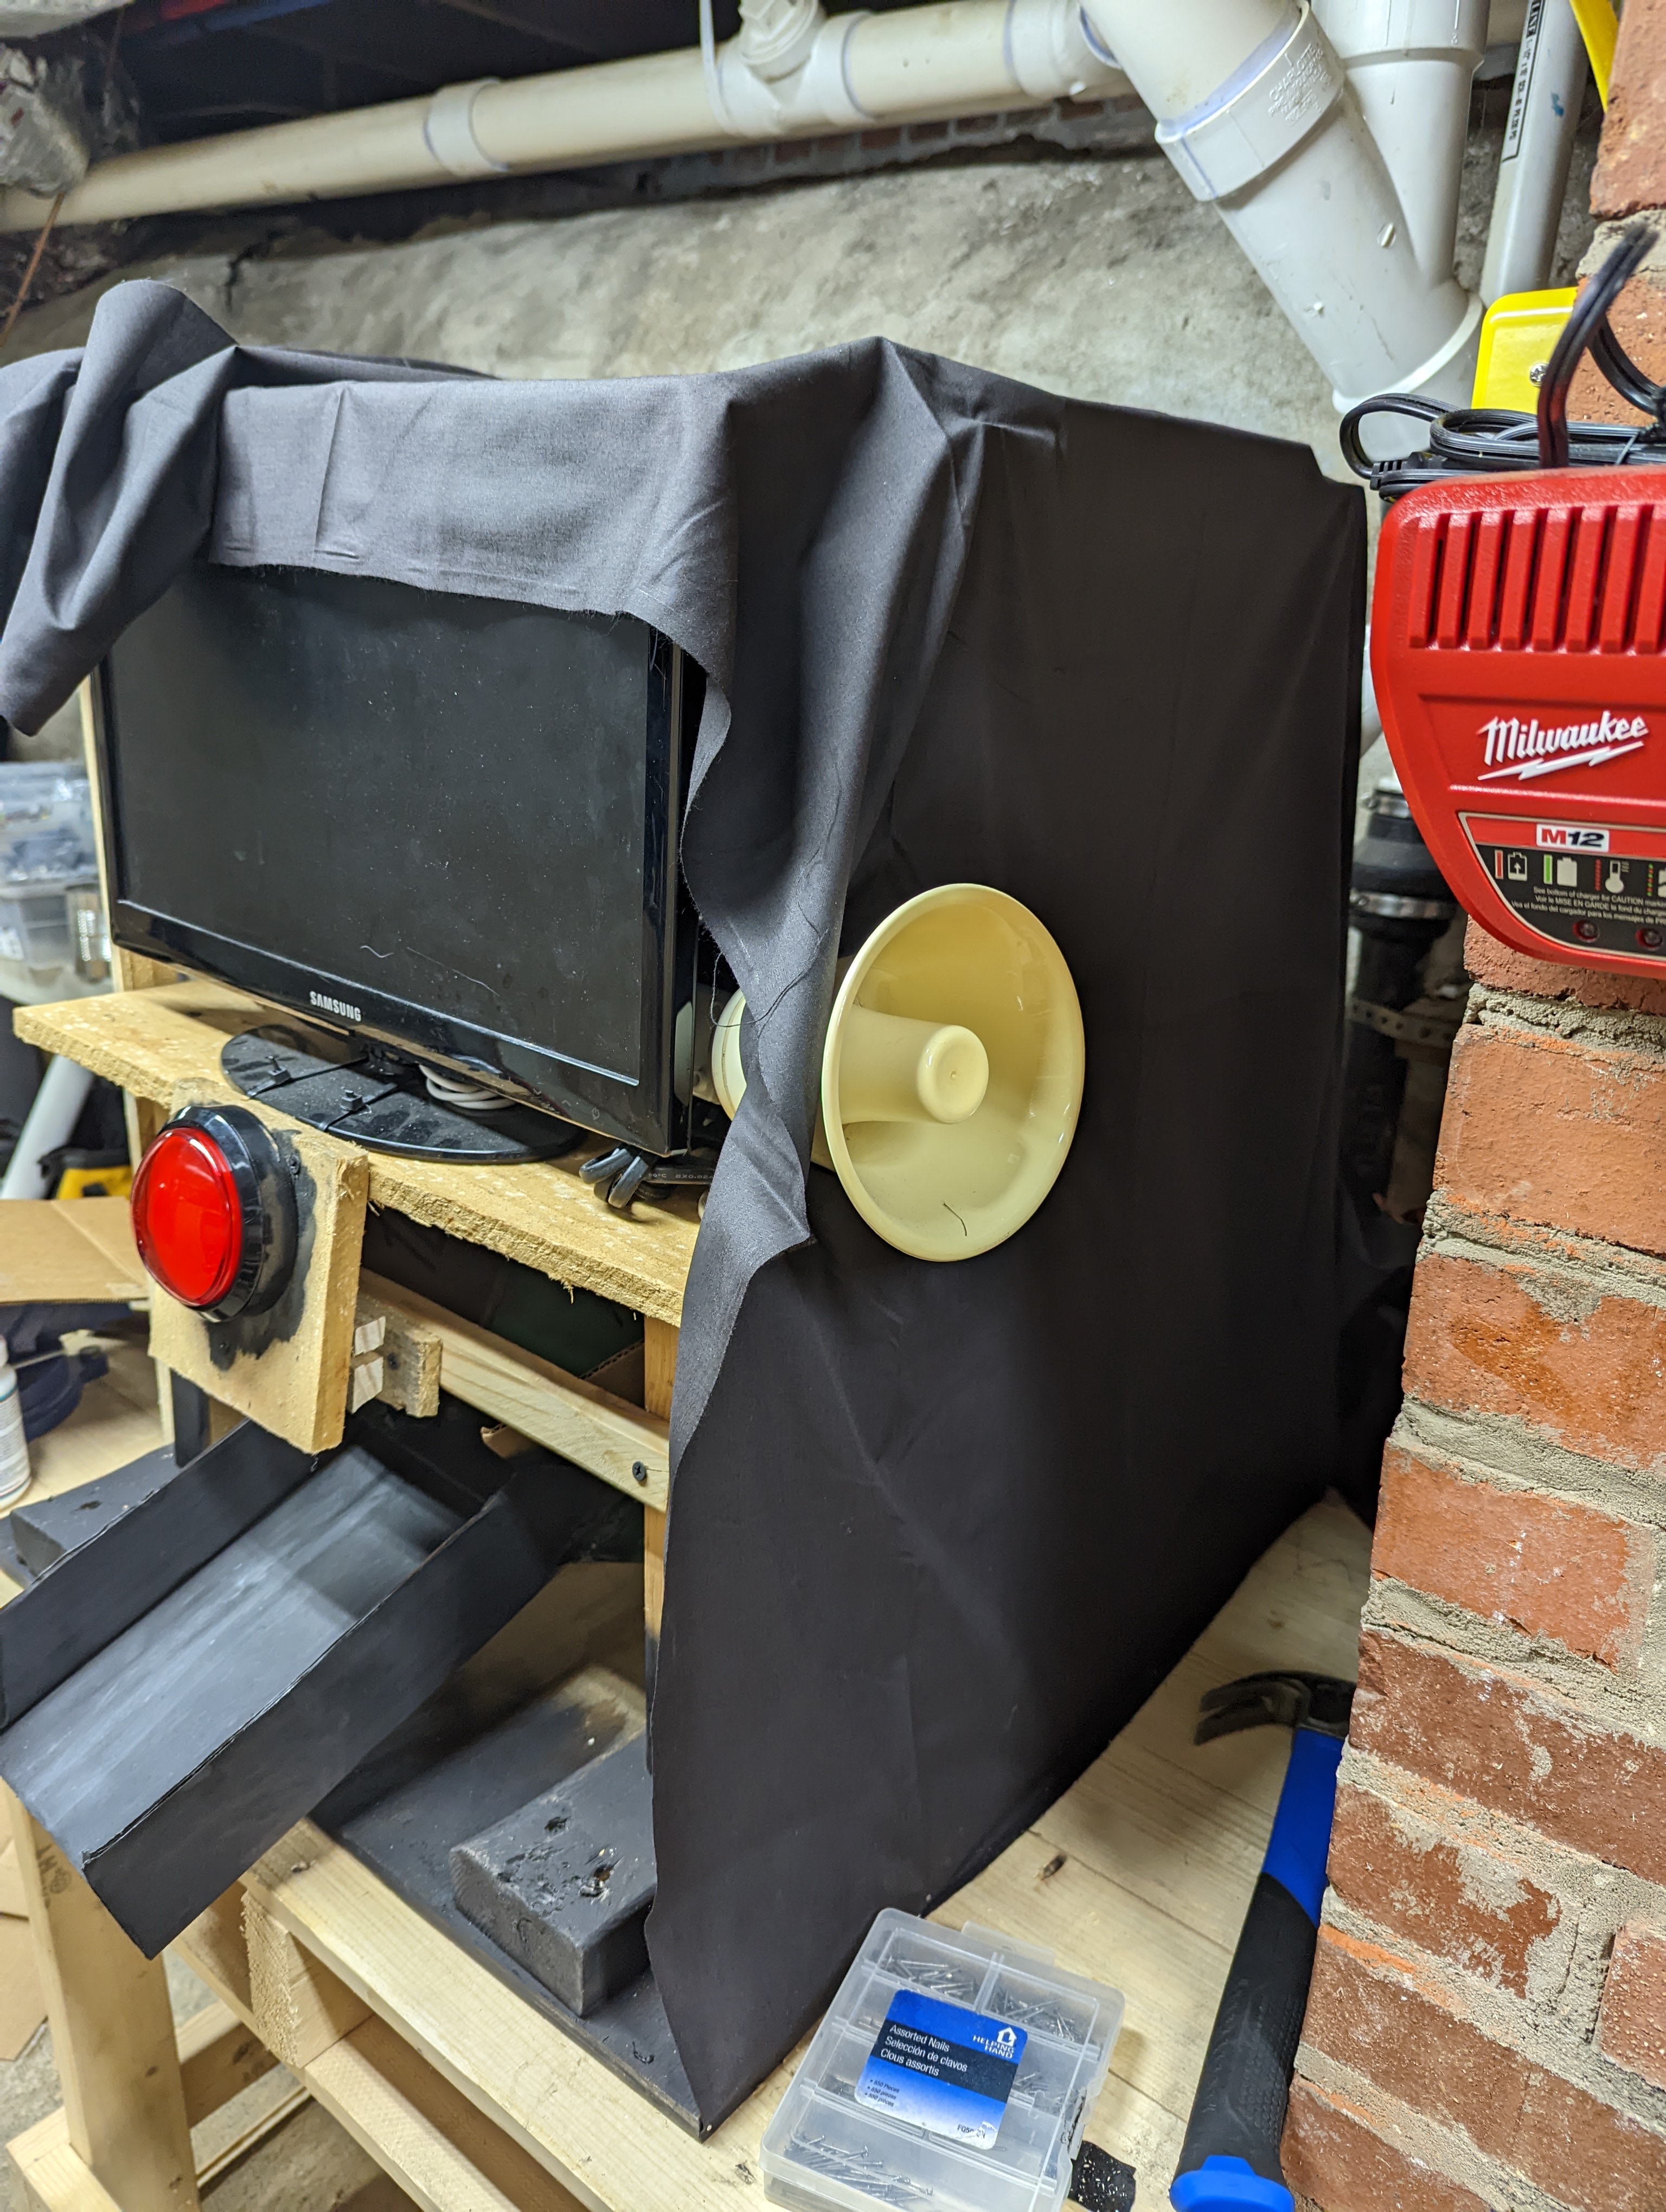
- The speaker – a small horn speaker connected to an amplifier on a separate power source connected to the rpi 3.5mm pin
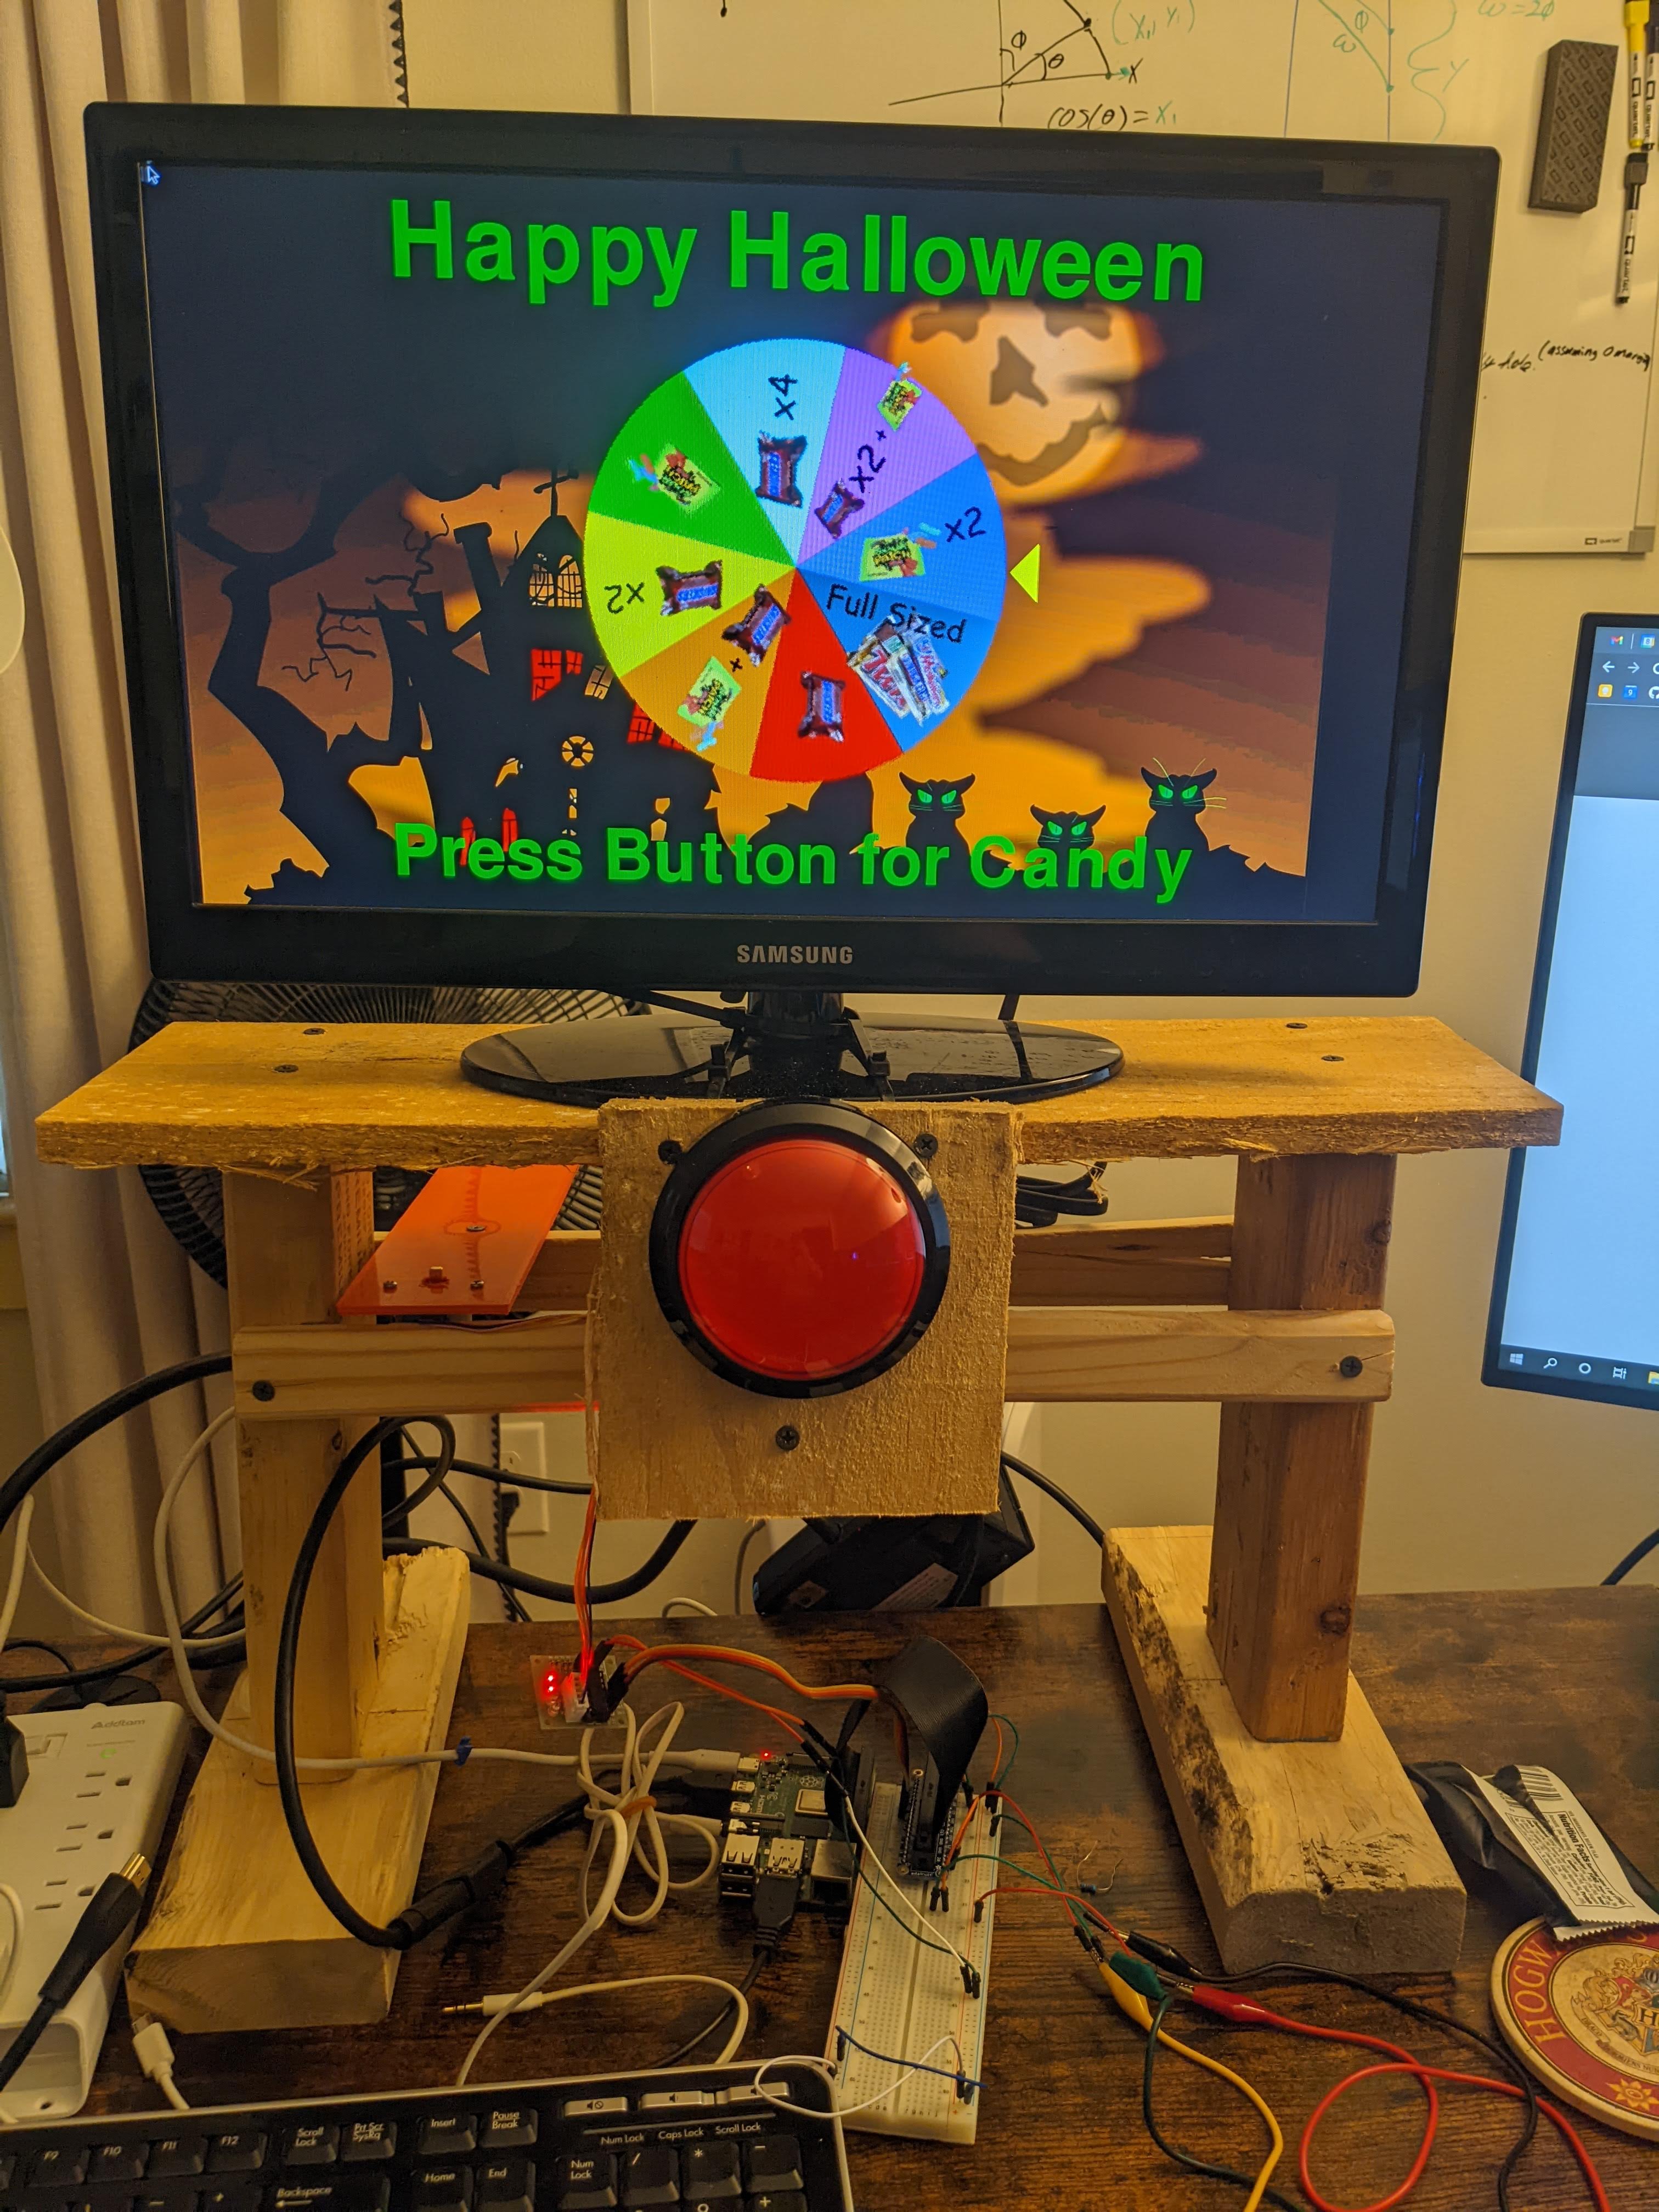
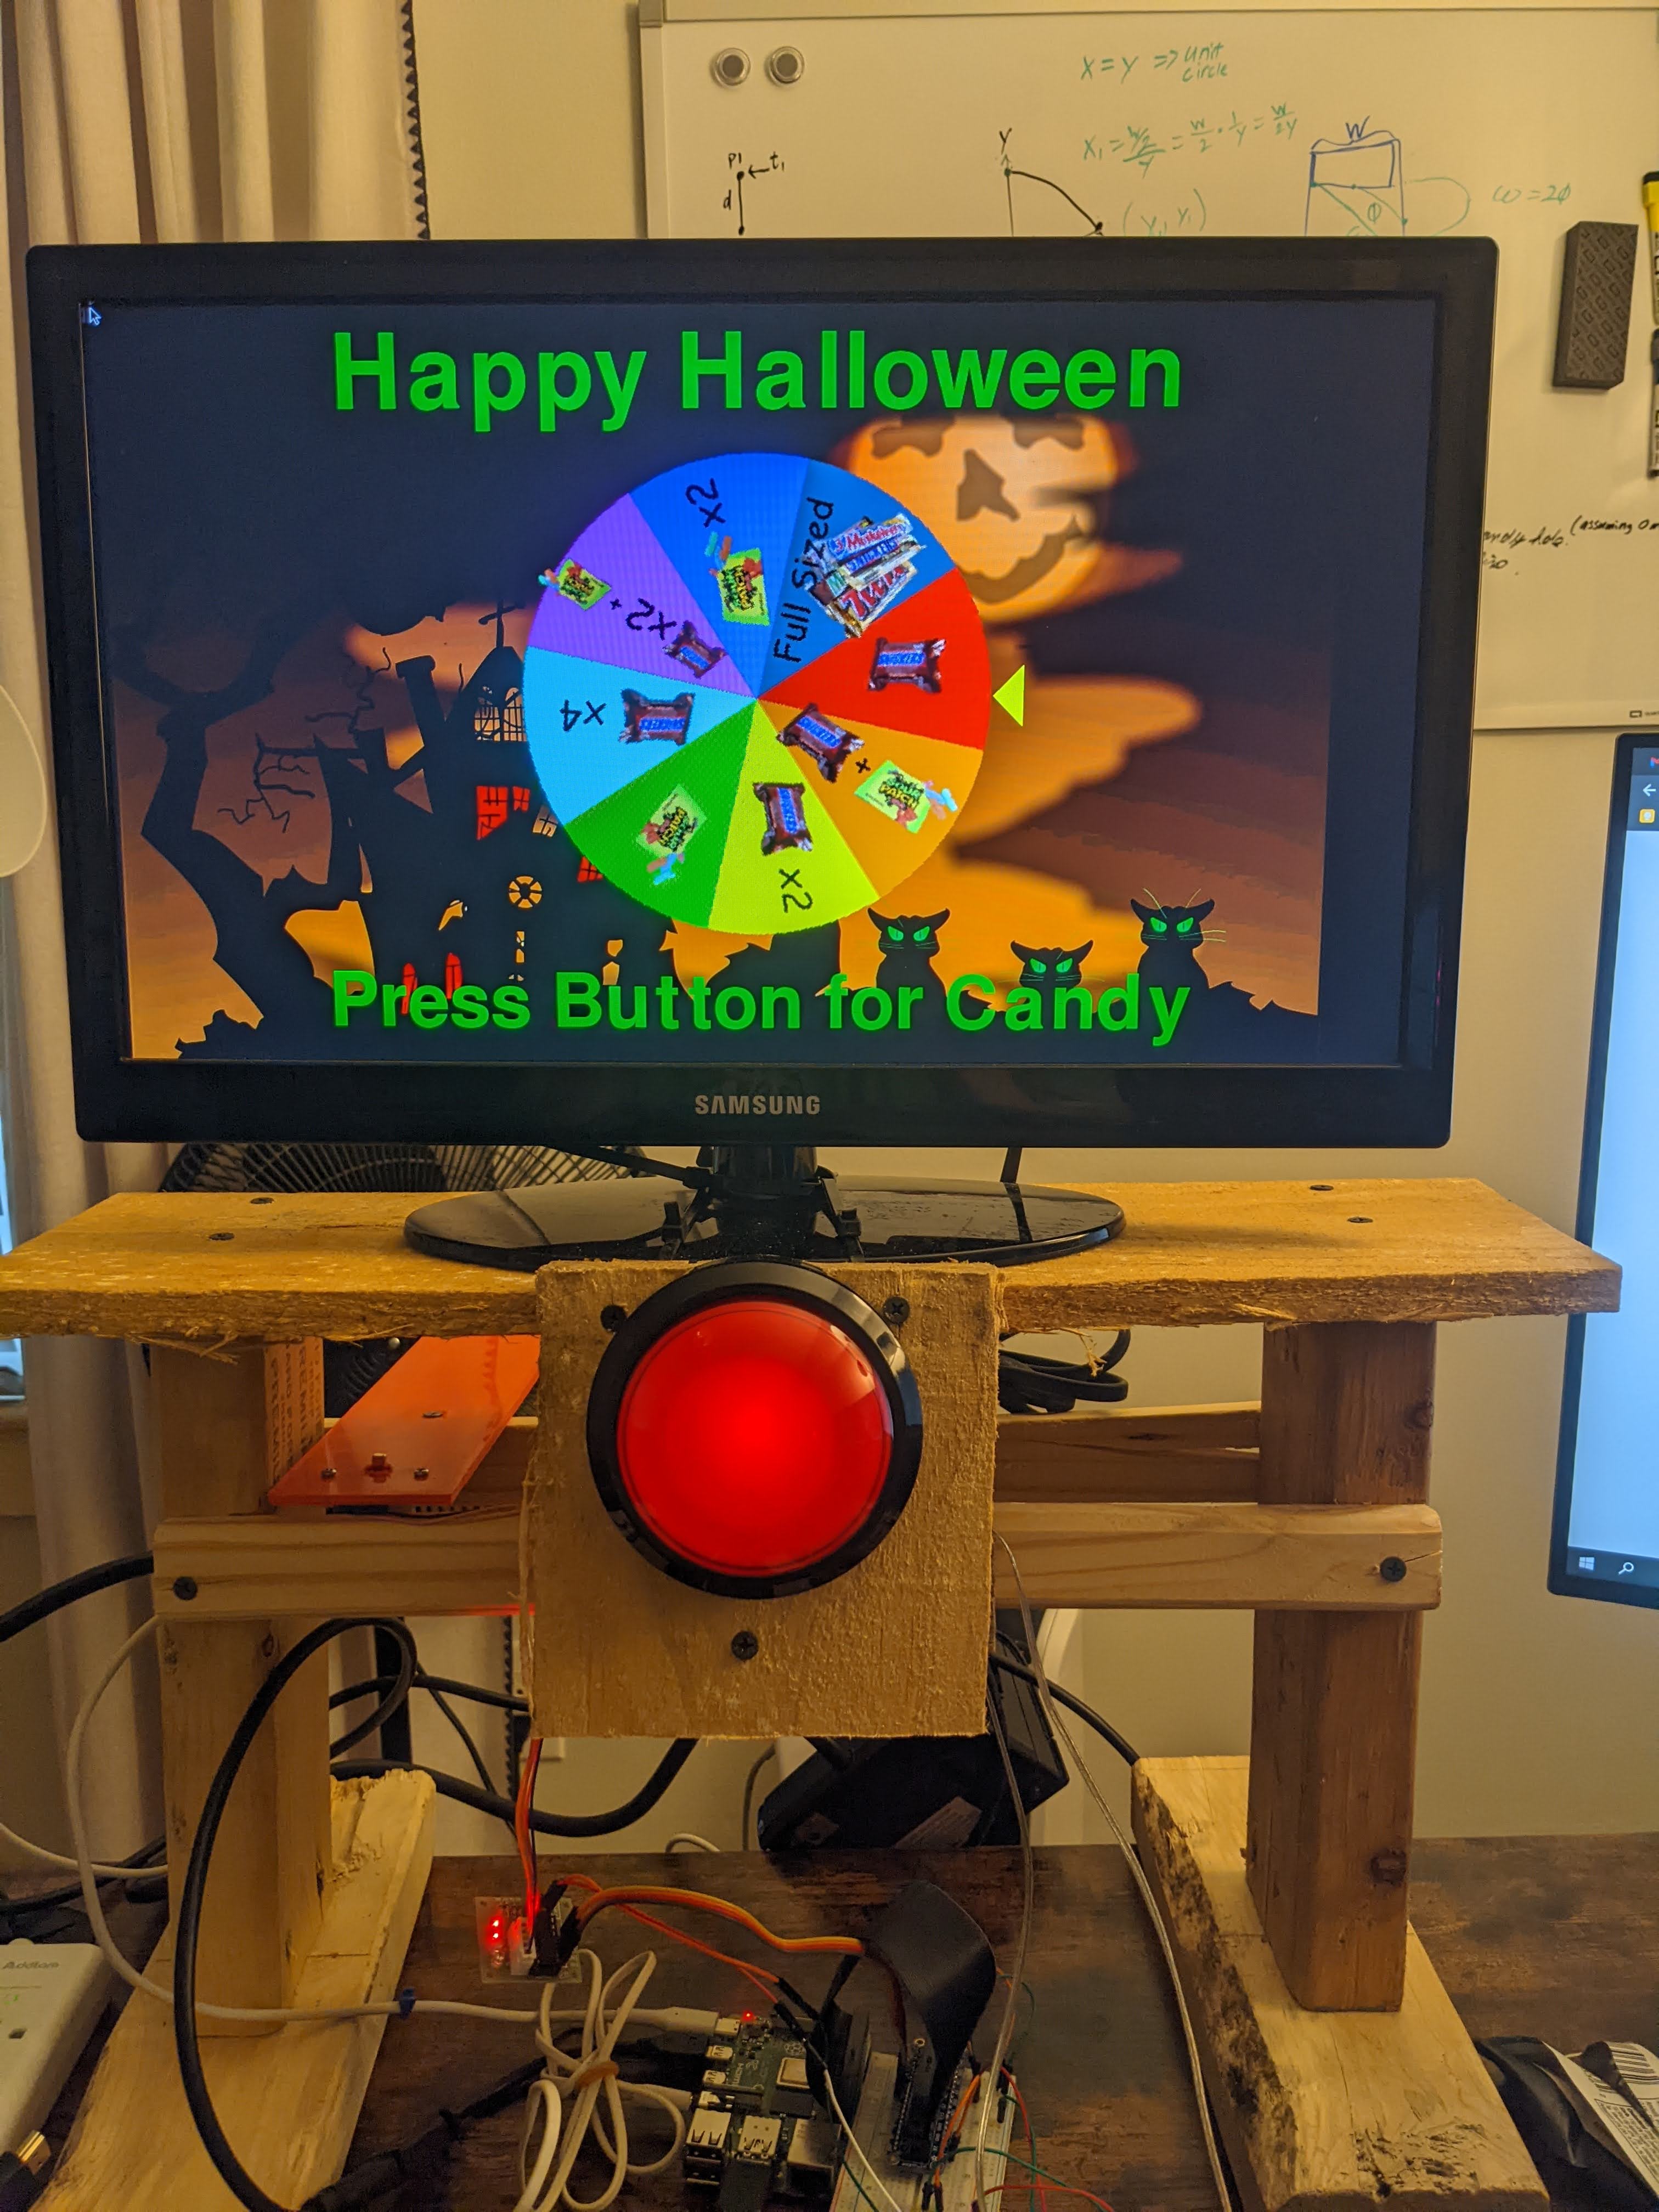
Button
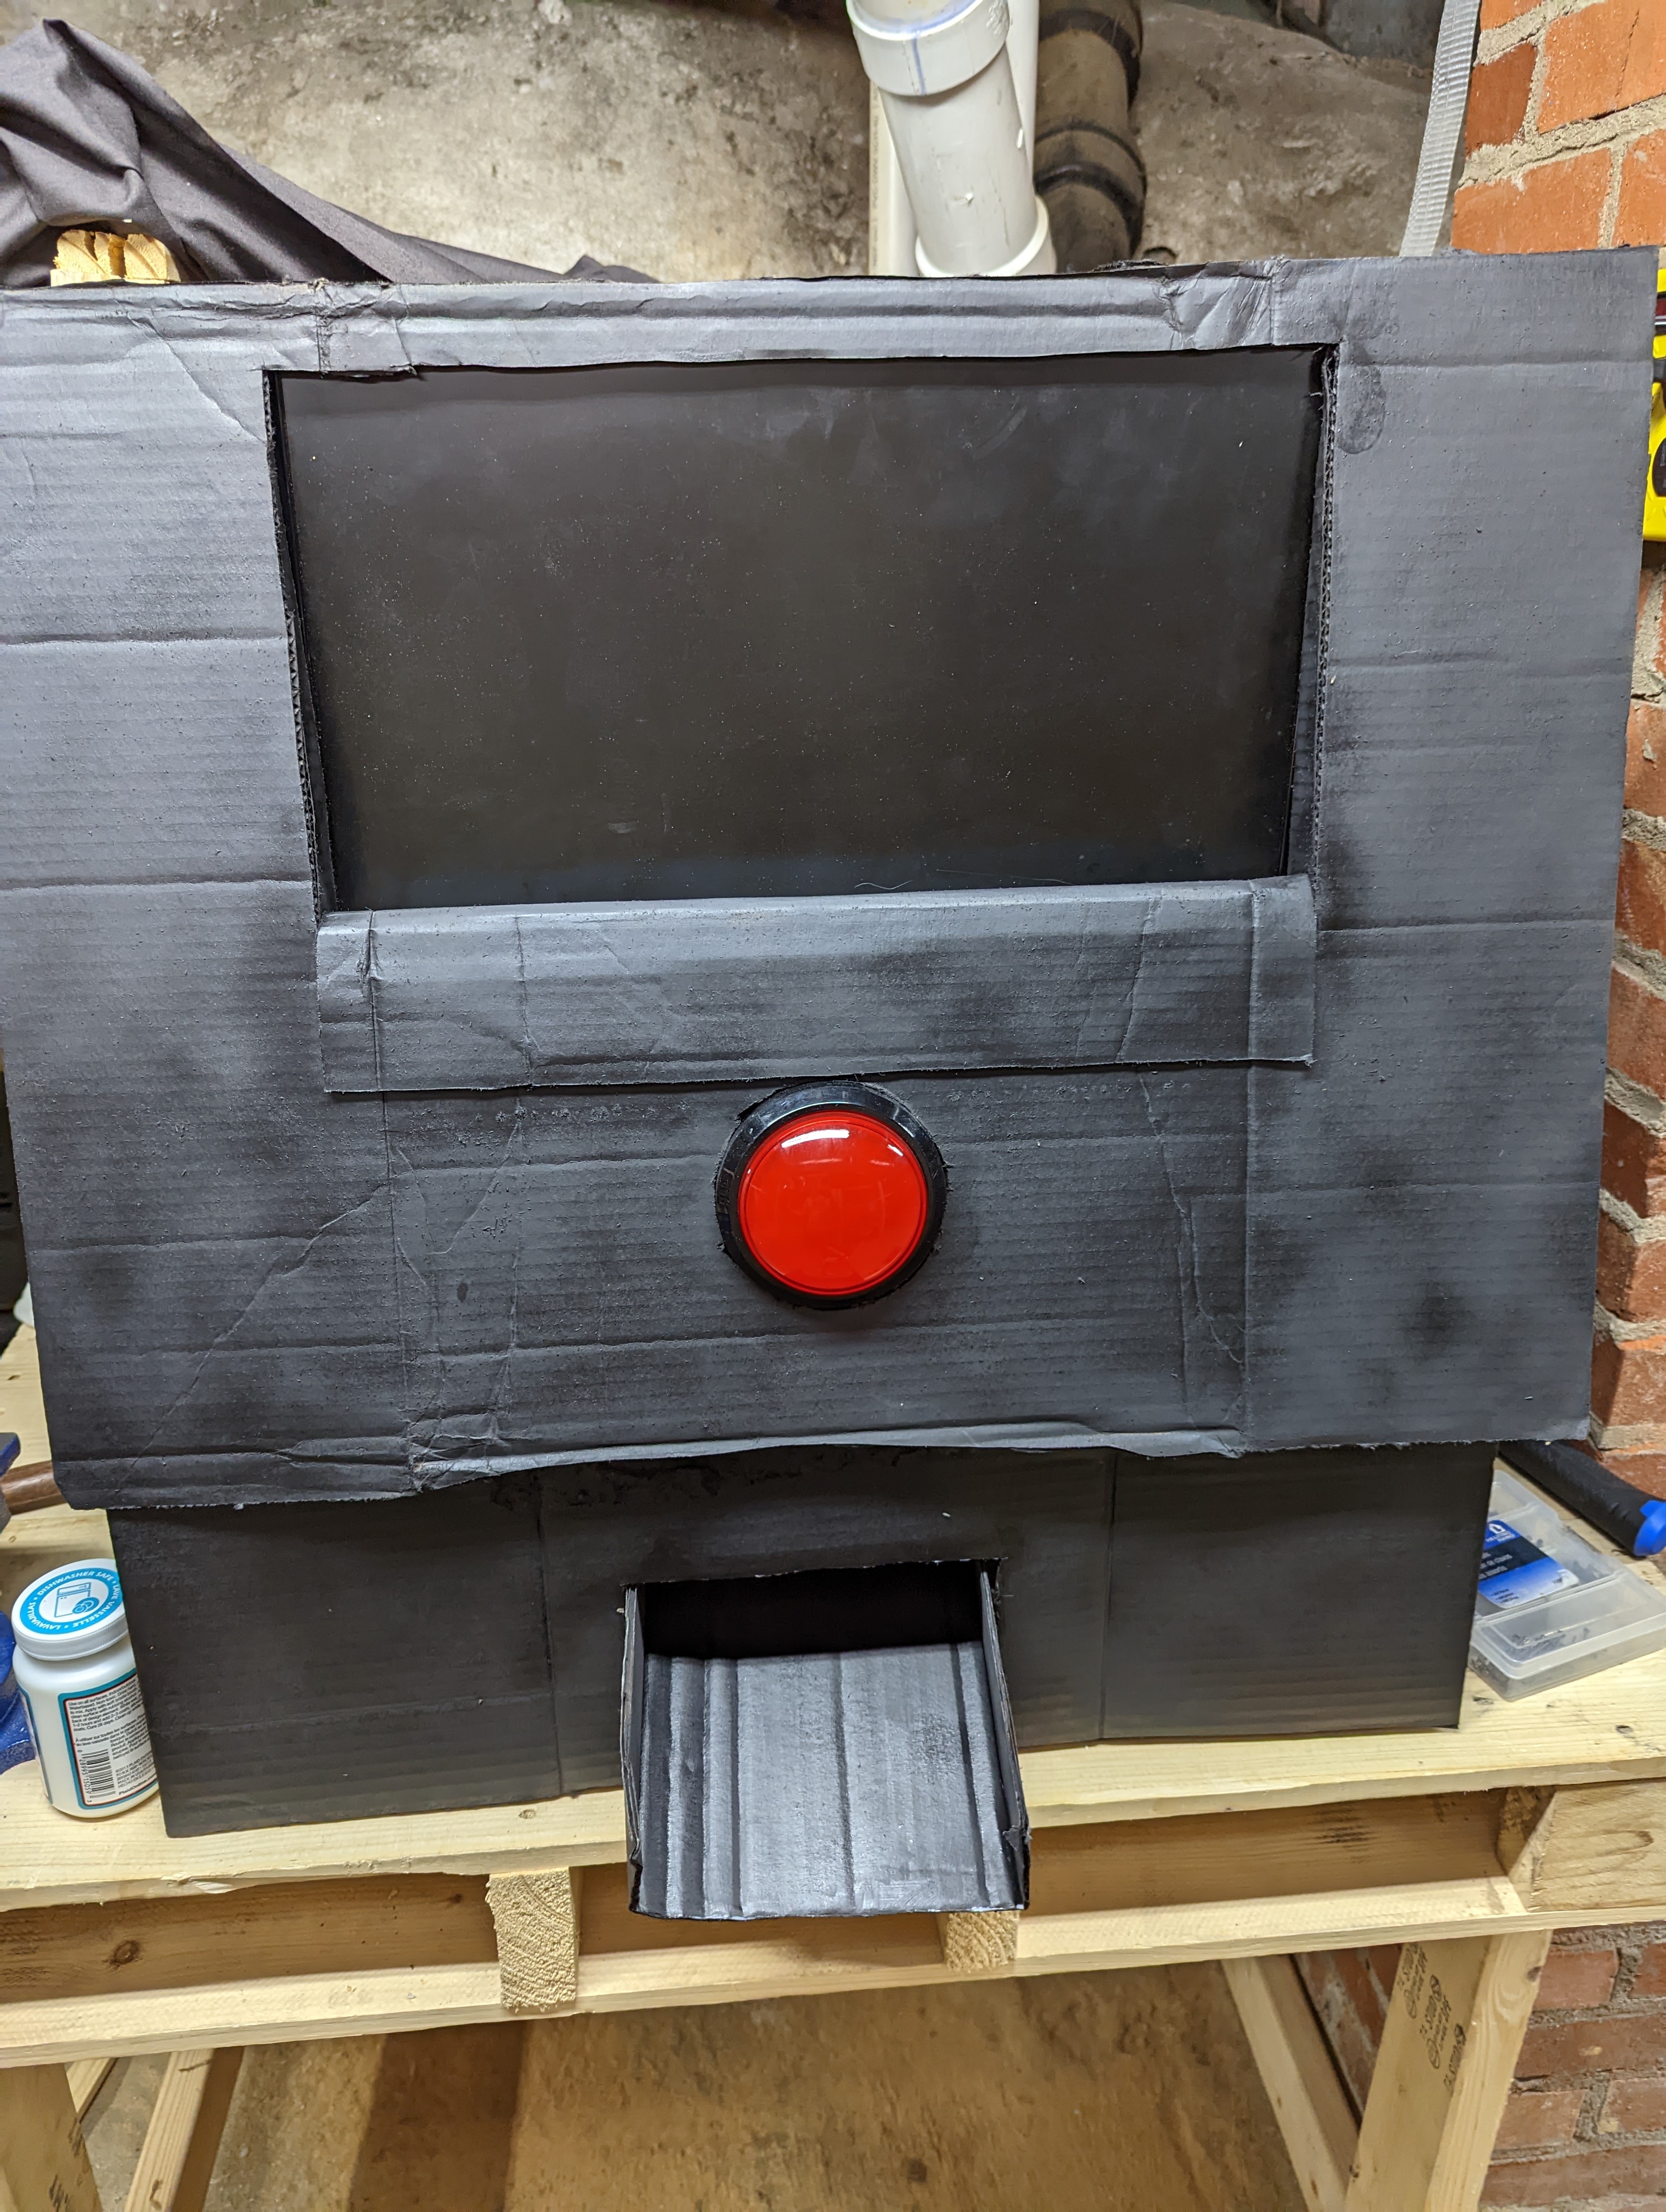
I found this button on adafruit and it’s fantastic. It was super simple to wire up, and I think it really catches the eye when you first look at the machine
Motors / Microswitches
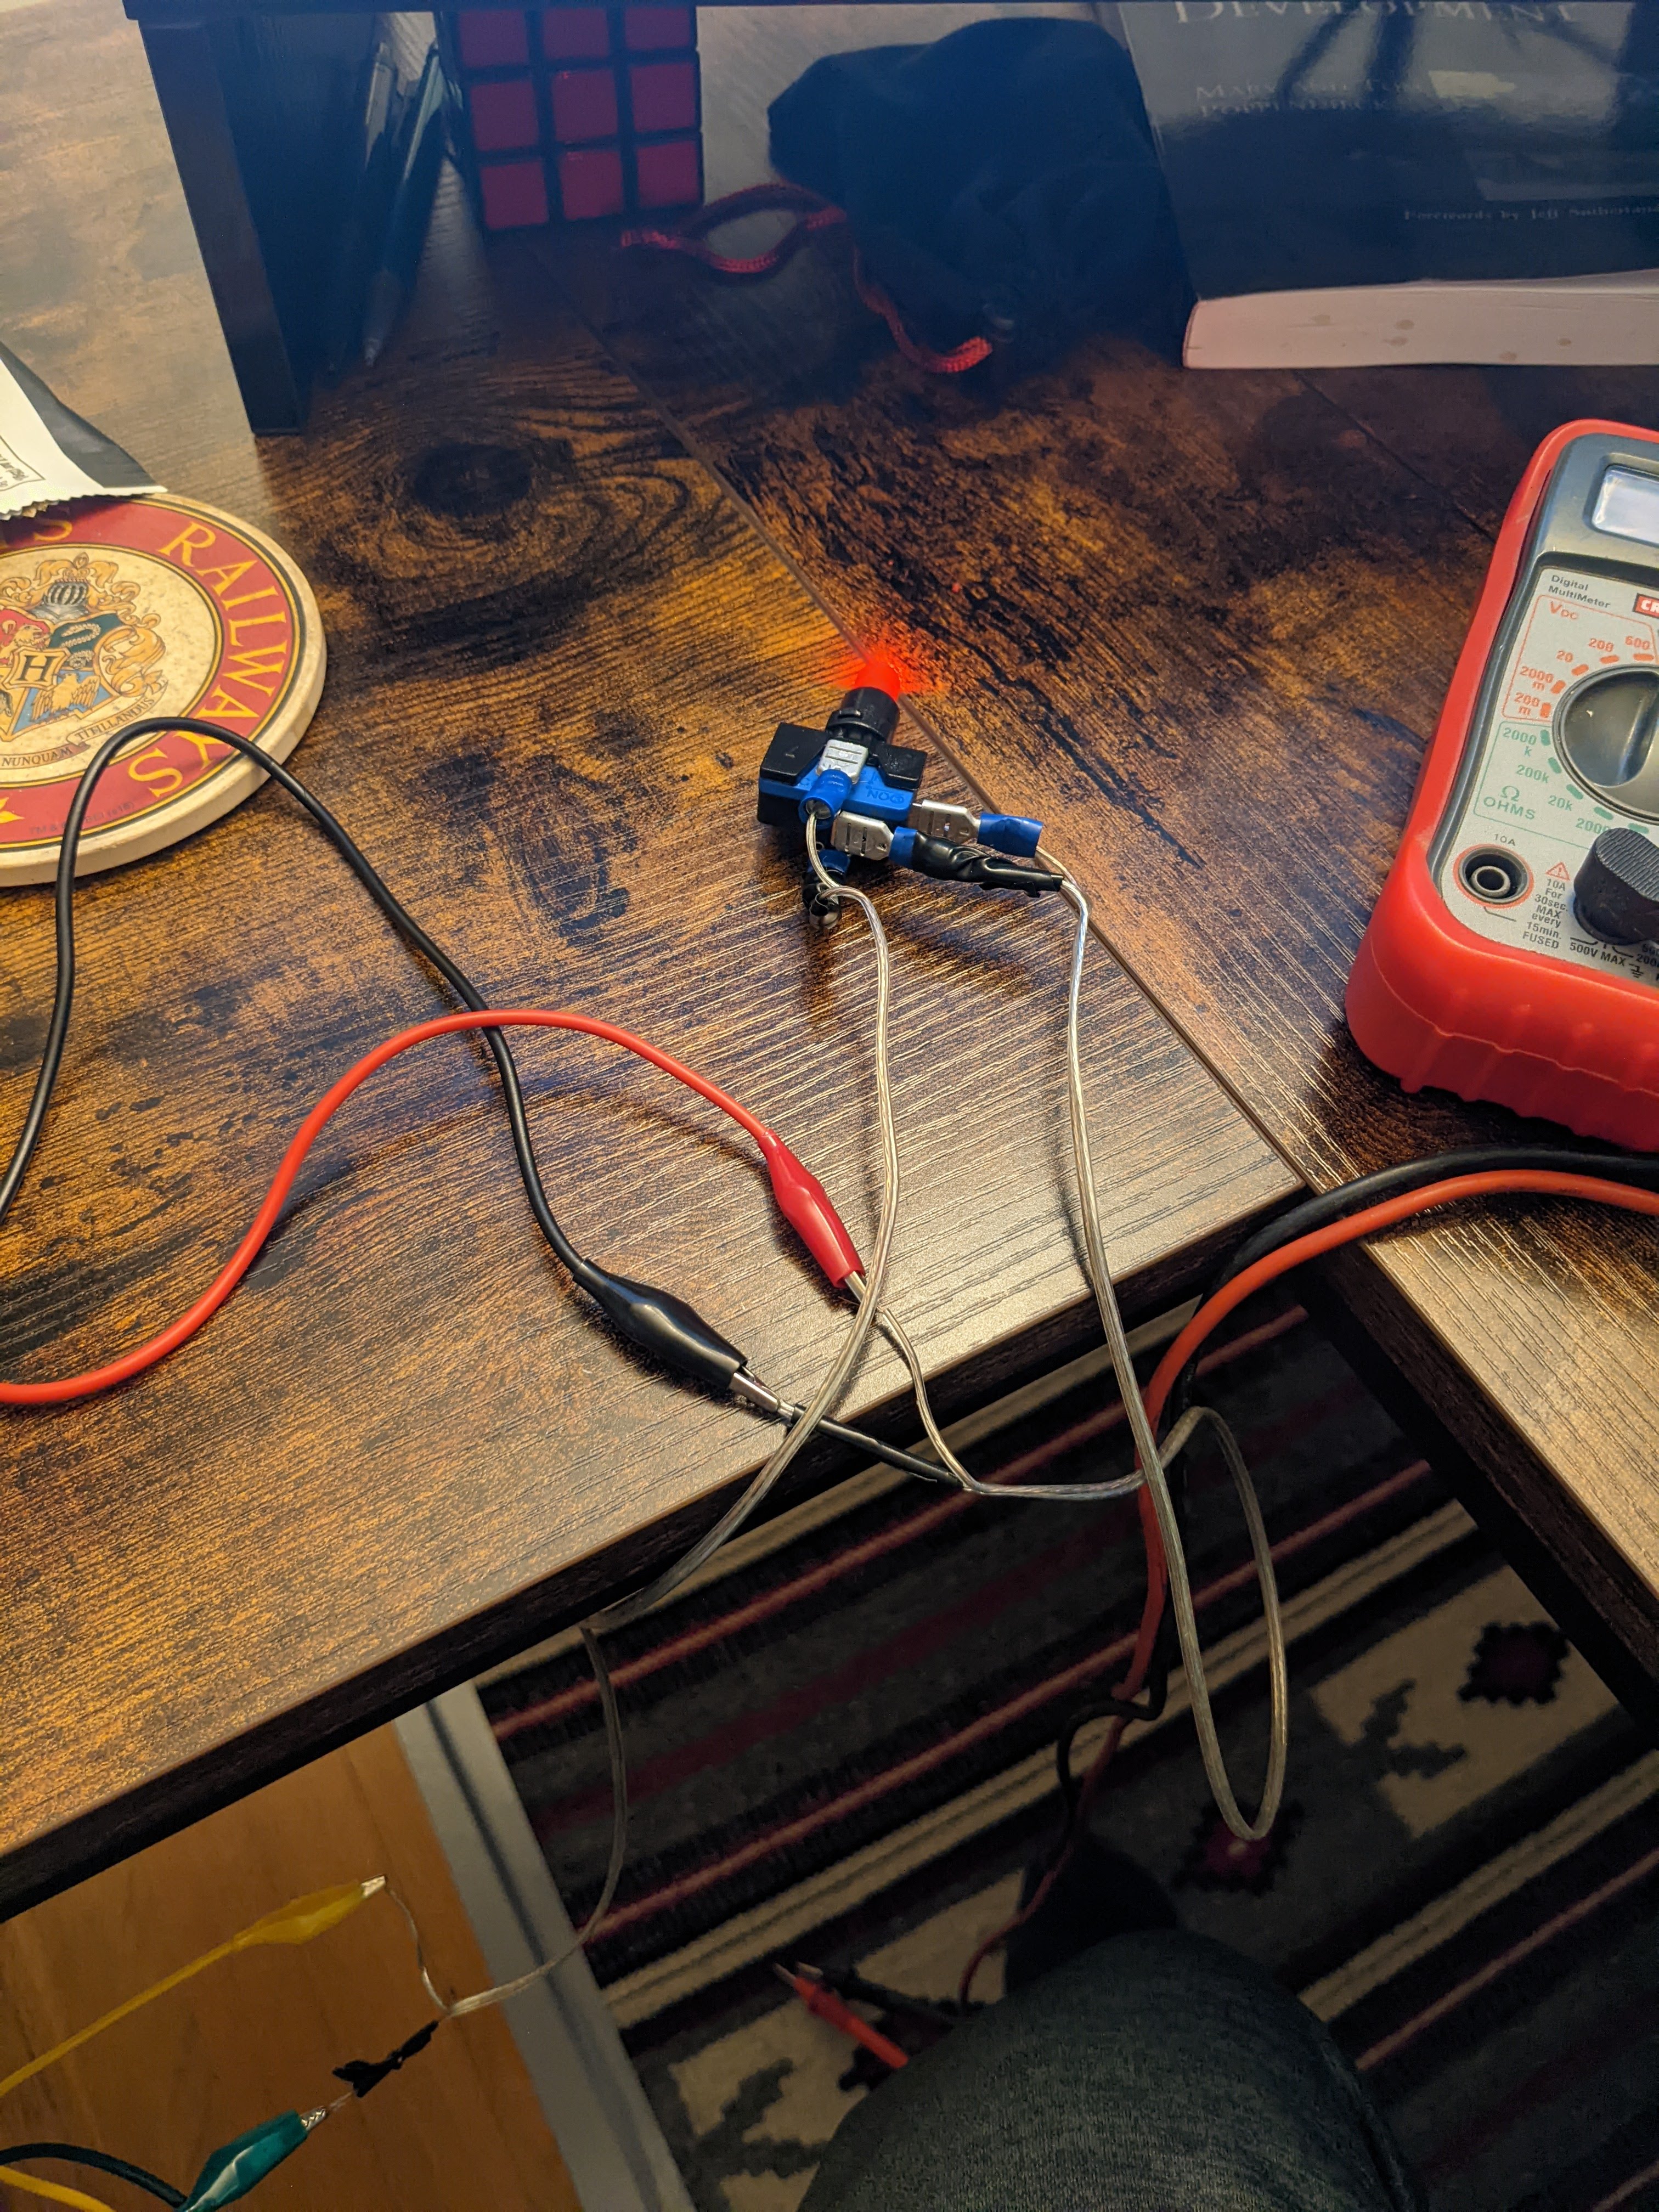
The hard thing about stepper motors is you have no way of knowing what position they are in at any given time. You can control how far they spin and try keep track of their current position that way. BUT, if something ever momentarily blocks them from spinning, your recorded position in the software will be wrong.
To fix this, I redesigned my fan to have little bumps on the shaft. Then, I mounted a microswitch under the fan with the actuator touching the shaft. So now, when the fan spins, the bumps on the fan’s shaft activate the microswitch, telling the Raspberry PI whether or not one of the blades is blocking the candy from sliding out of the pipe.

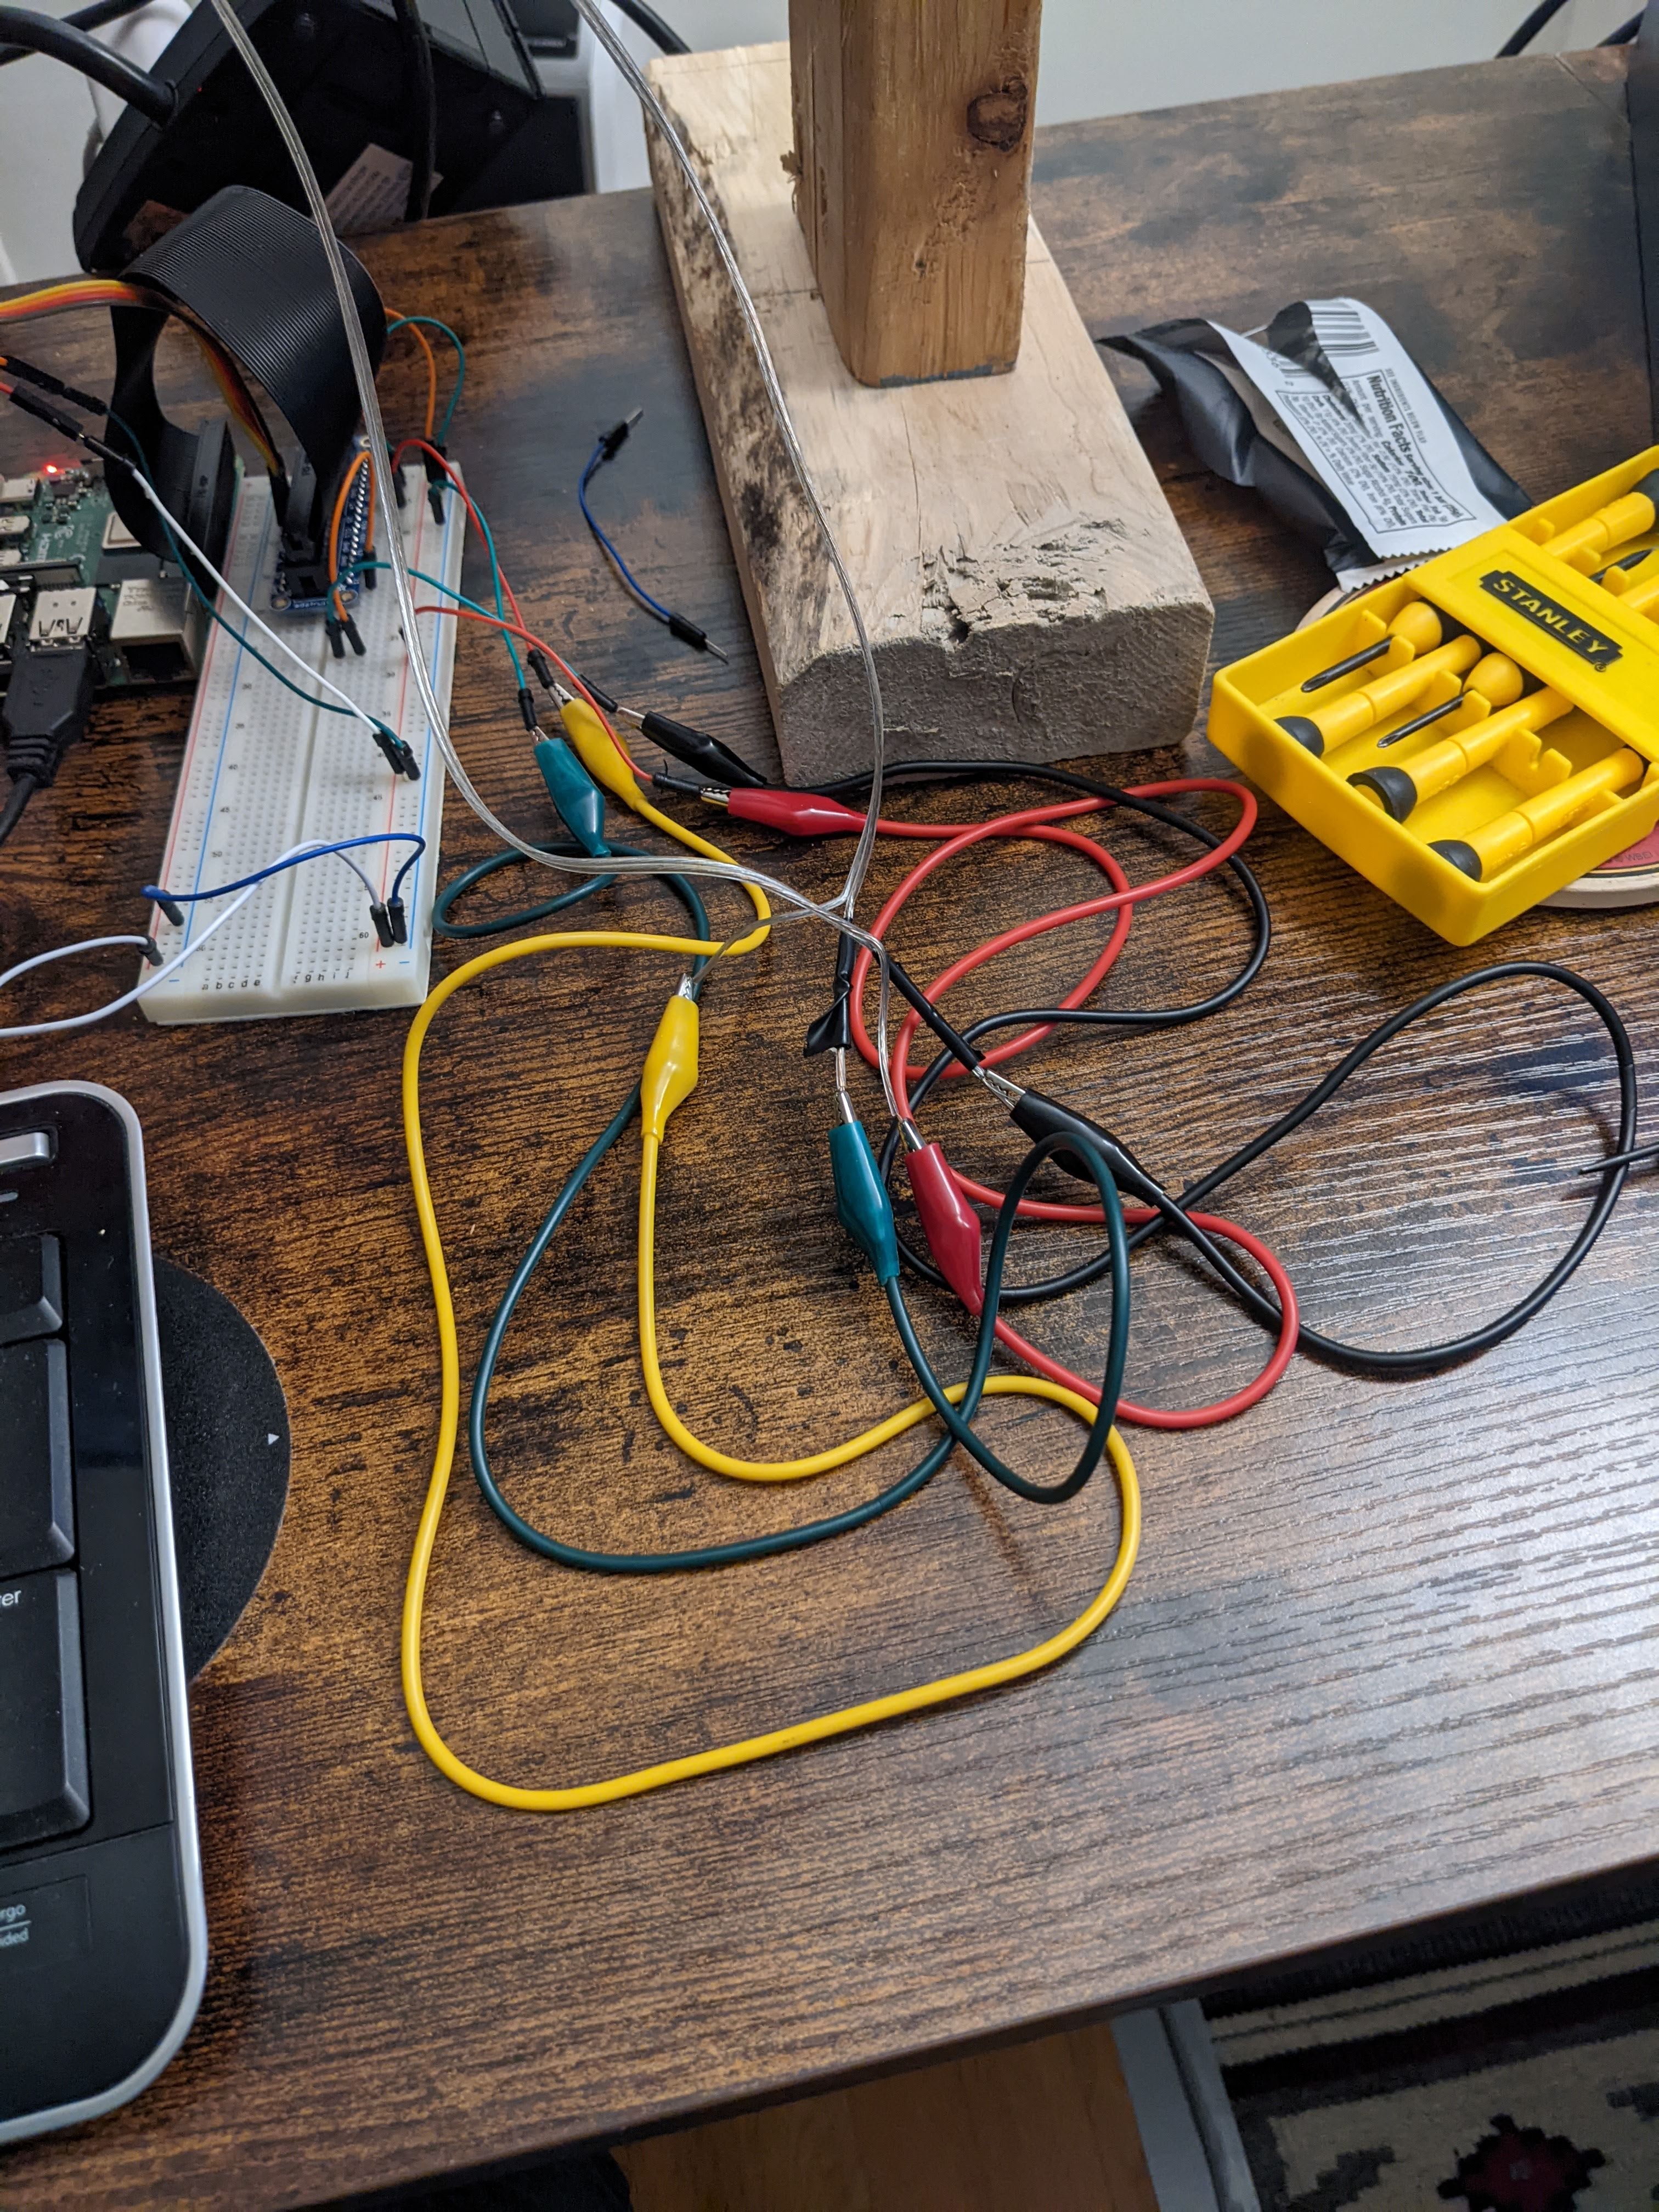
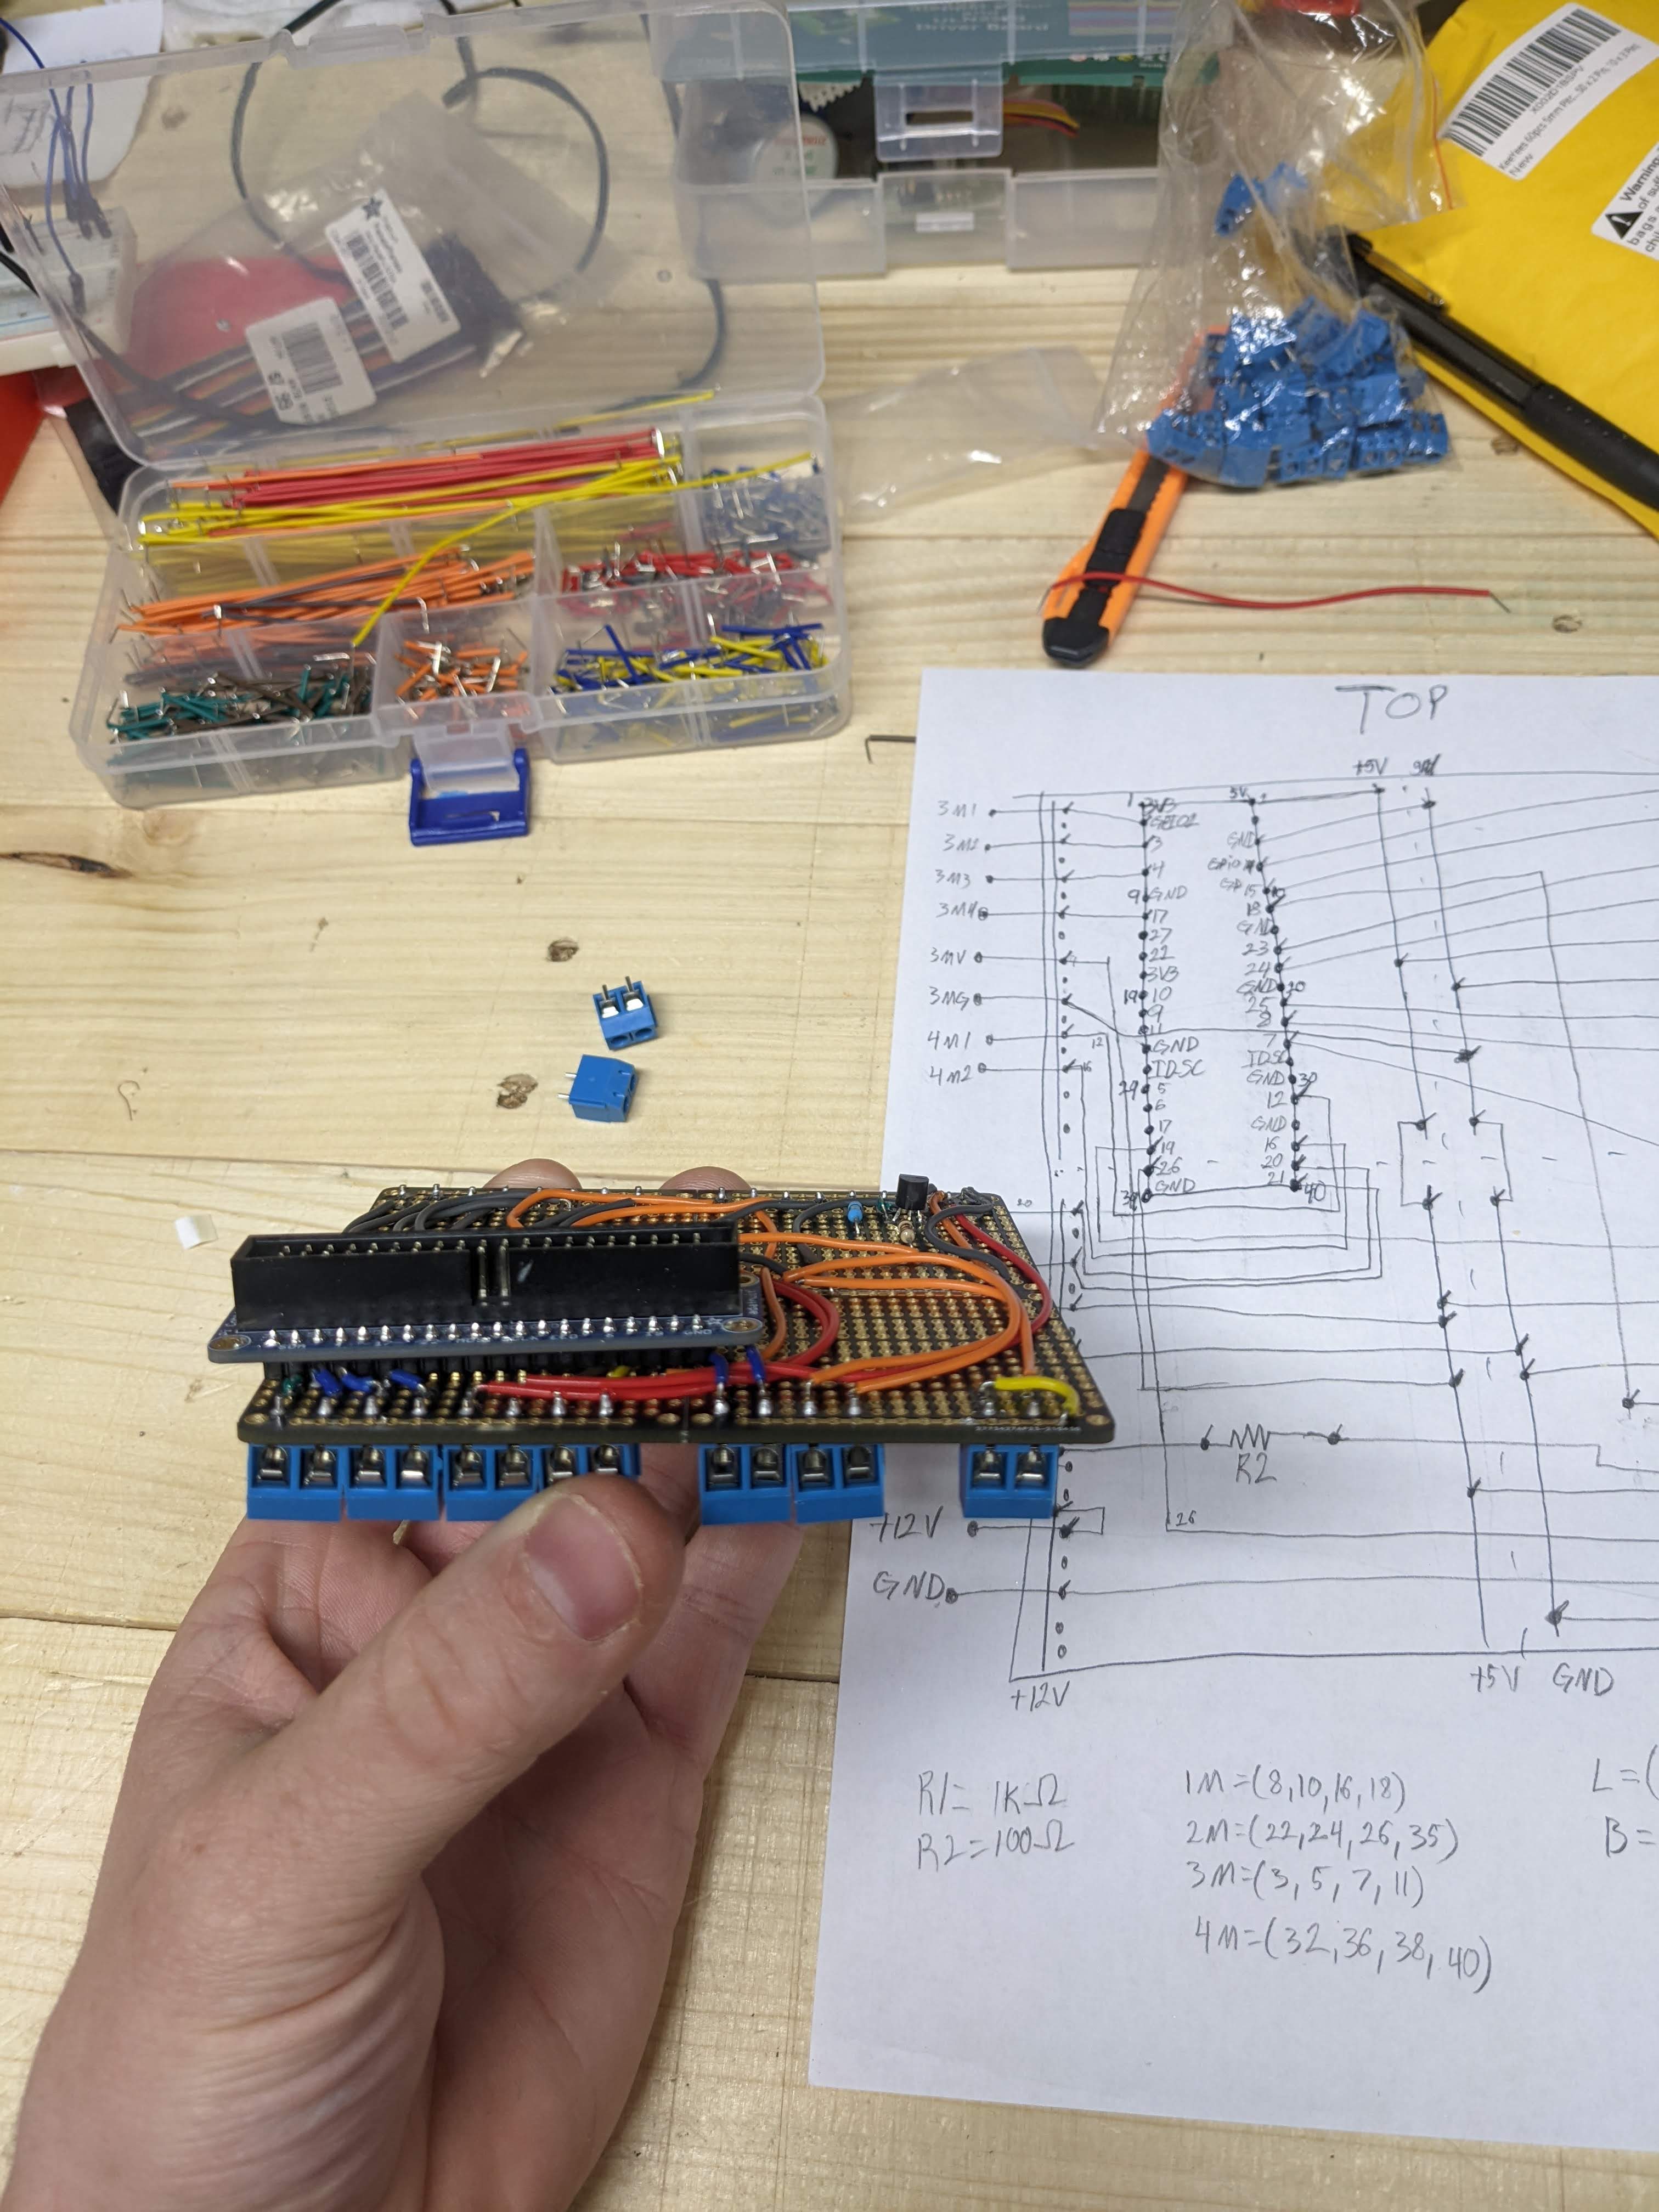
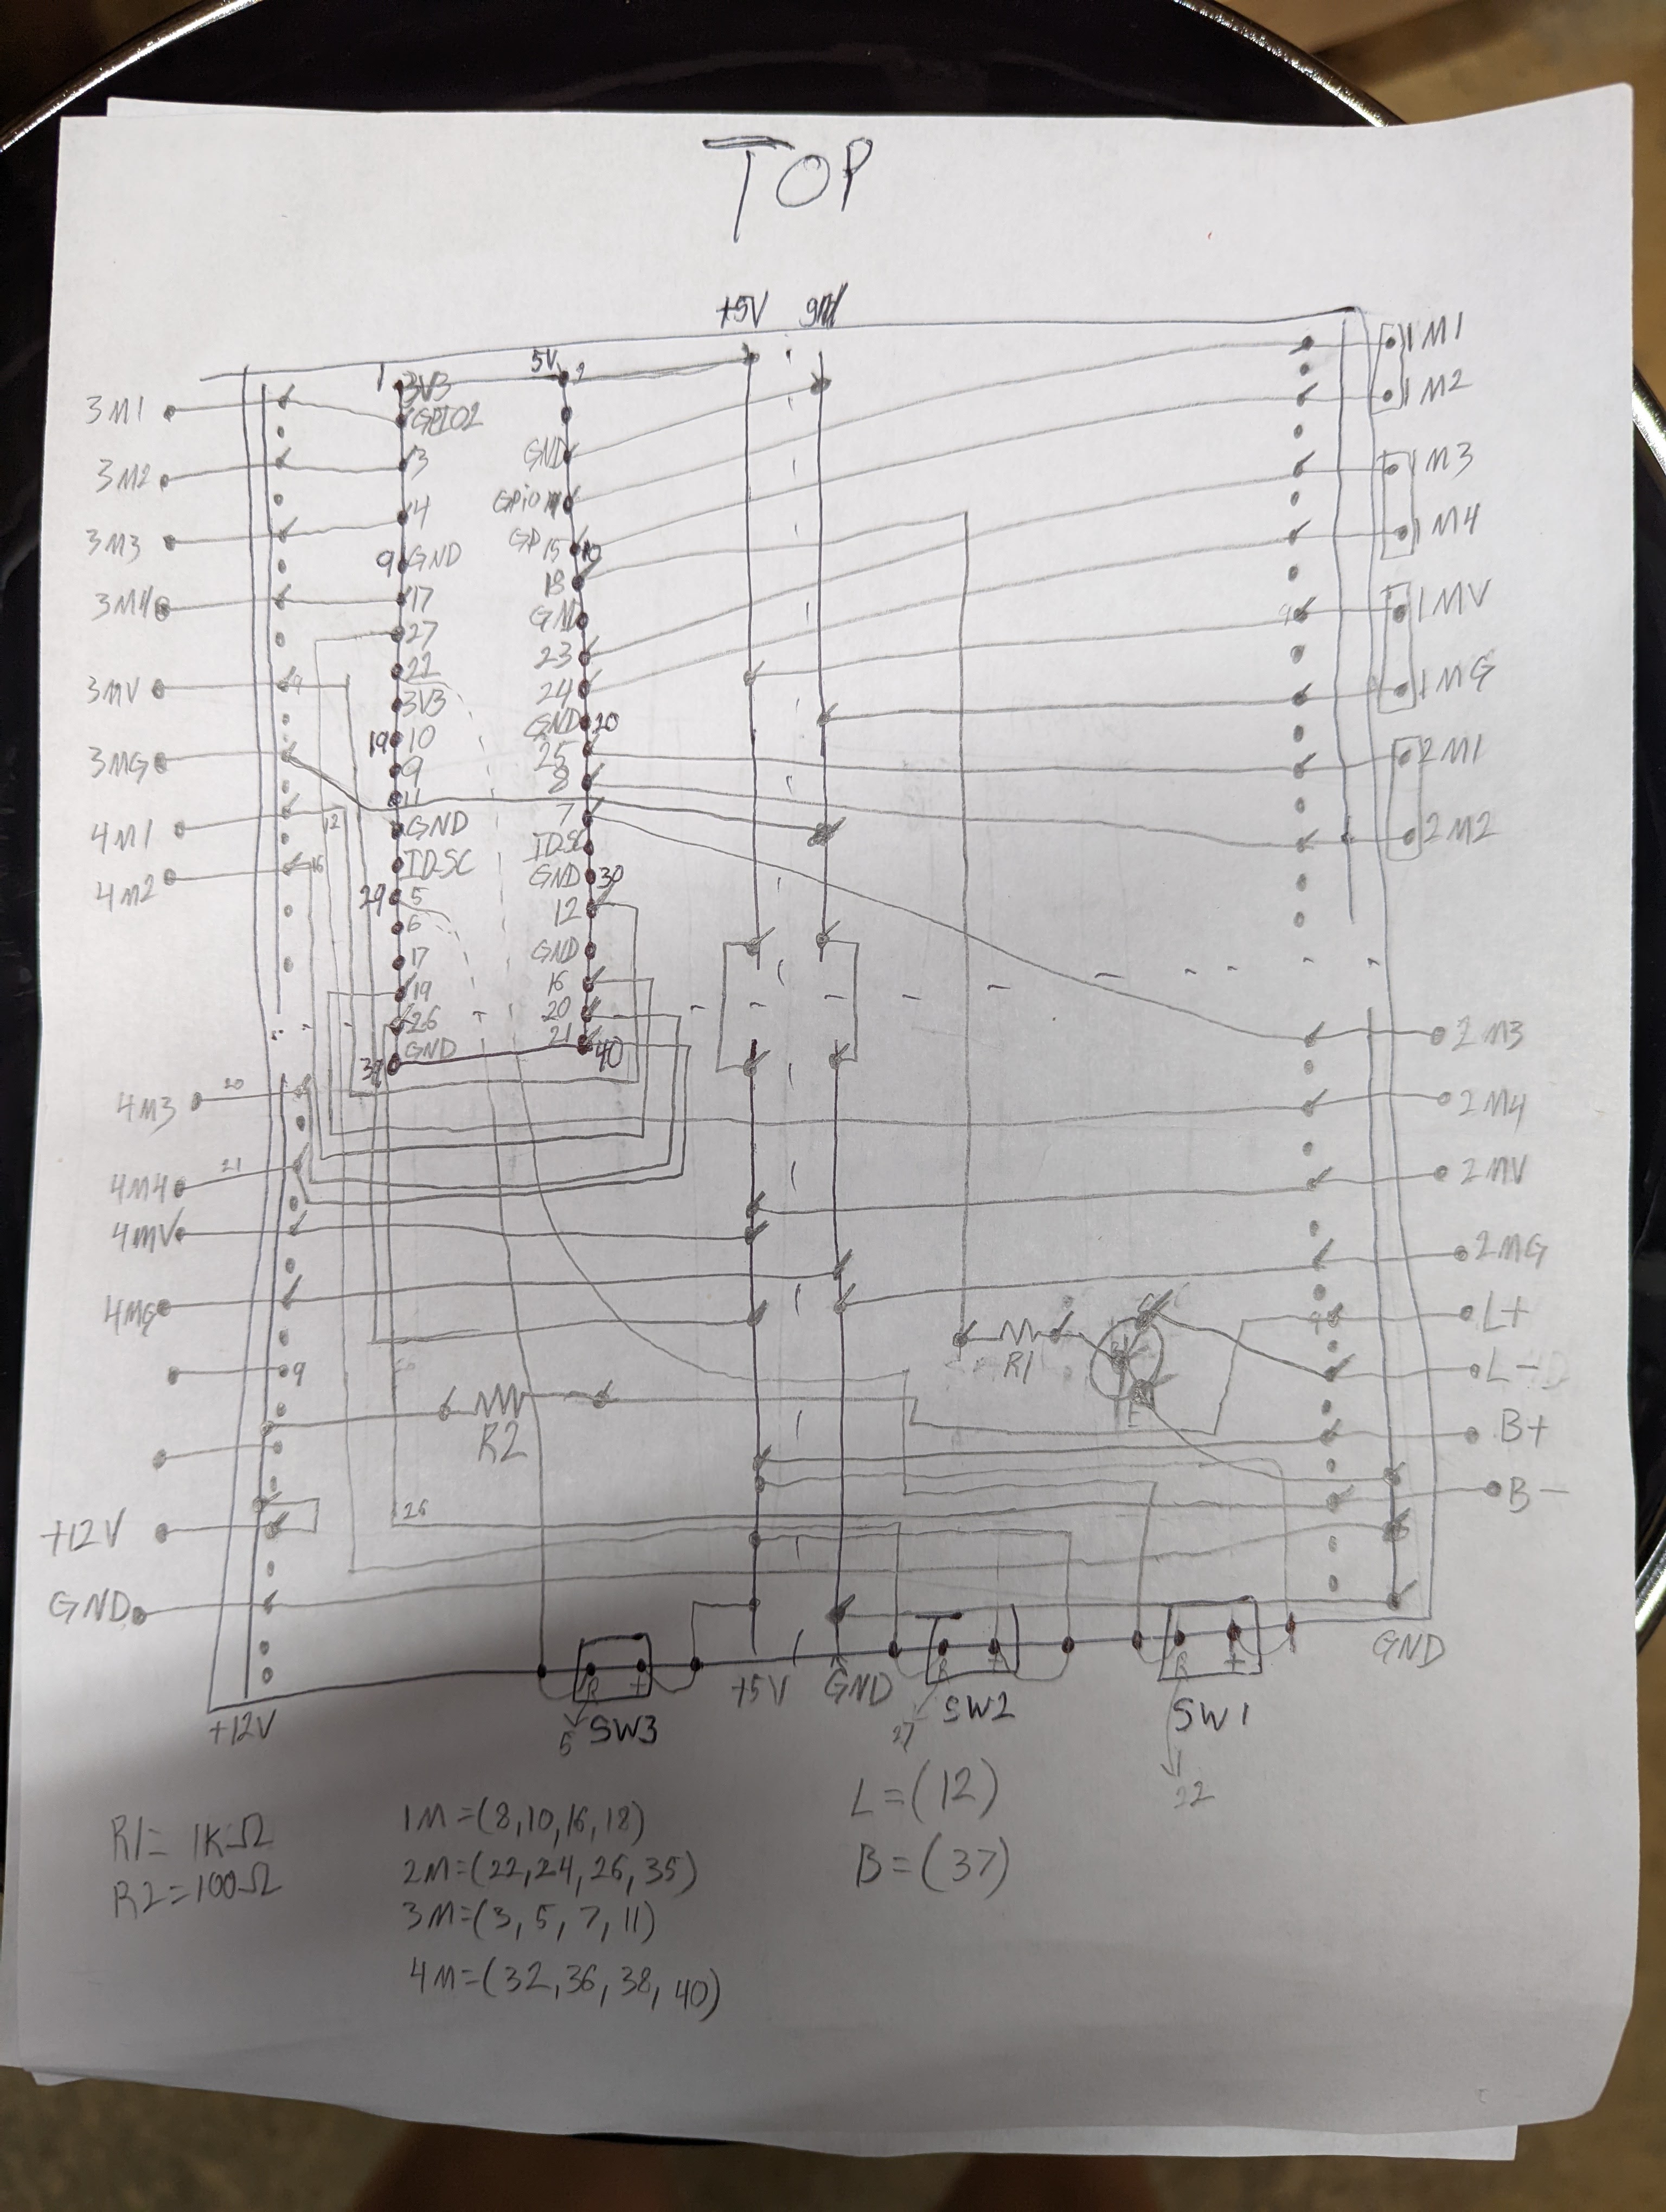
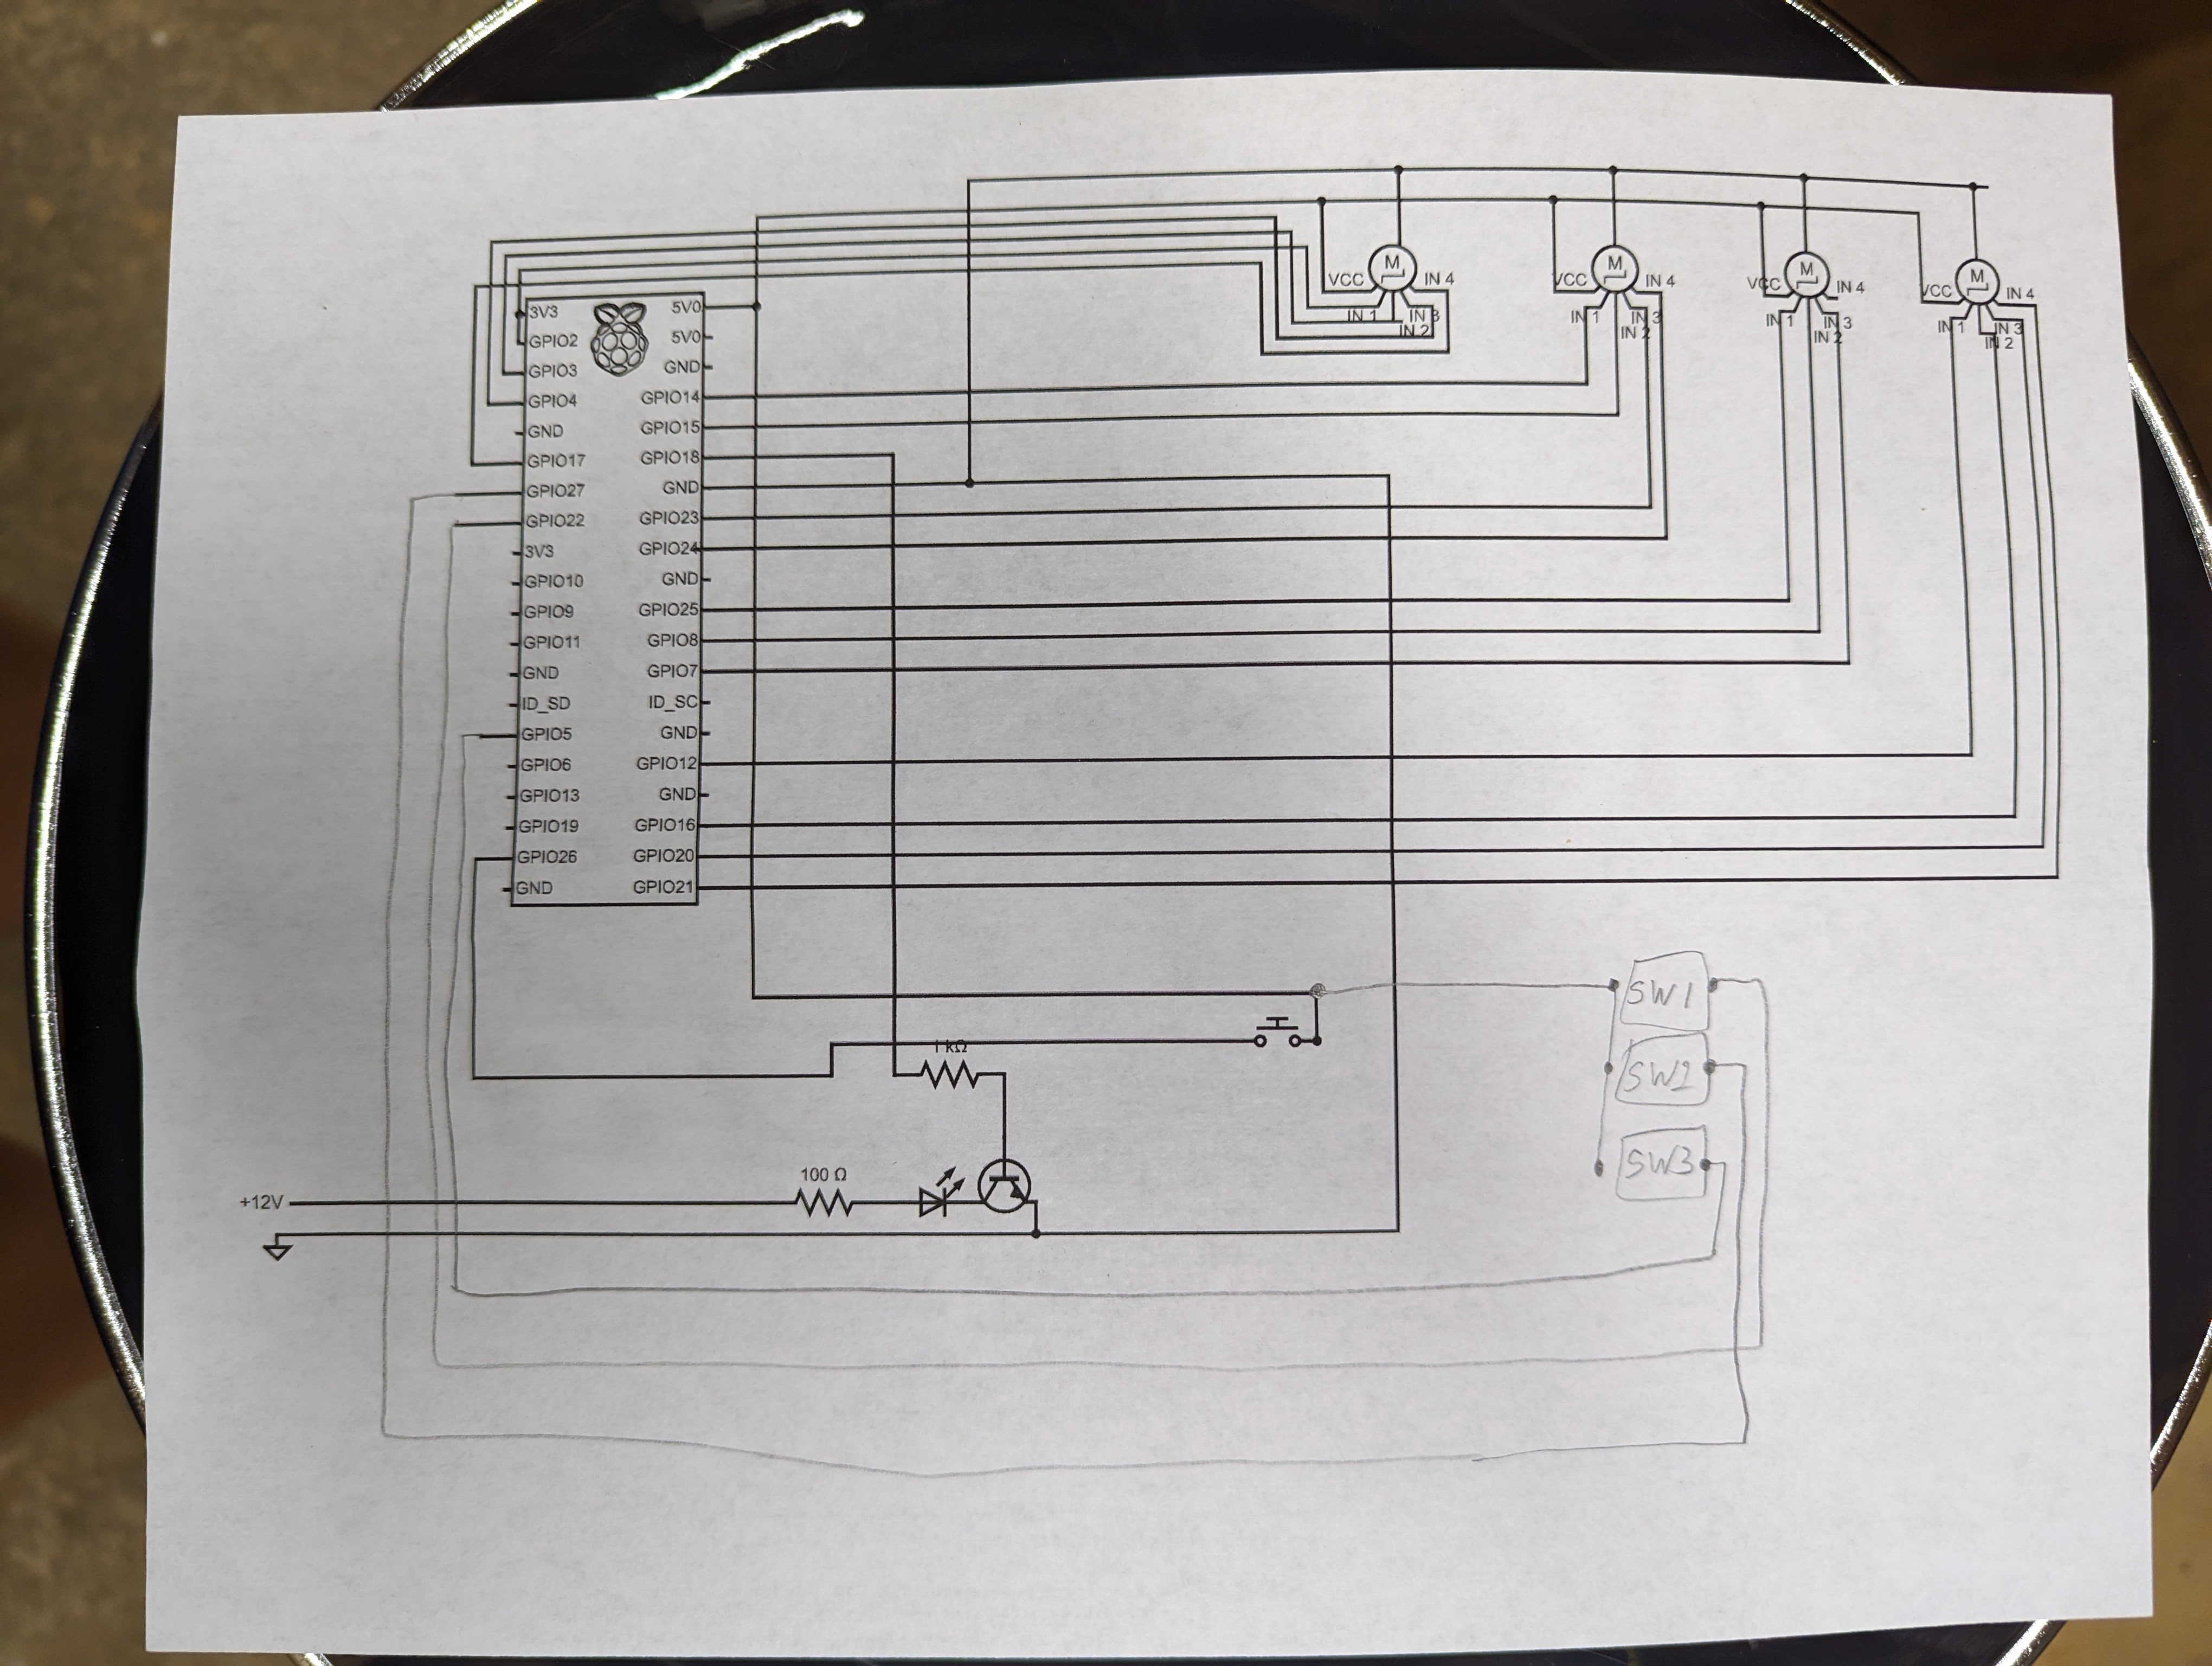
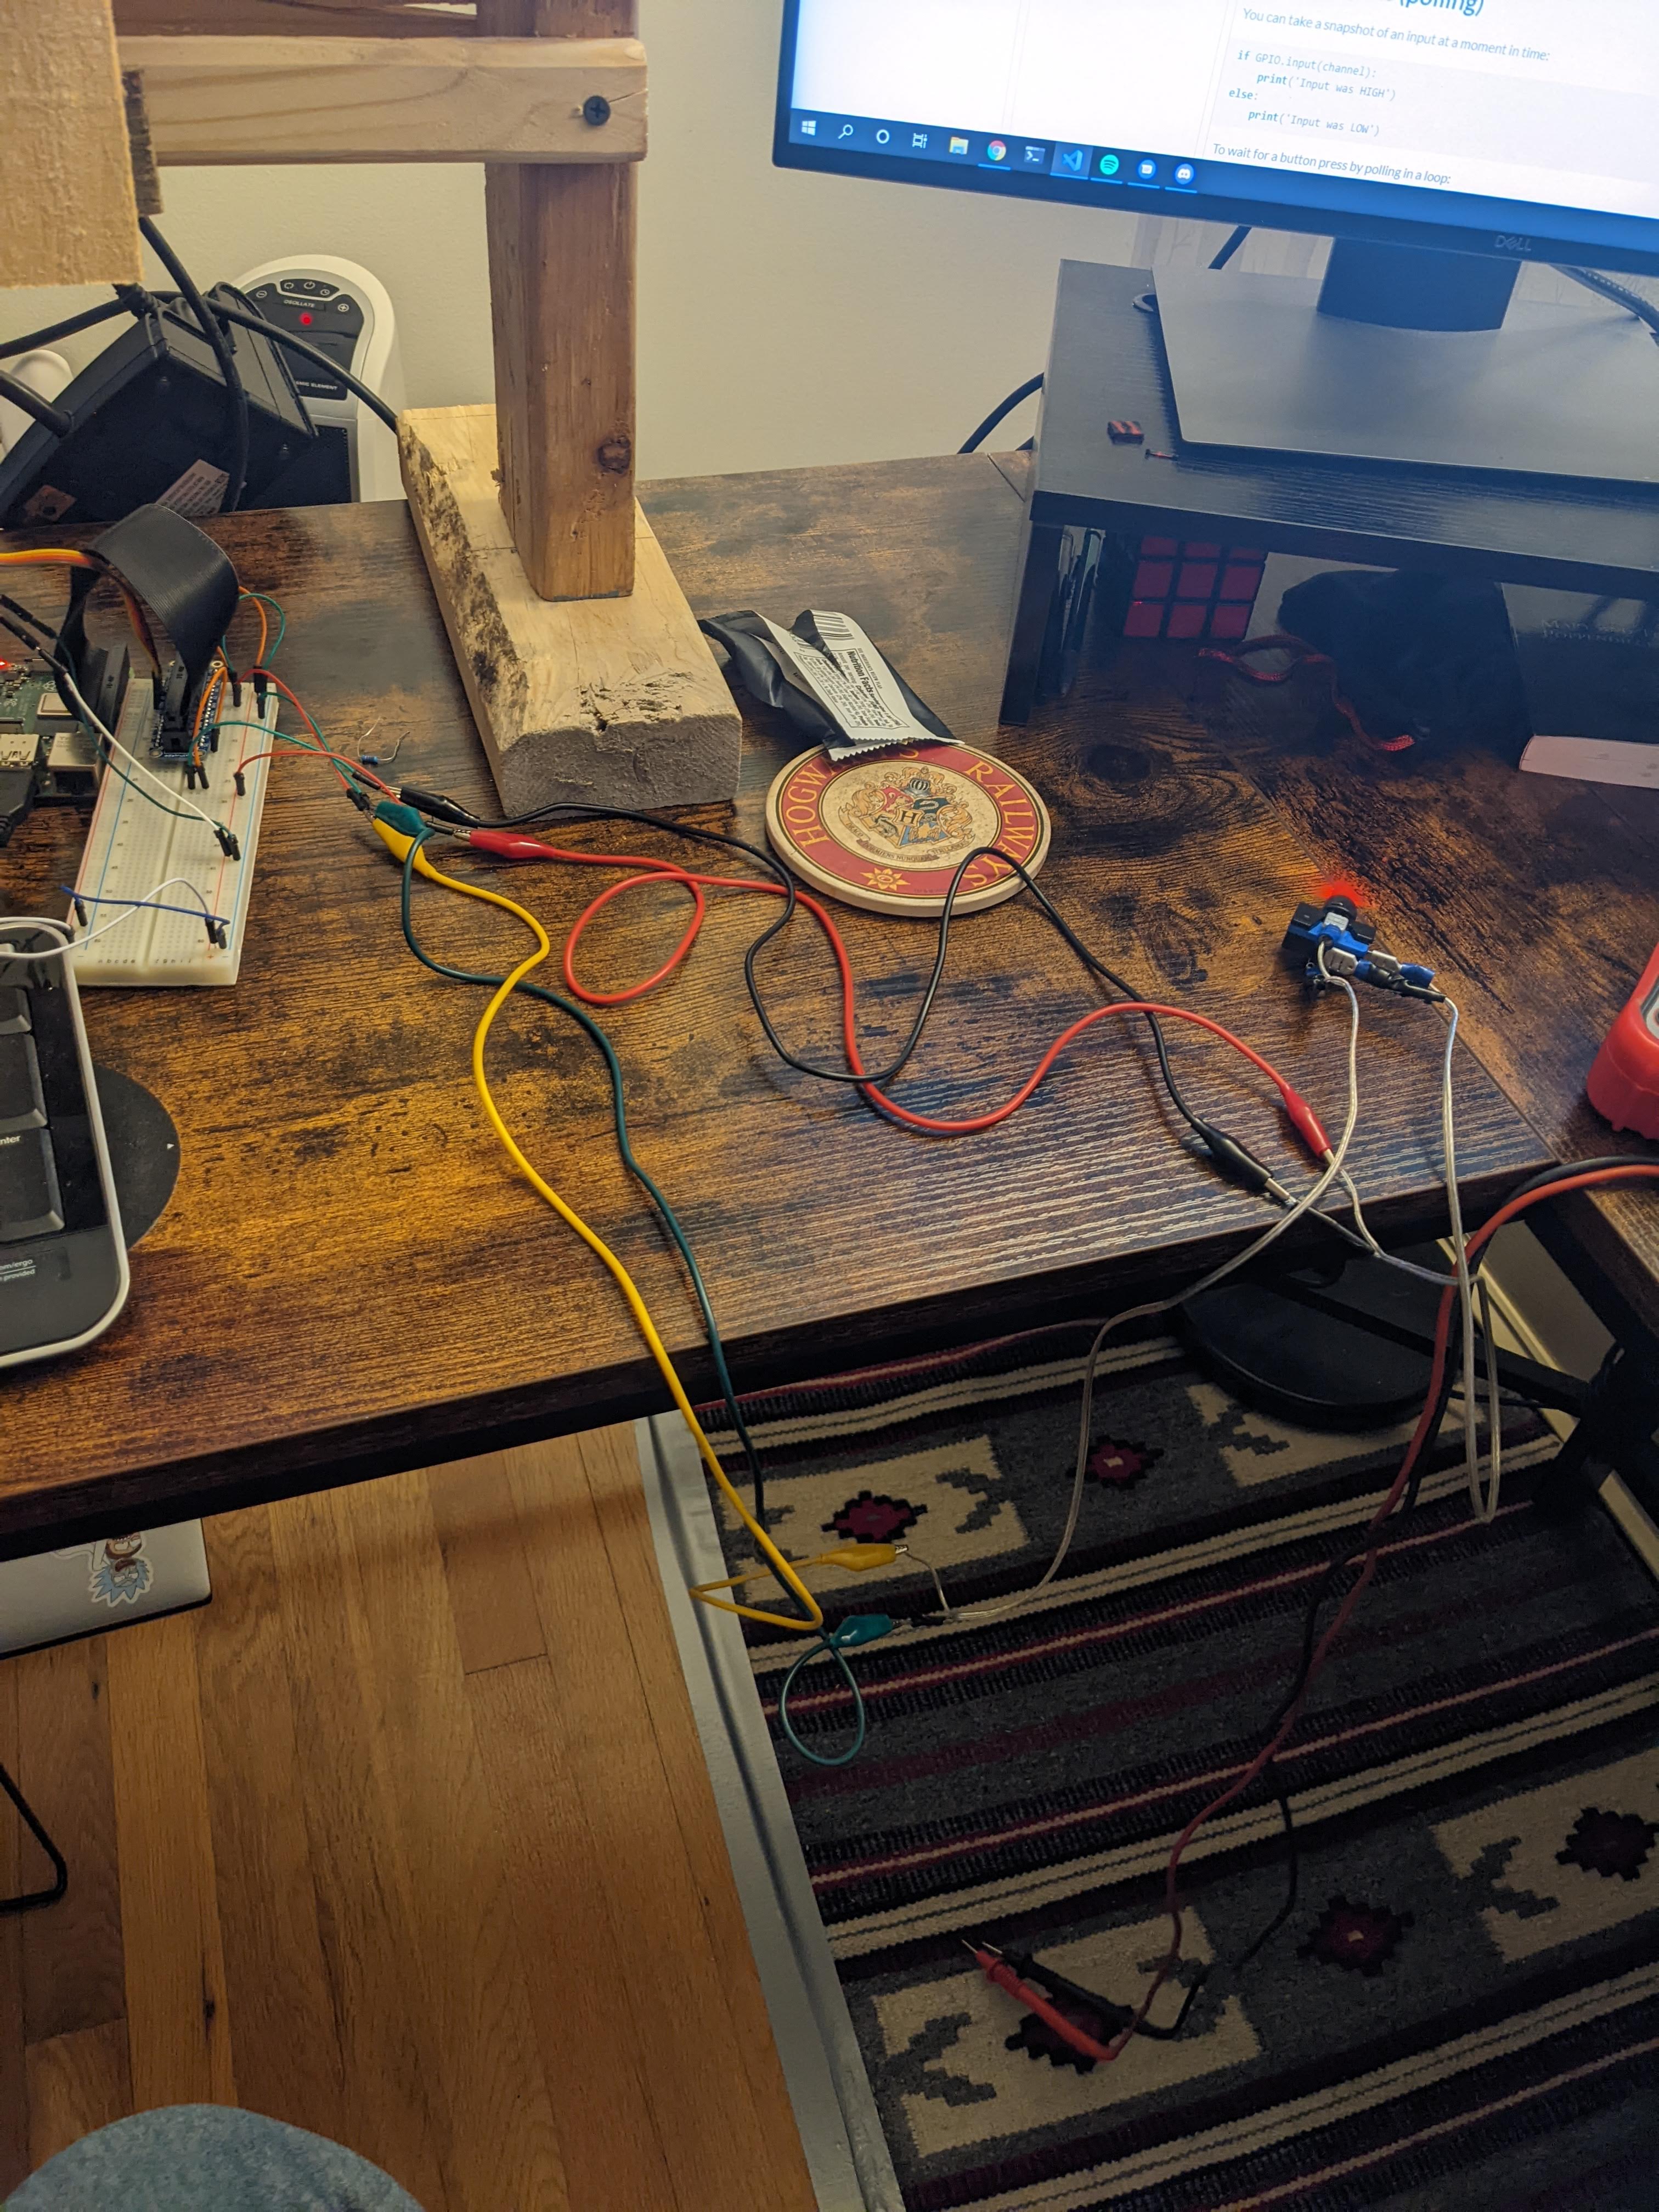
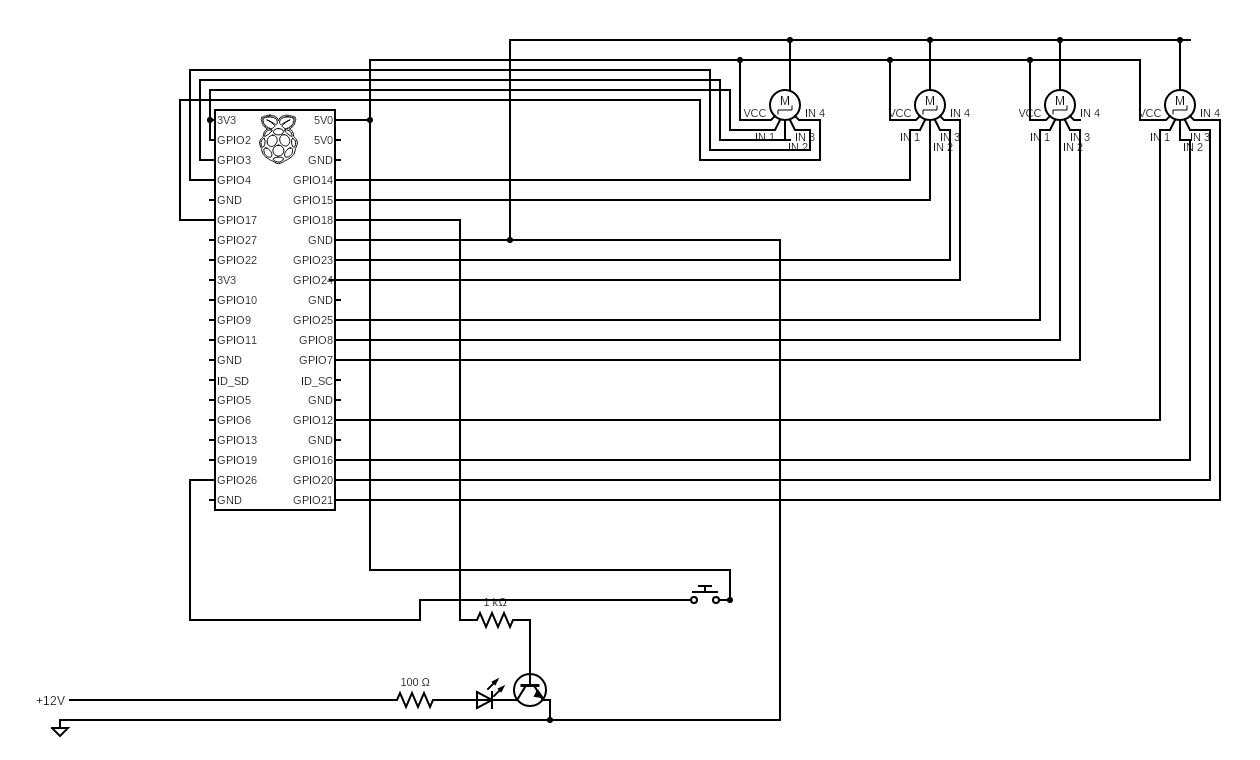
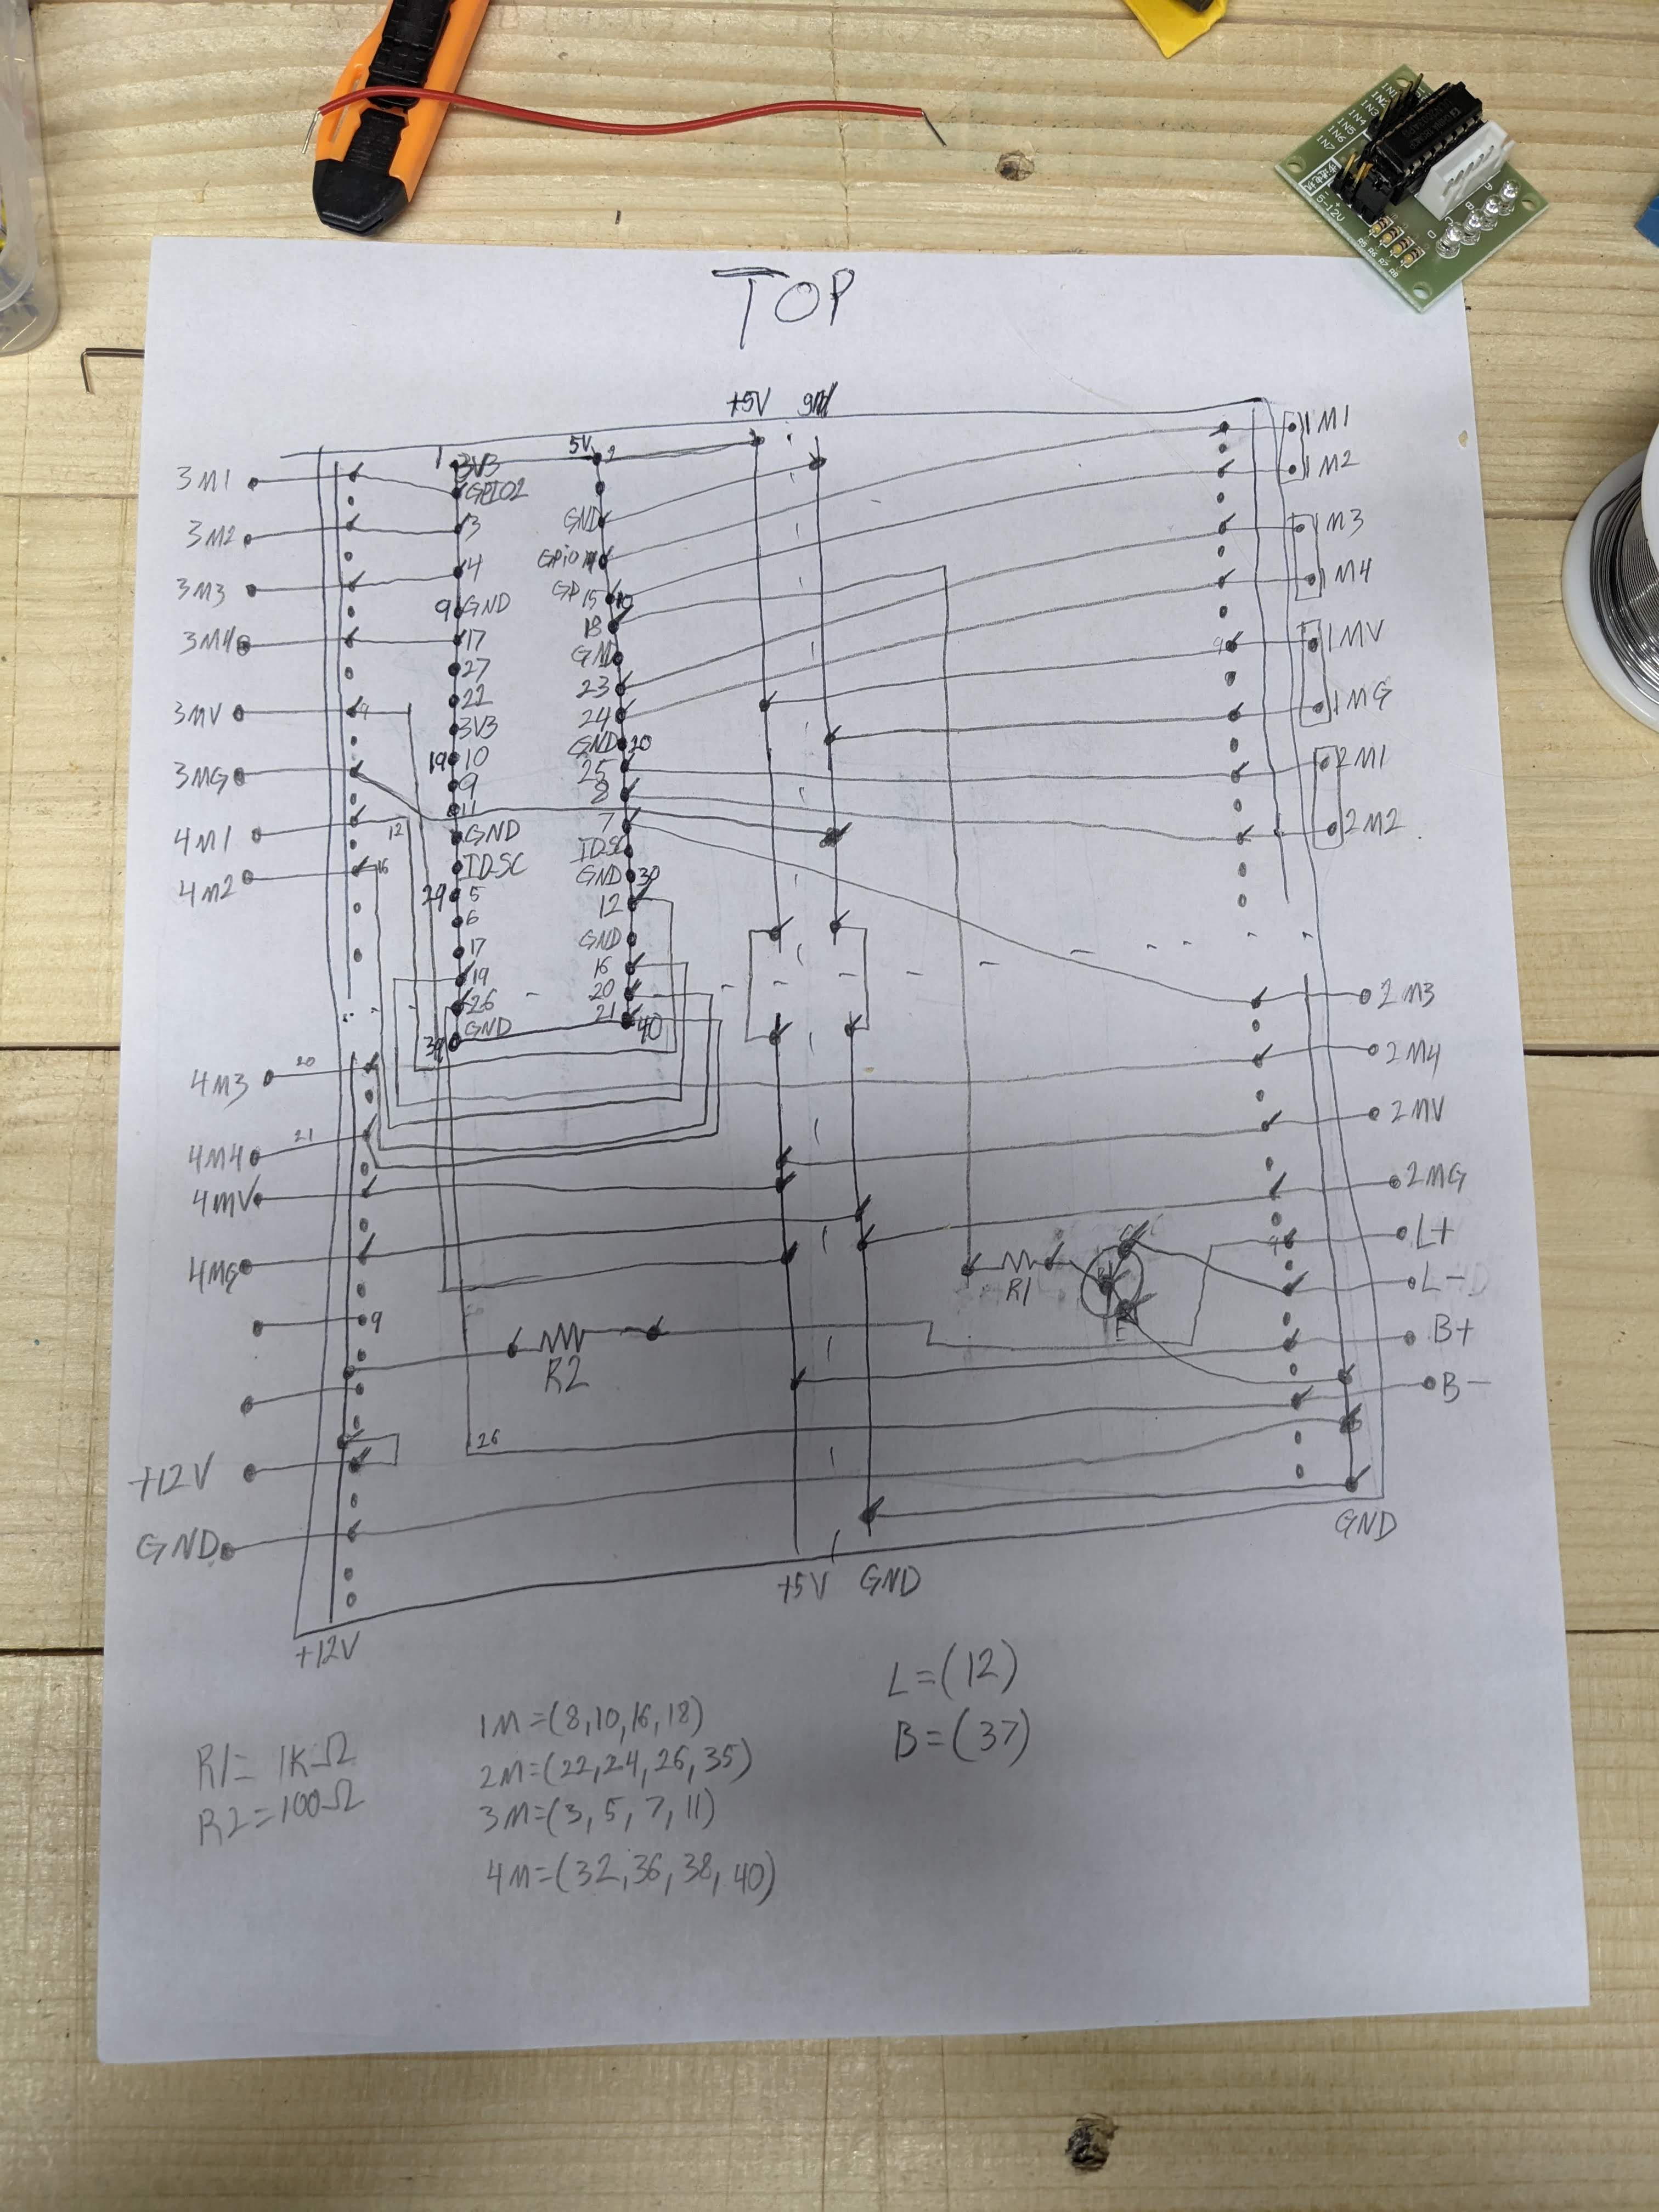
Hardware Circuit
I’m certainly not a expert at circuit design, so don’t judge my work. This project was complicated enough that I drew up a simple diagram before I soldered everything together on a perfboard, just so I wouldn’t lose track of where everything was supposed to connect.

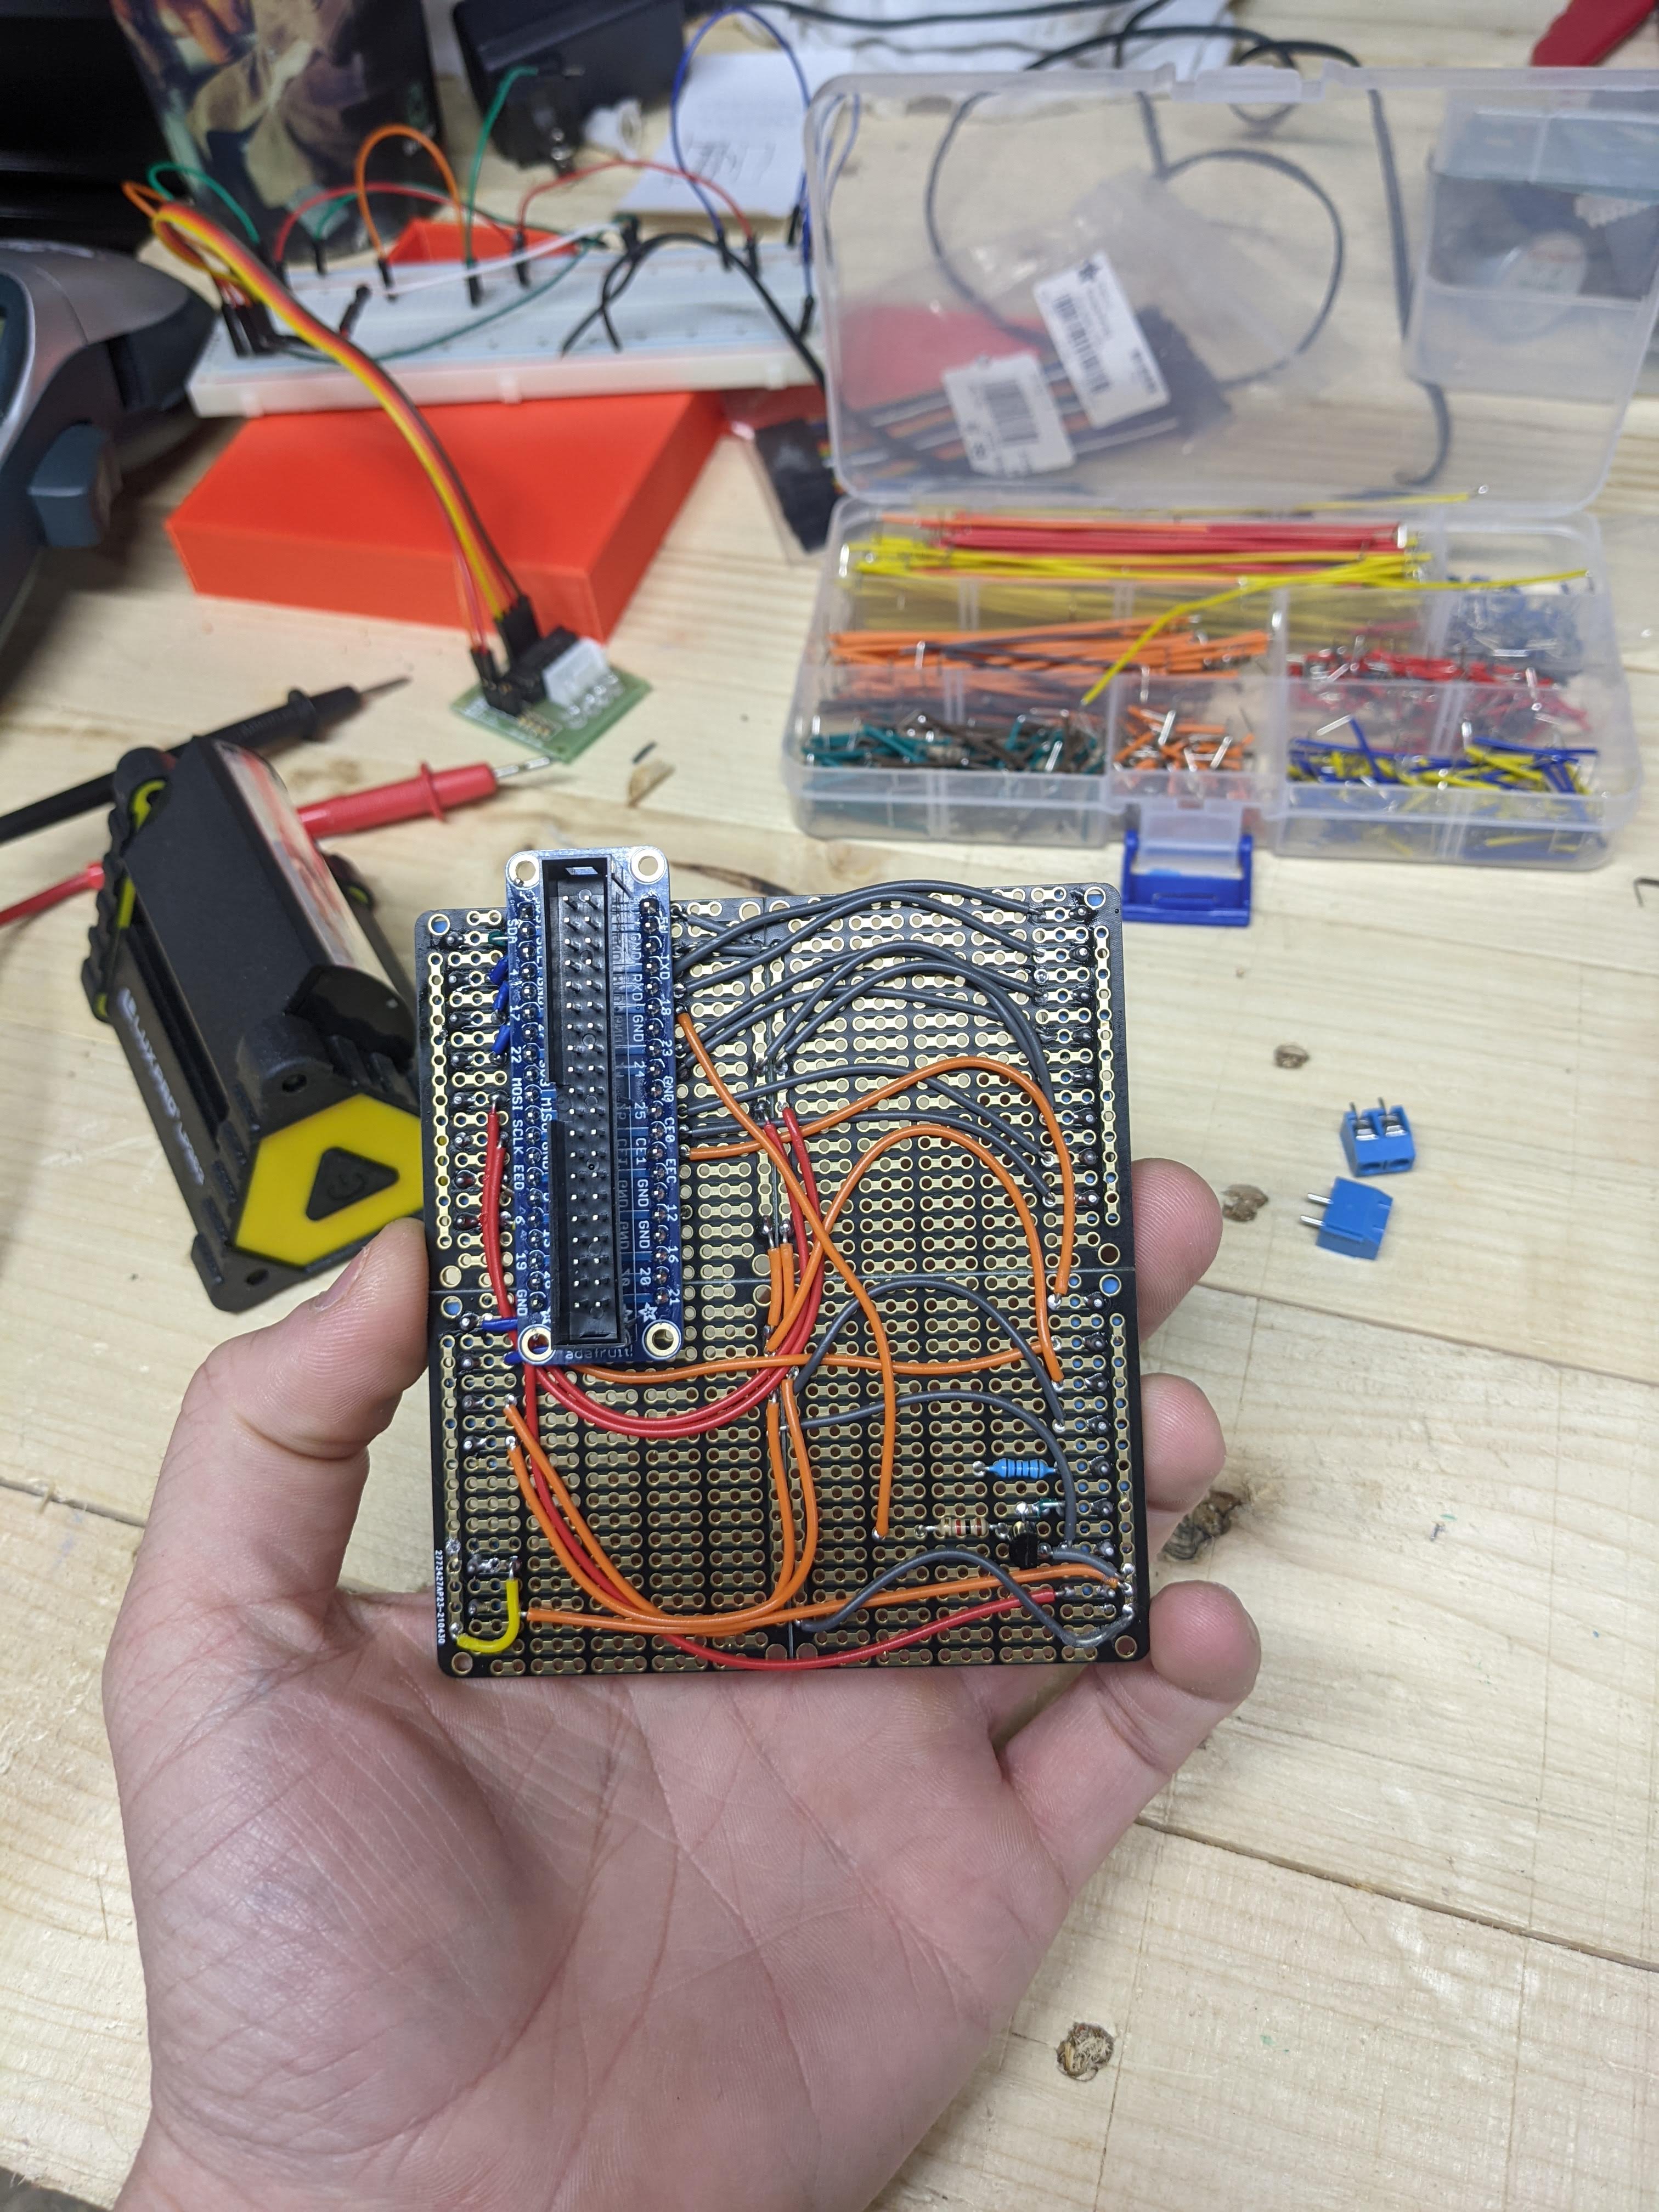
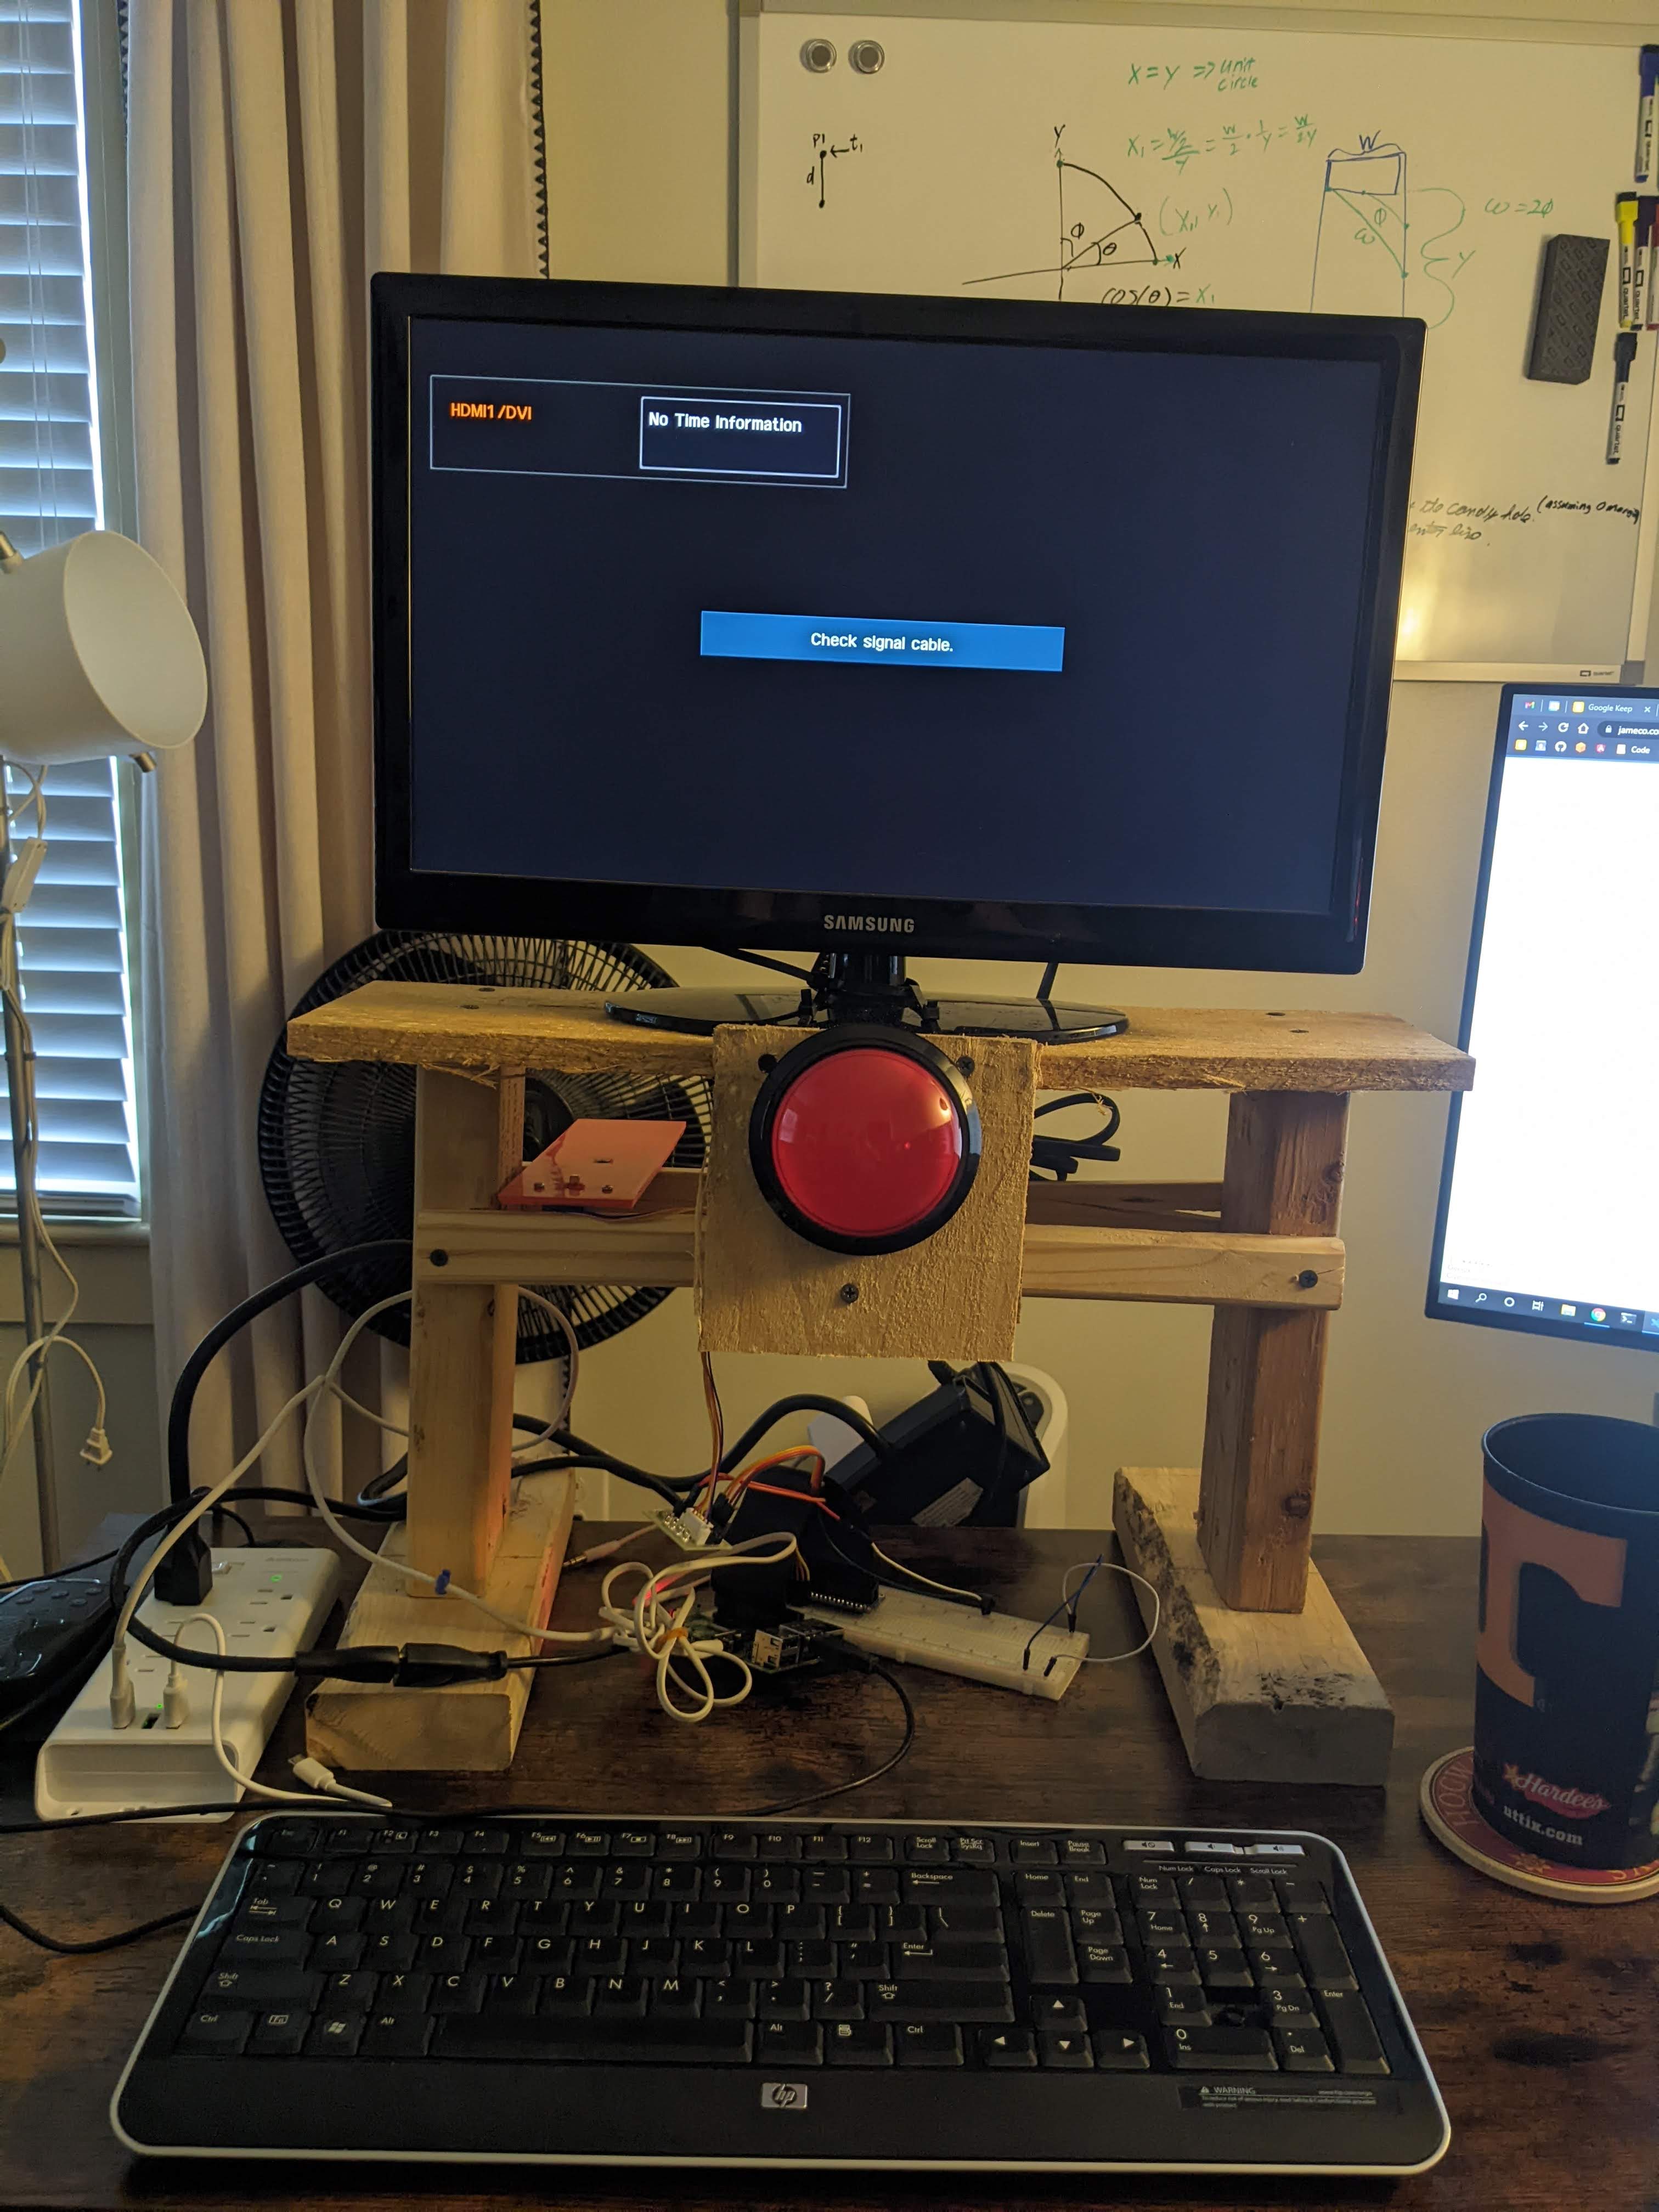
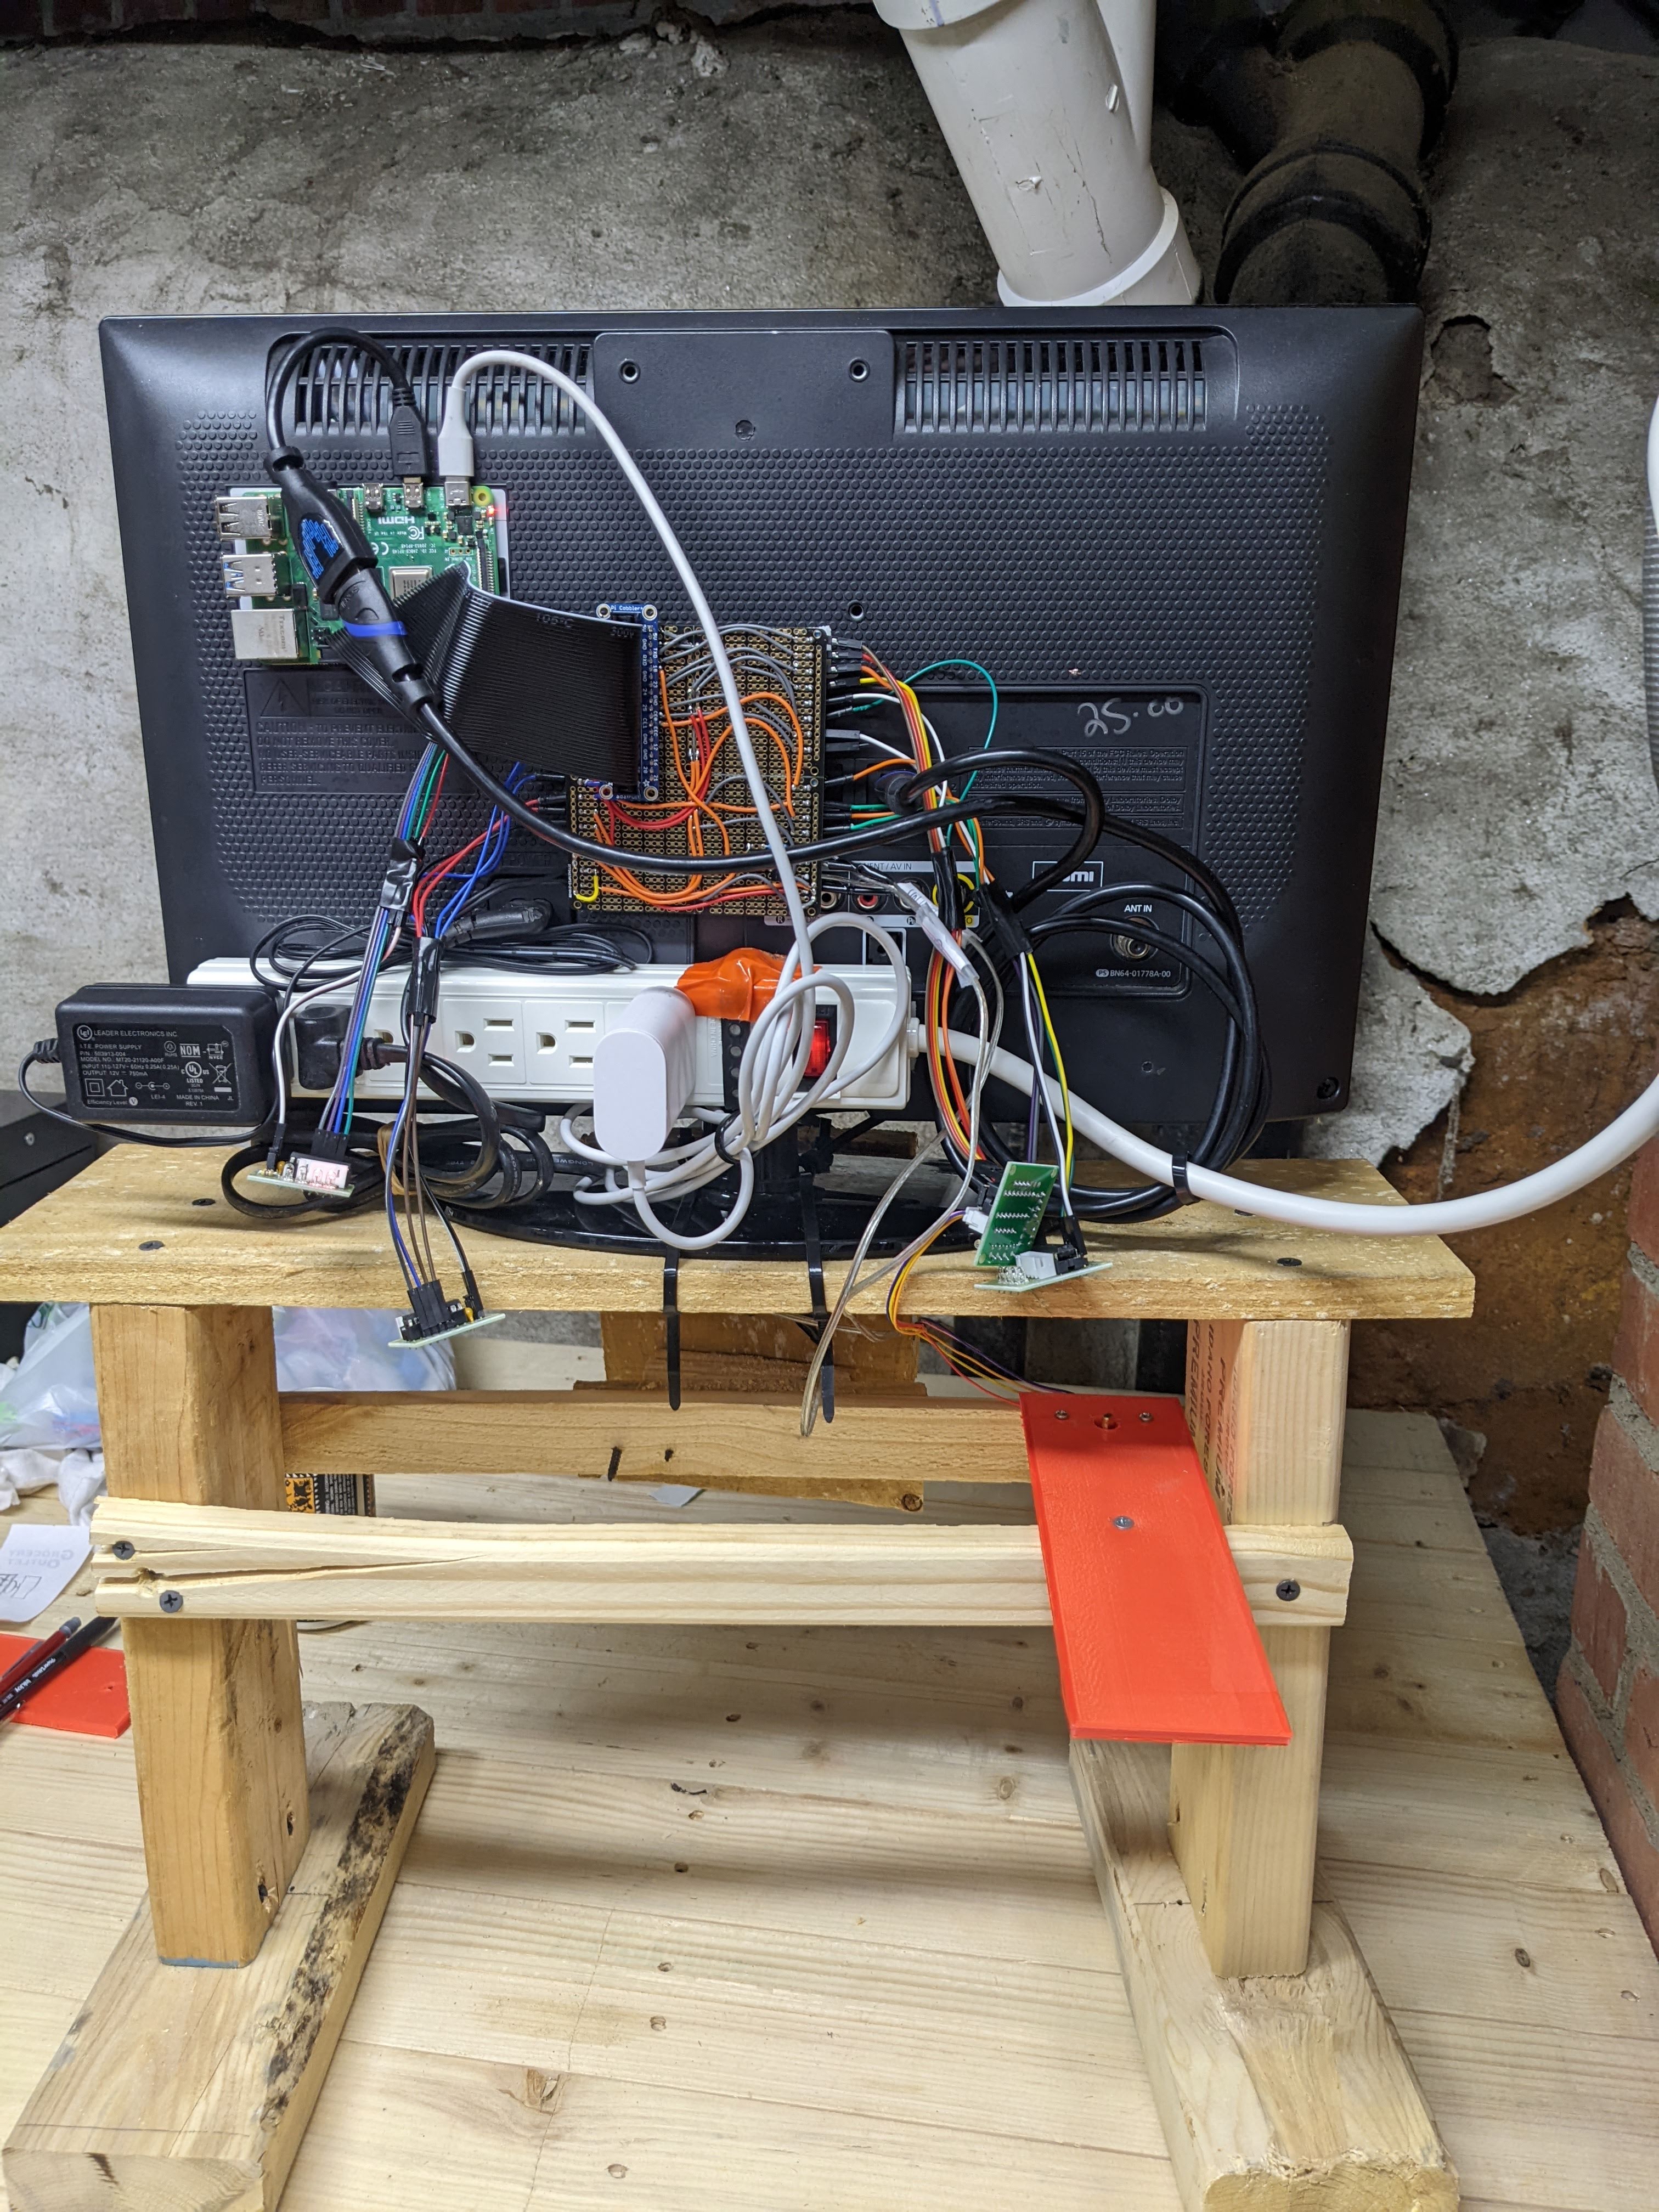
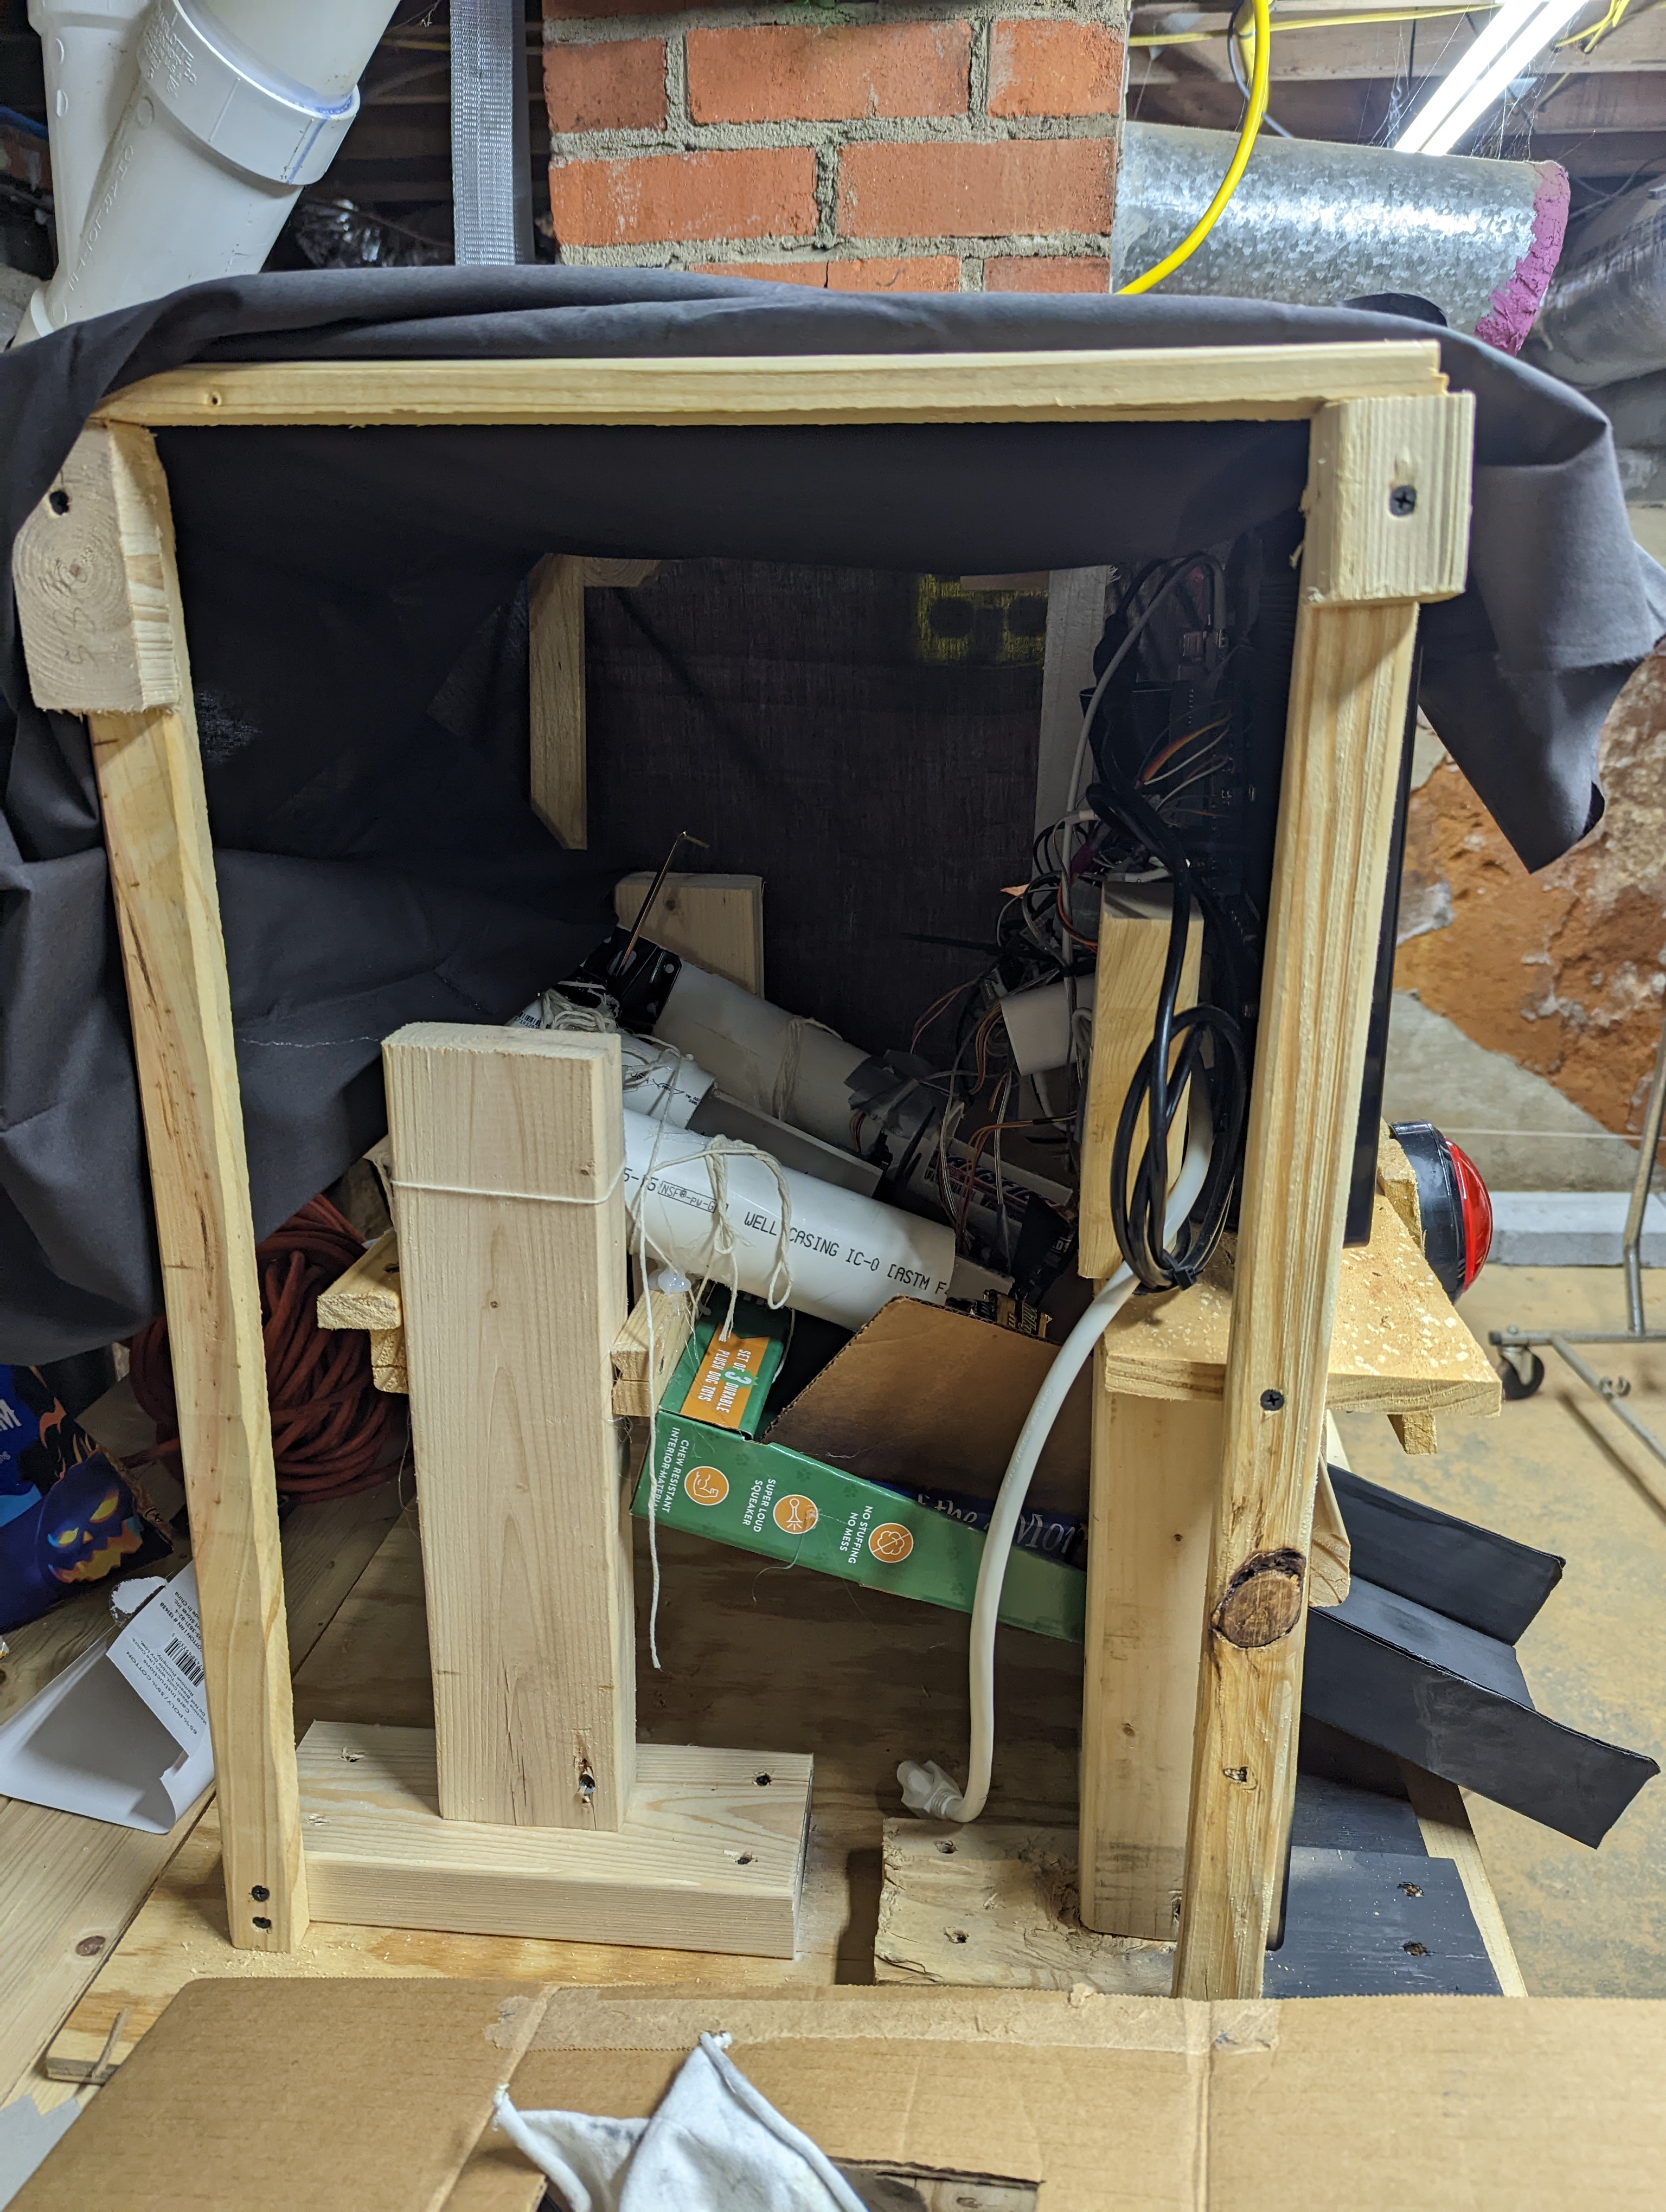
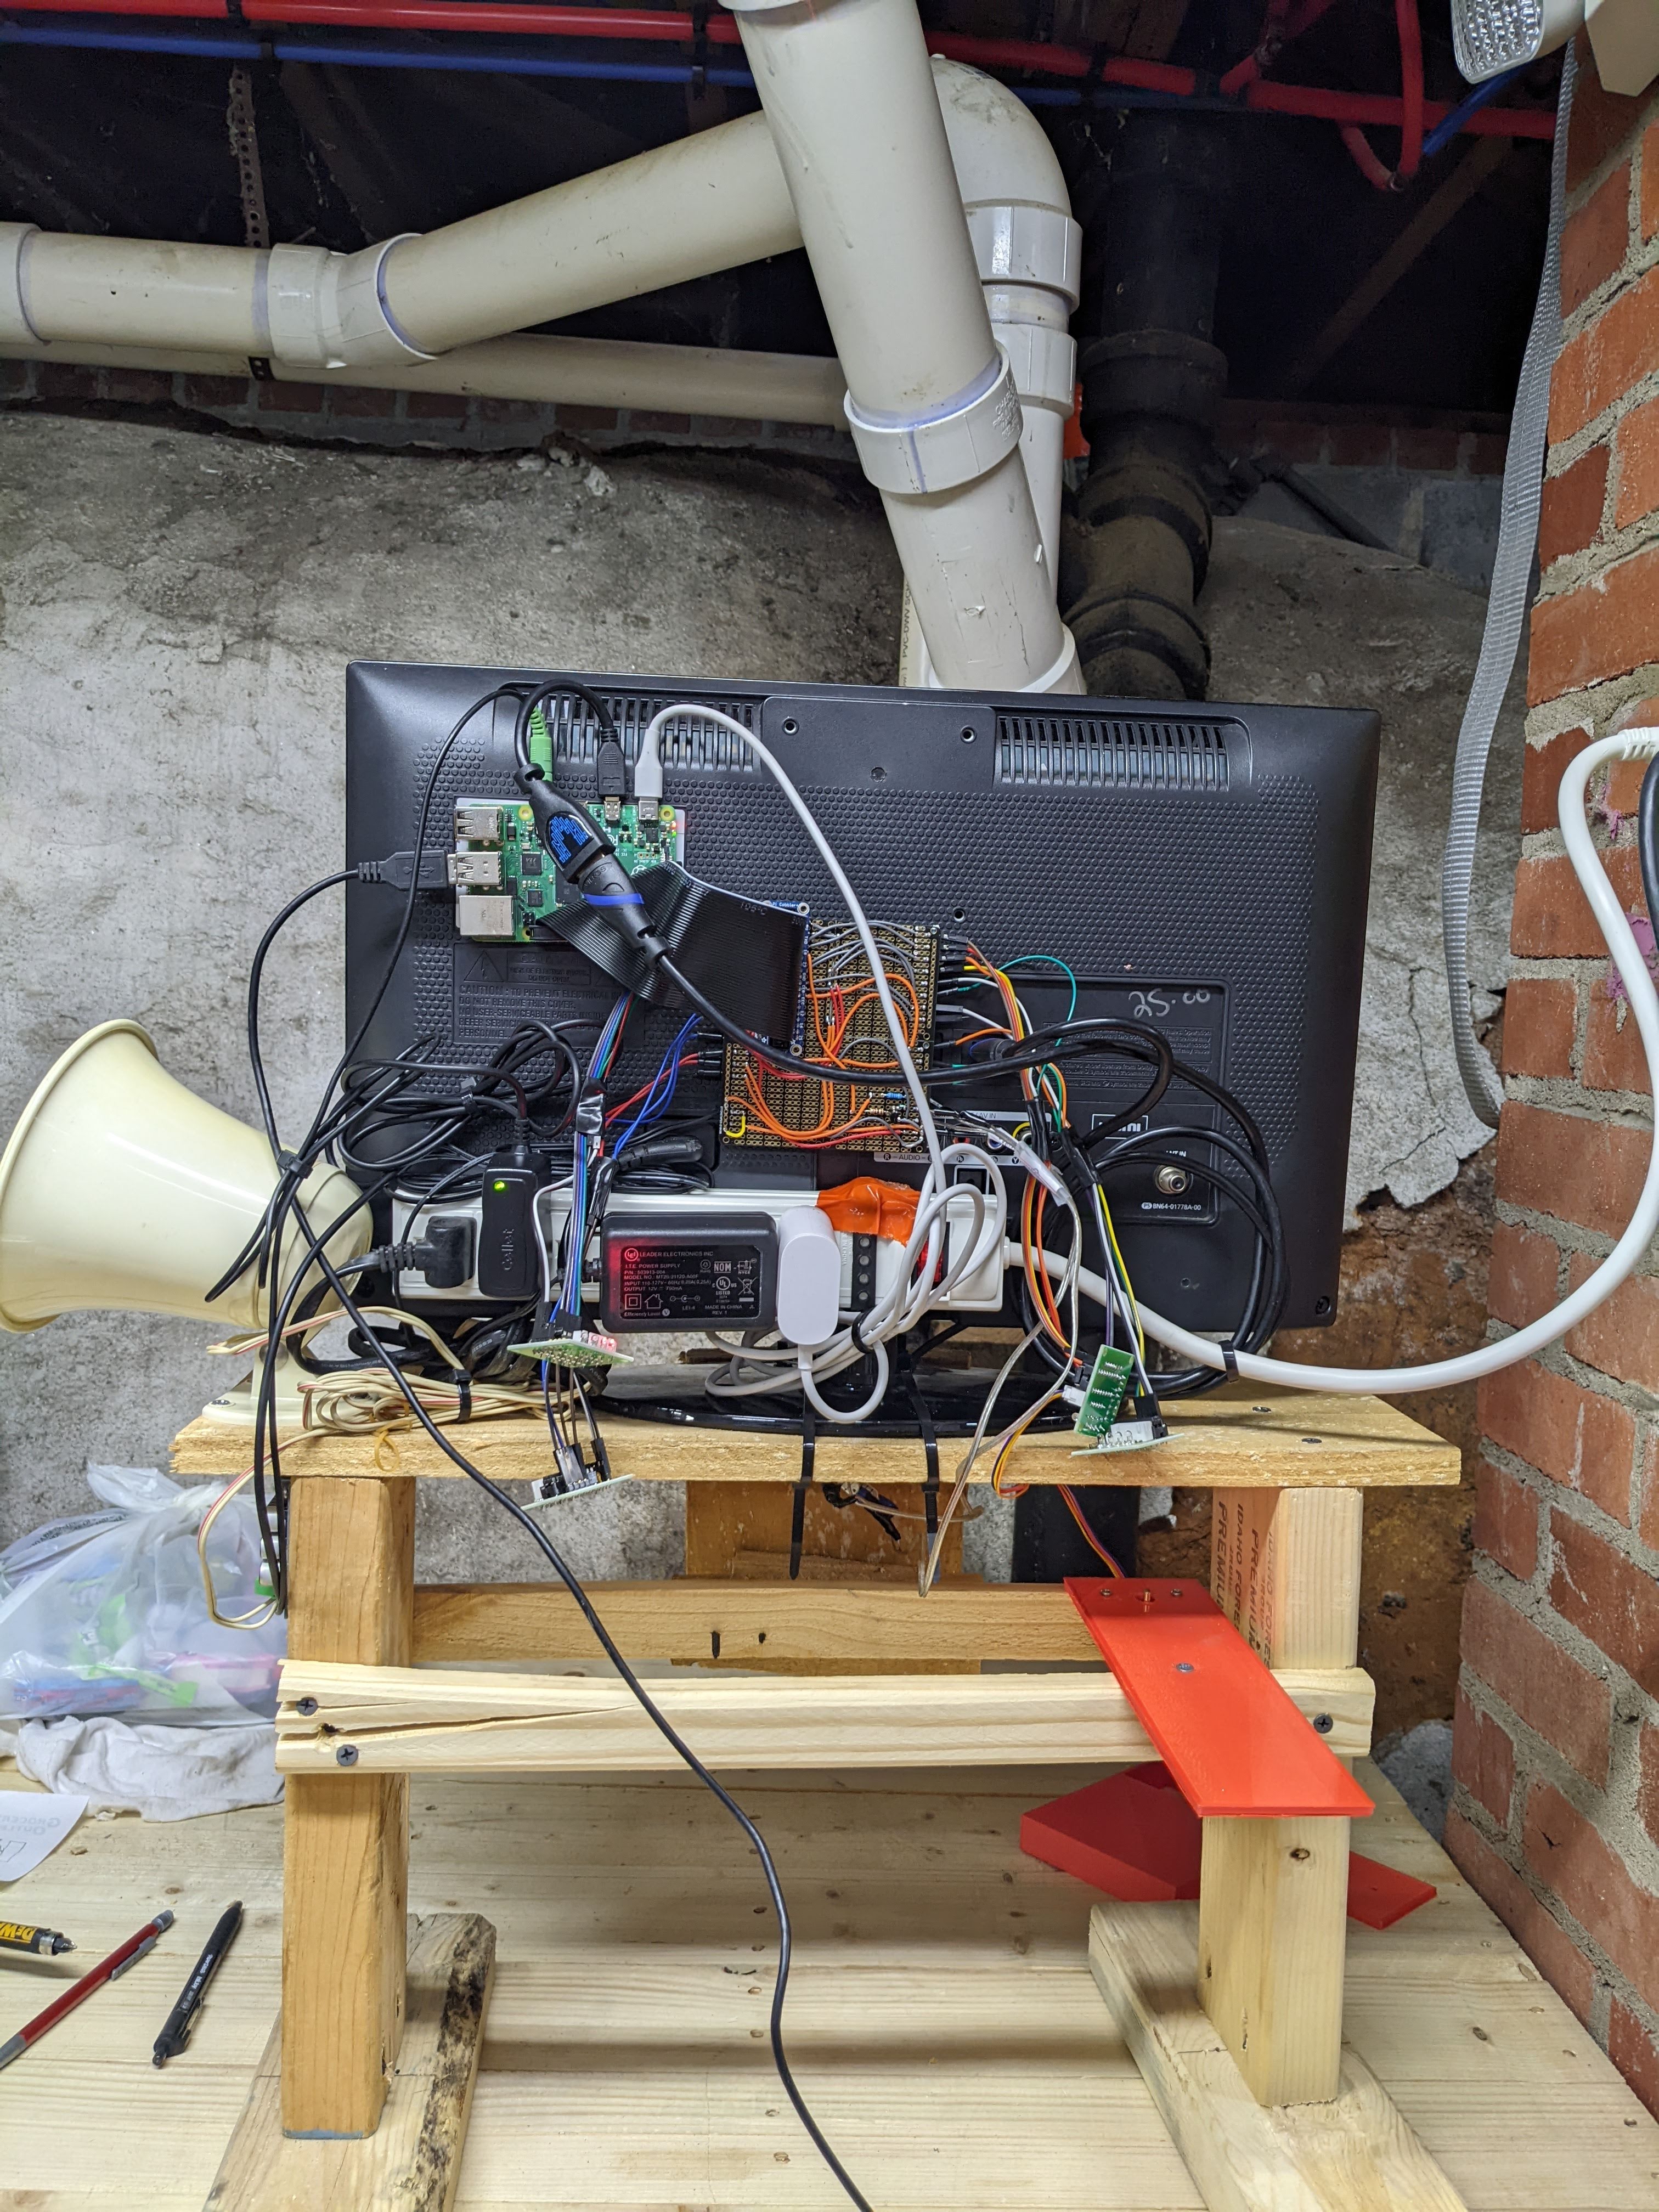
After finishing the perfboard and testing all of the hardware, I created a stand out of scrap wood, mounted the monitor to the stand, then hid all of the electronics by taping/glueing them behind the monitor.
Software
Of course, this part came much more naturally to me. As I was originally researching for the project, I found out that most Raspberry Pis have a really handy, free, video game development library called pygame already installed. Admittedly, there’s not much “game” to this machine, by pygame helped a ton by providing ready-to-use APIs for things like drawing to the screen, handling input events, and playing music and sound.
I won’t go into detail here about how the code works, but if you’re interested, definitely check out the project on github. It’s a bit messy, but there are some really cool things going on – I created my own pub-sub service to better organize events, and did some concurrent programming to run the motors without blocking the game loop.
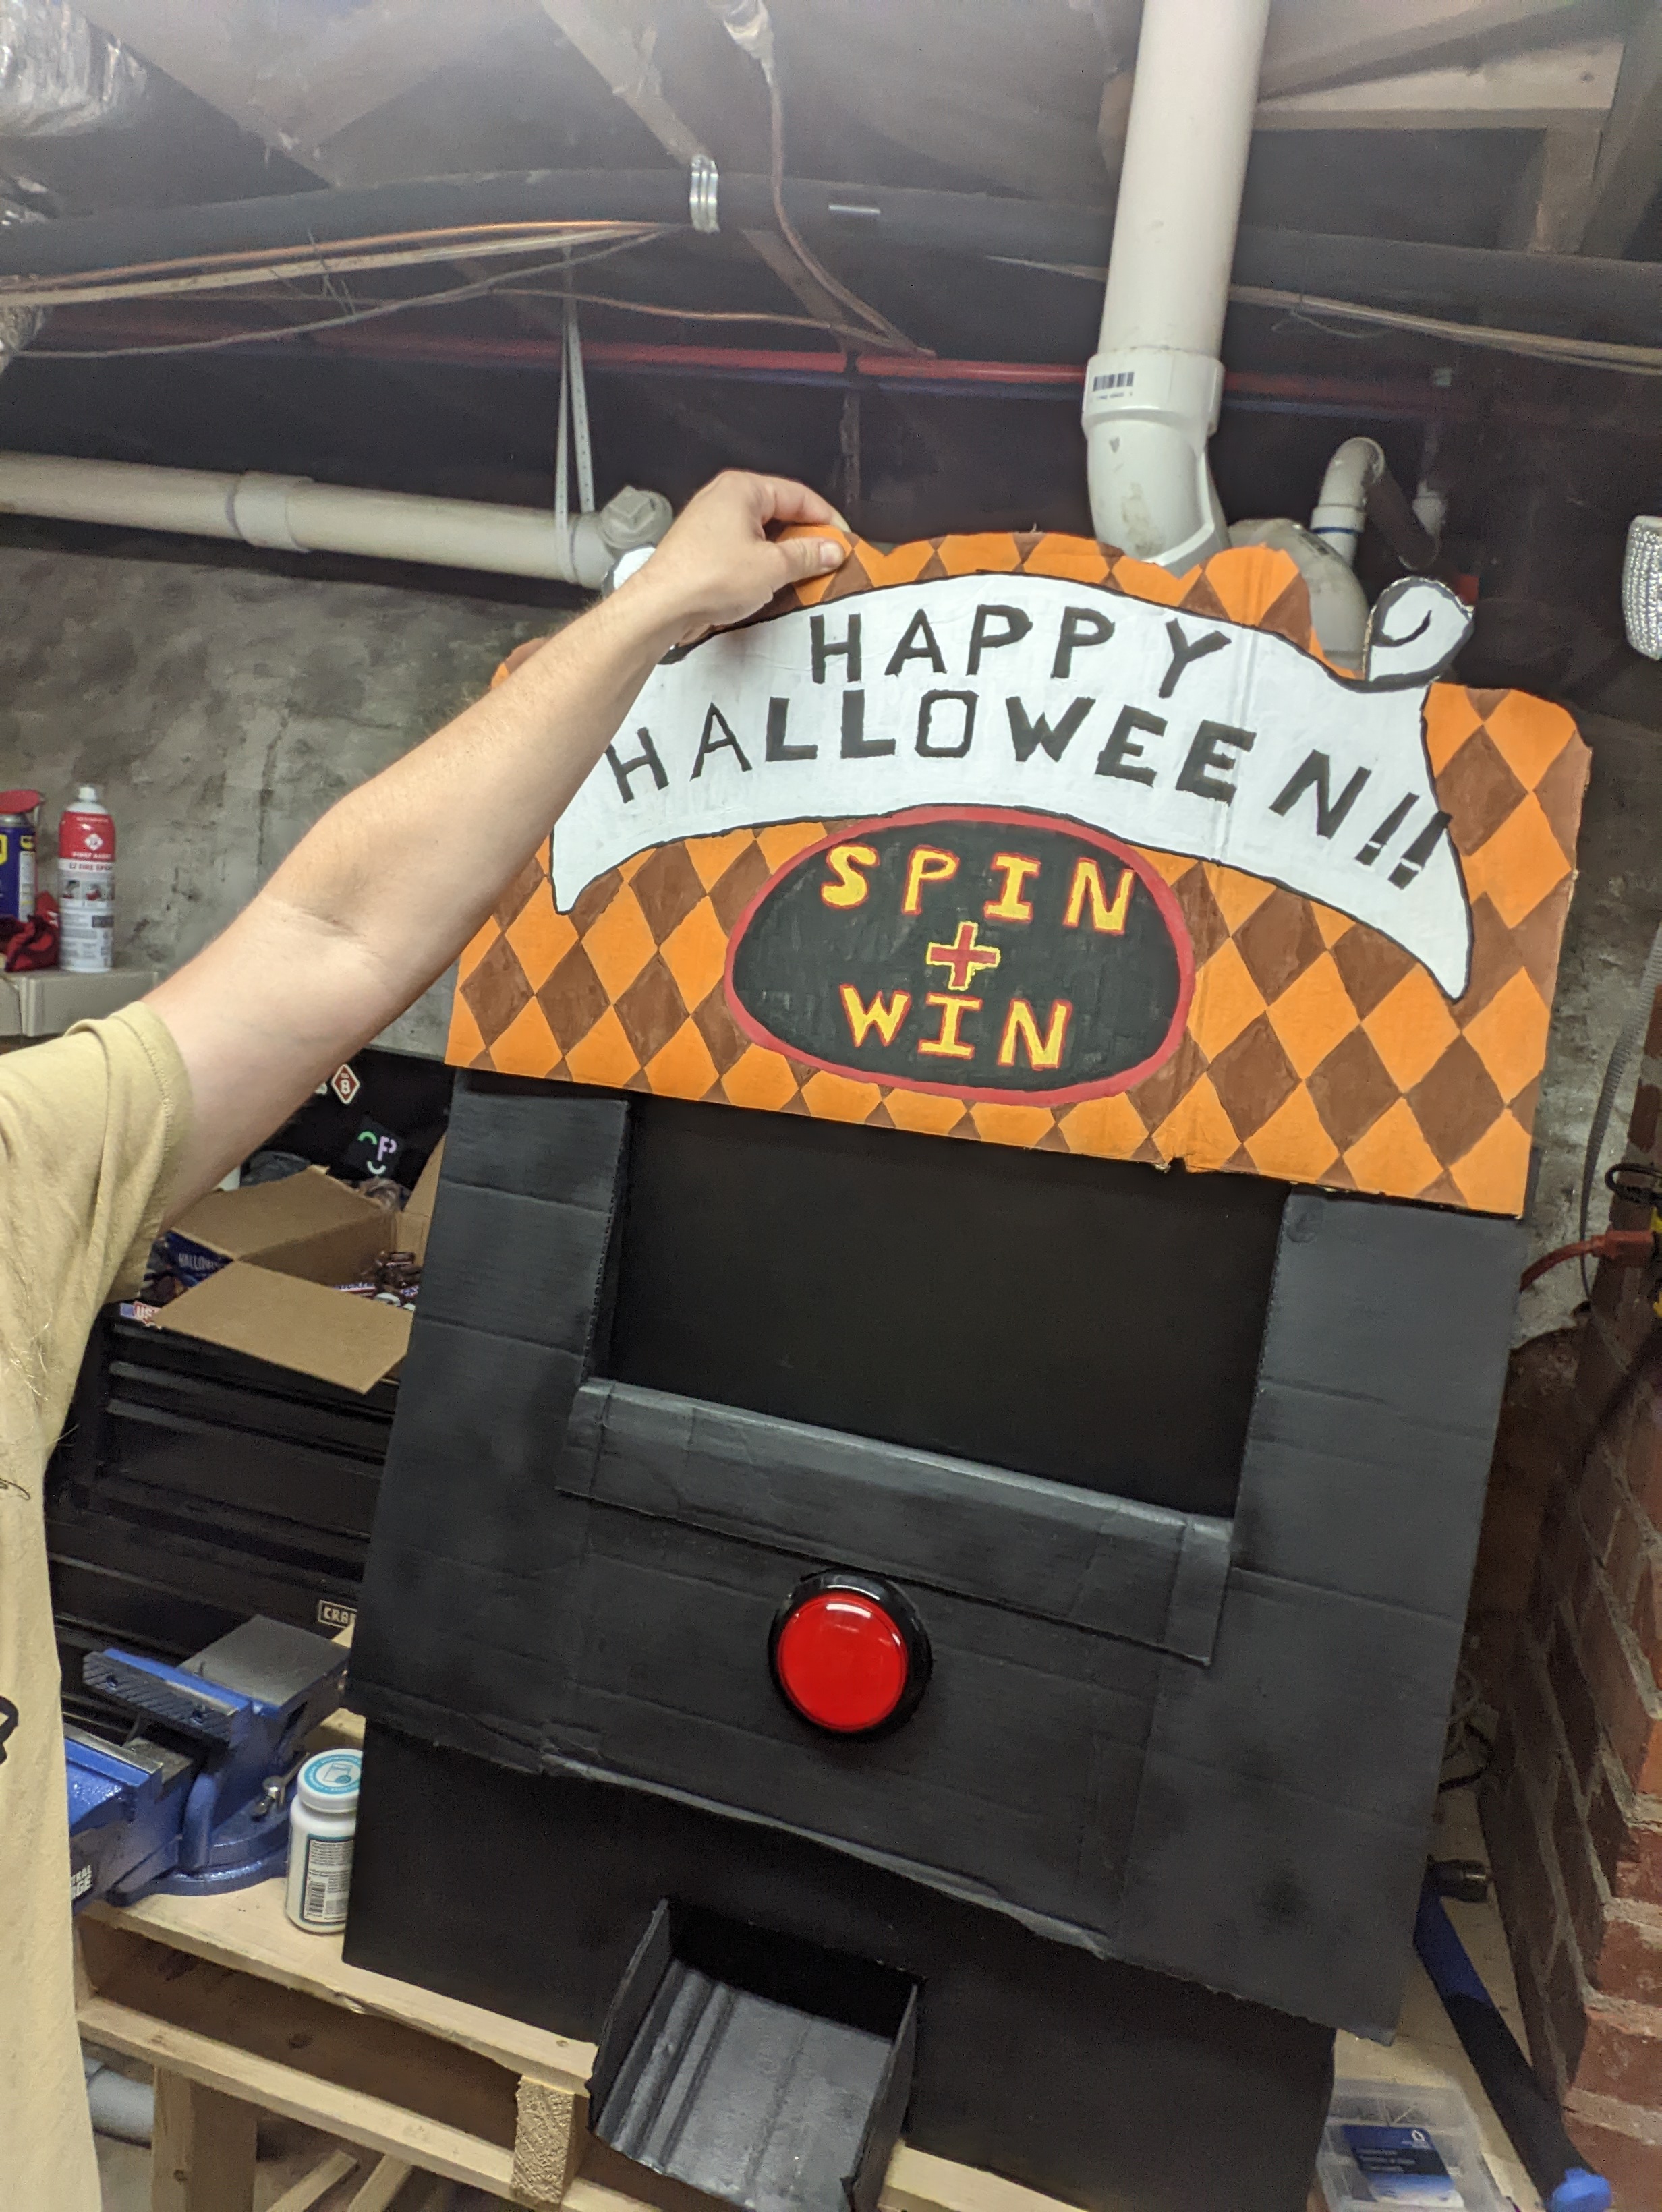
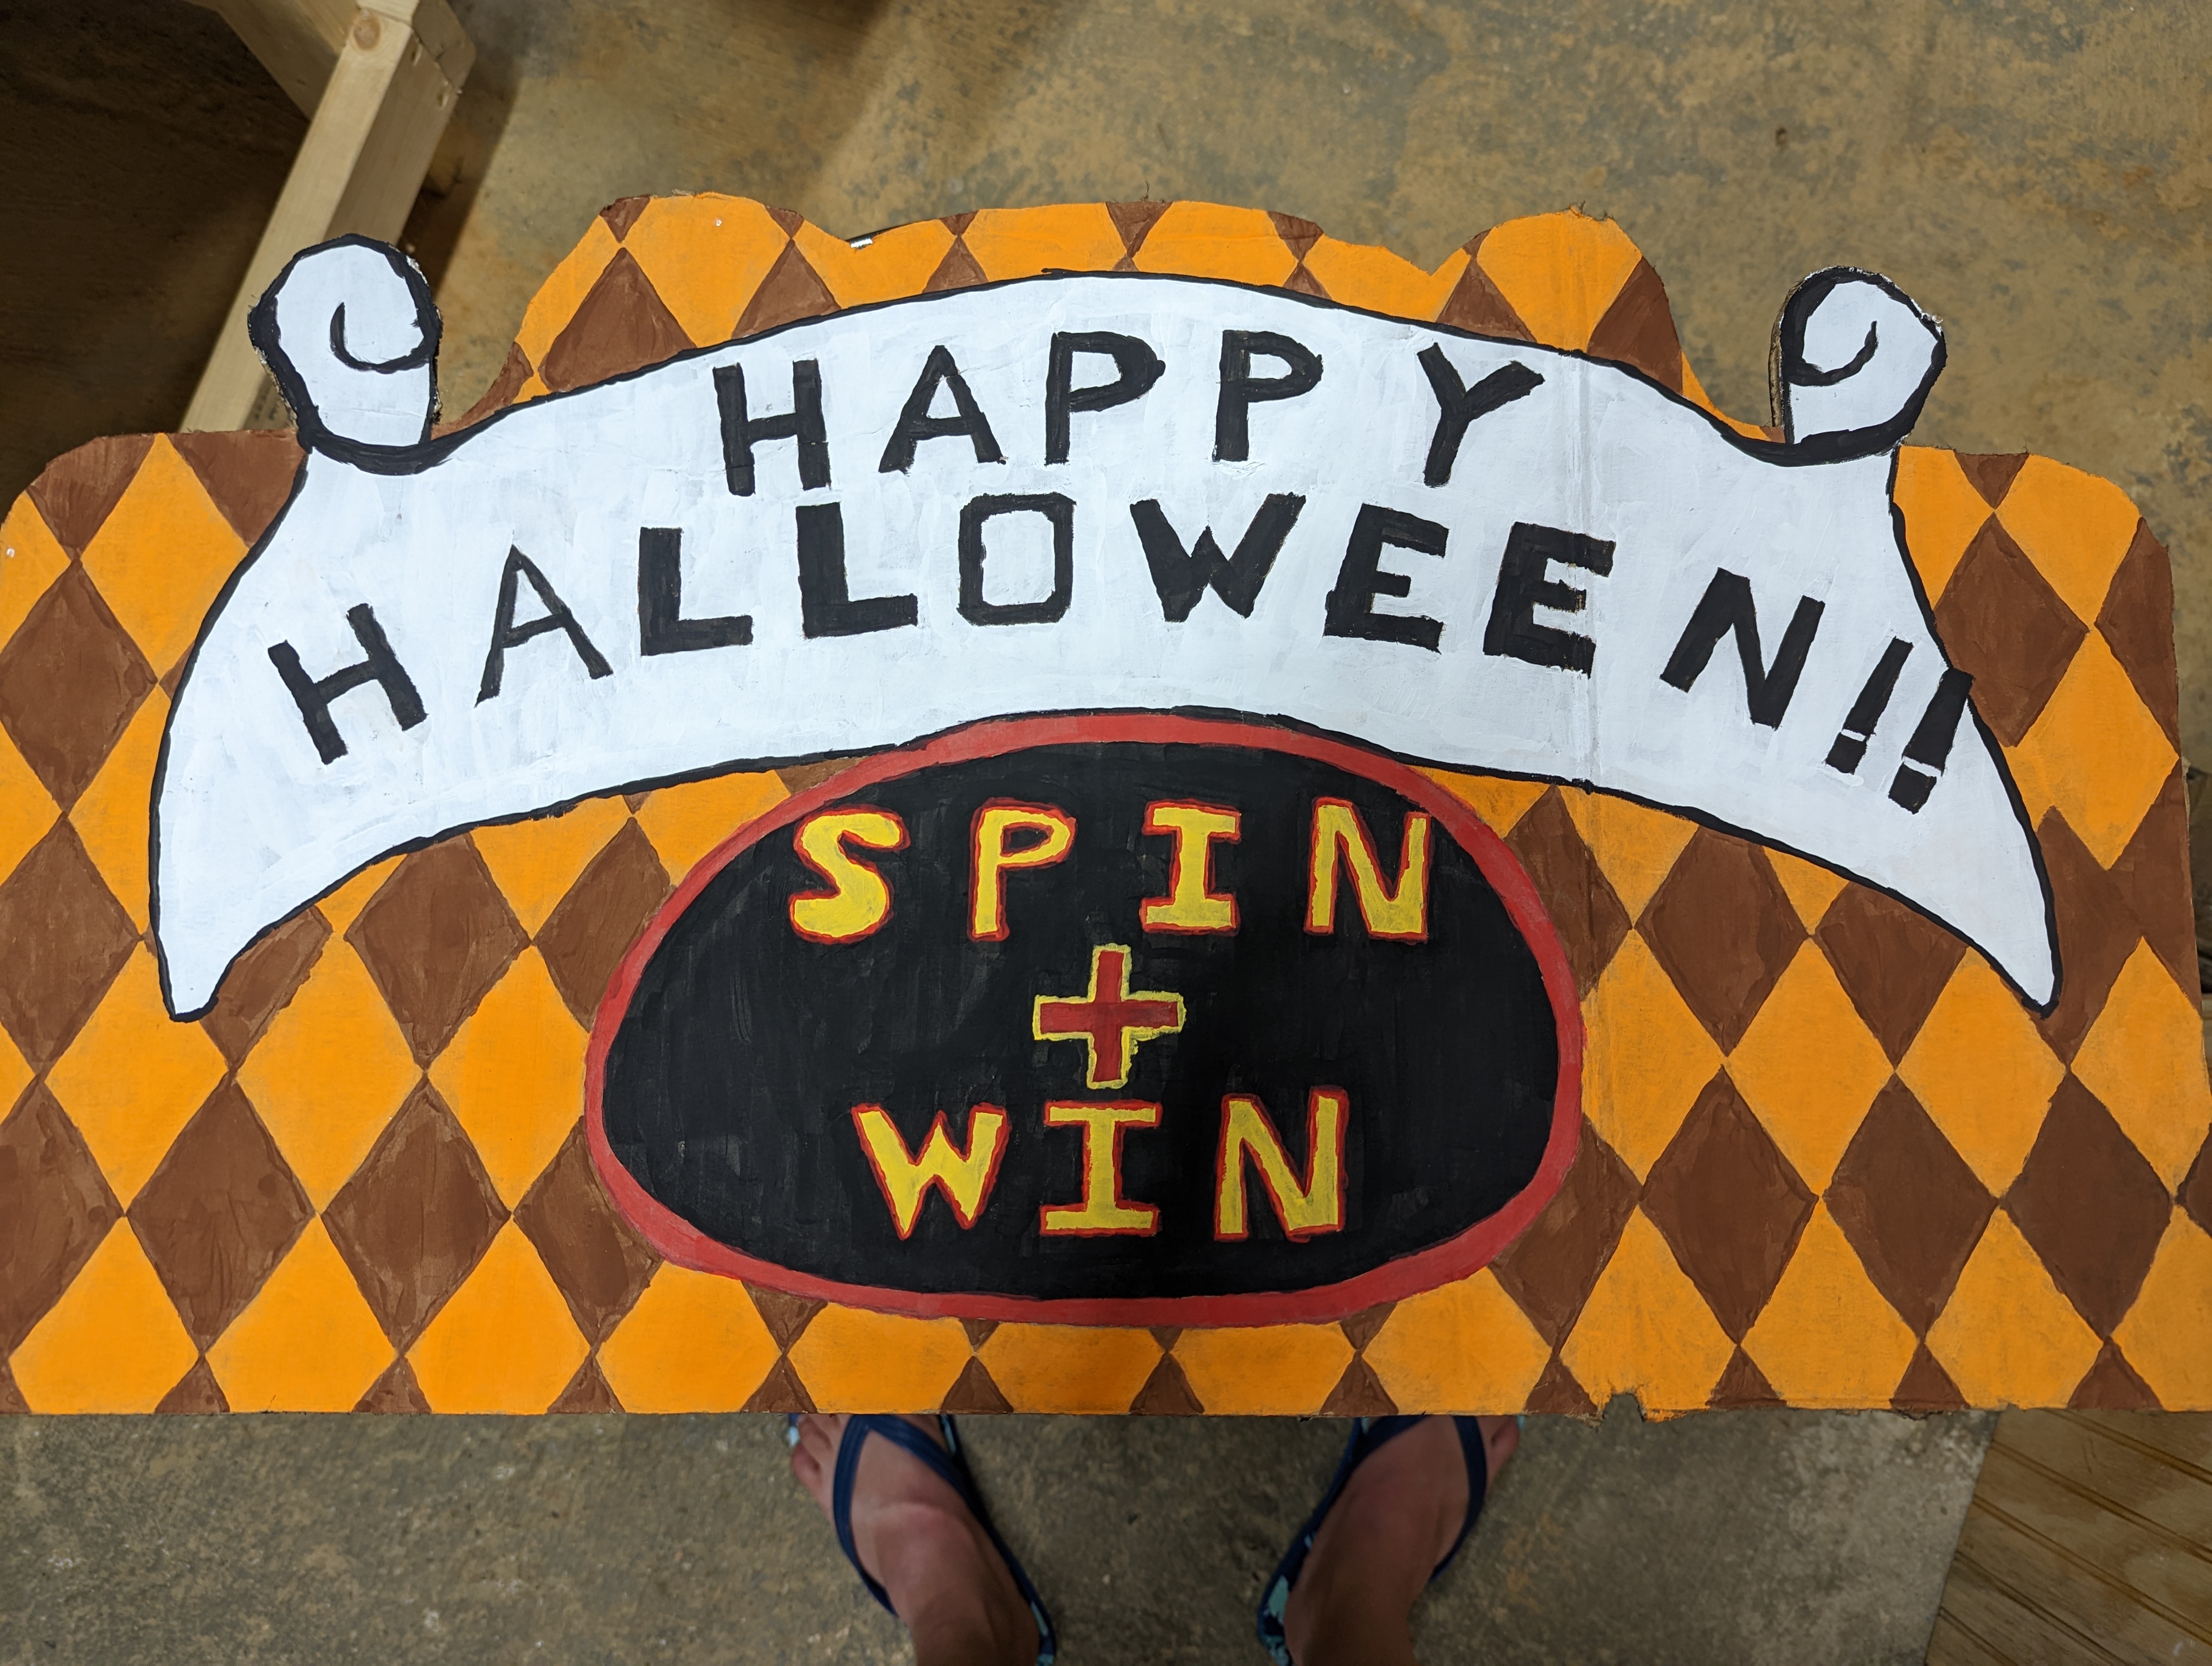
Finishing Touches
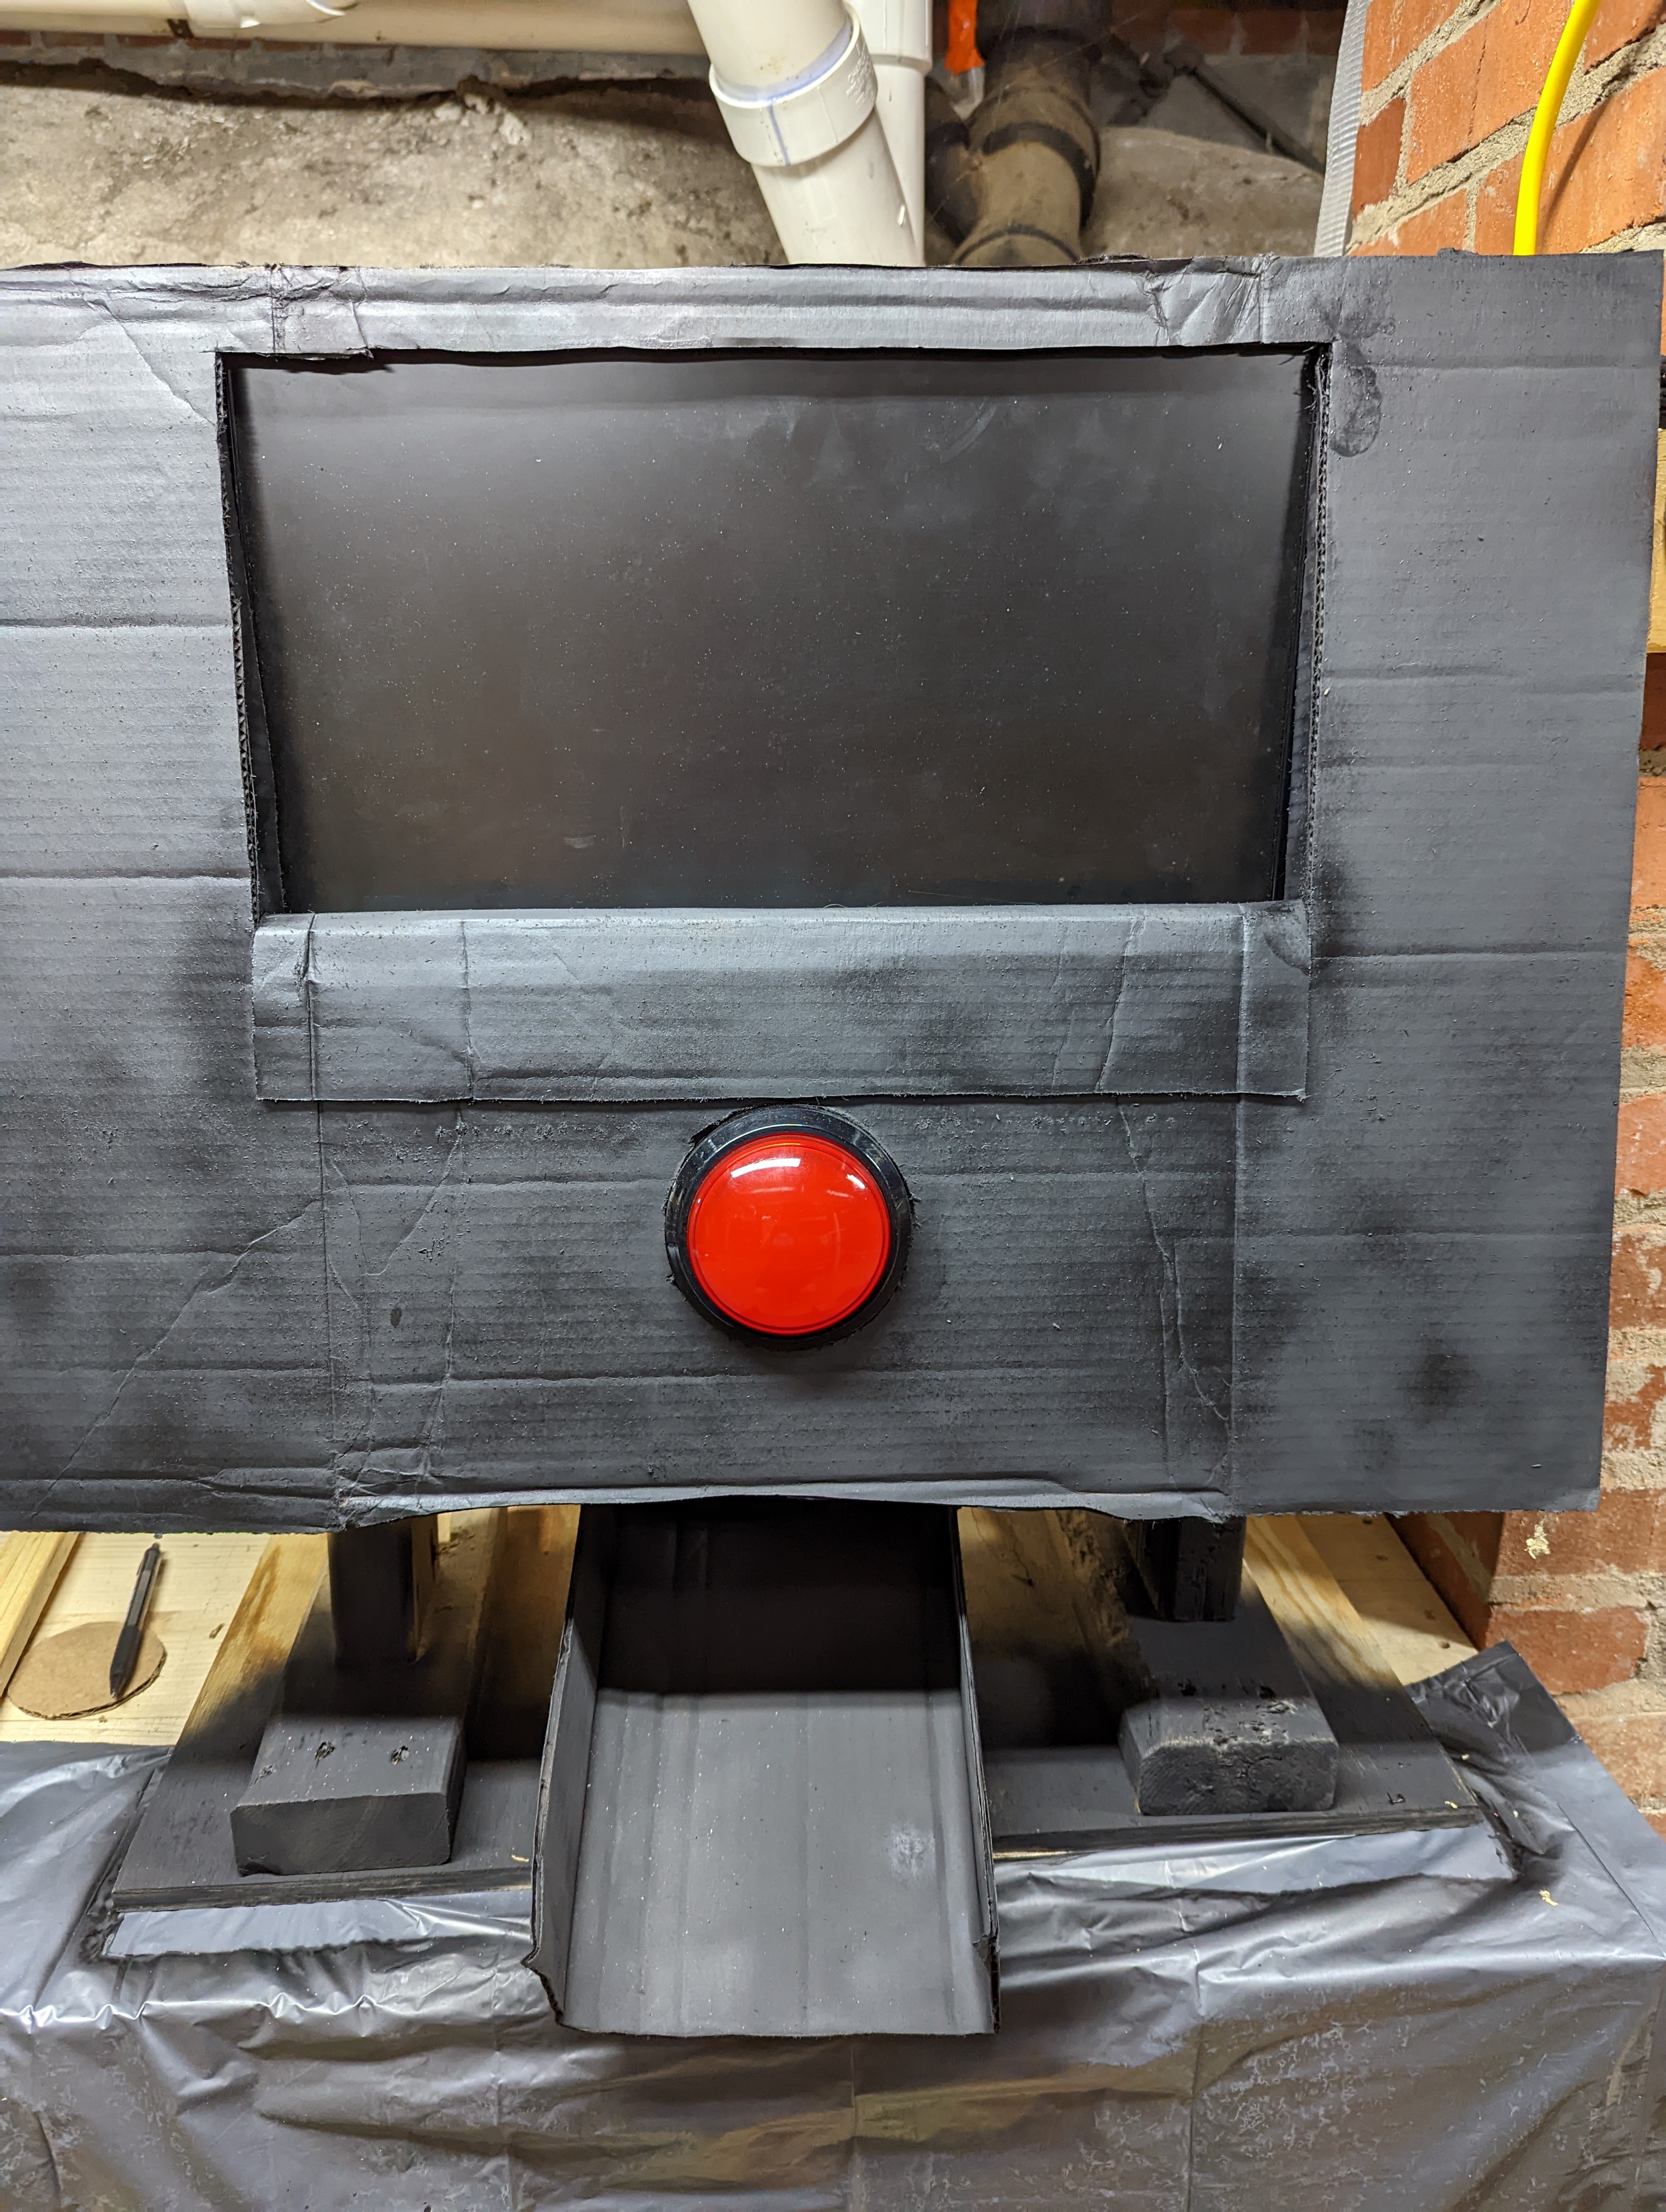
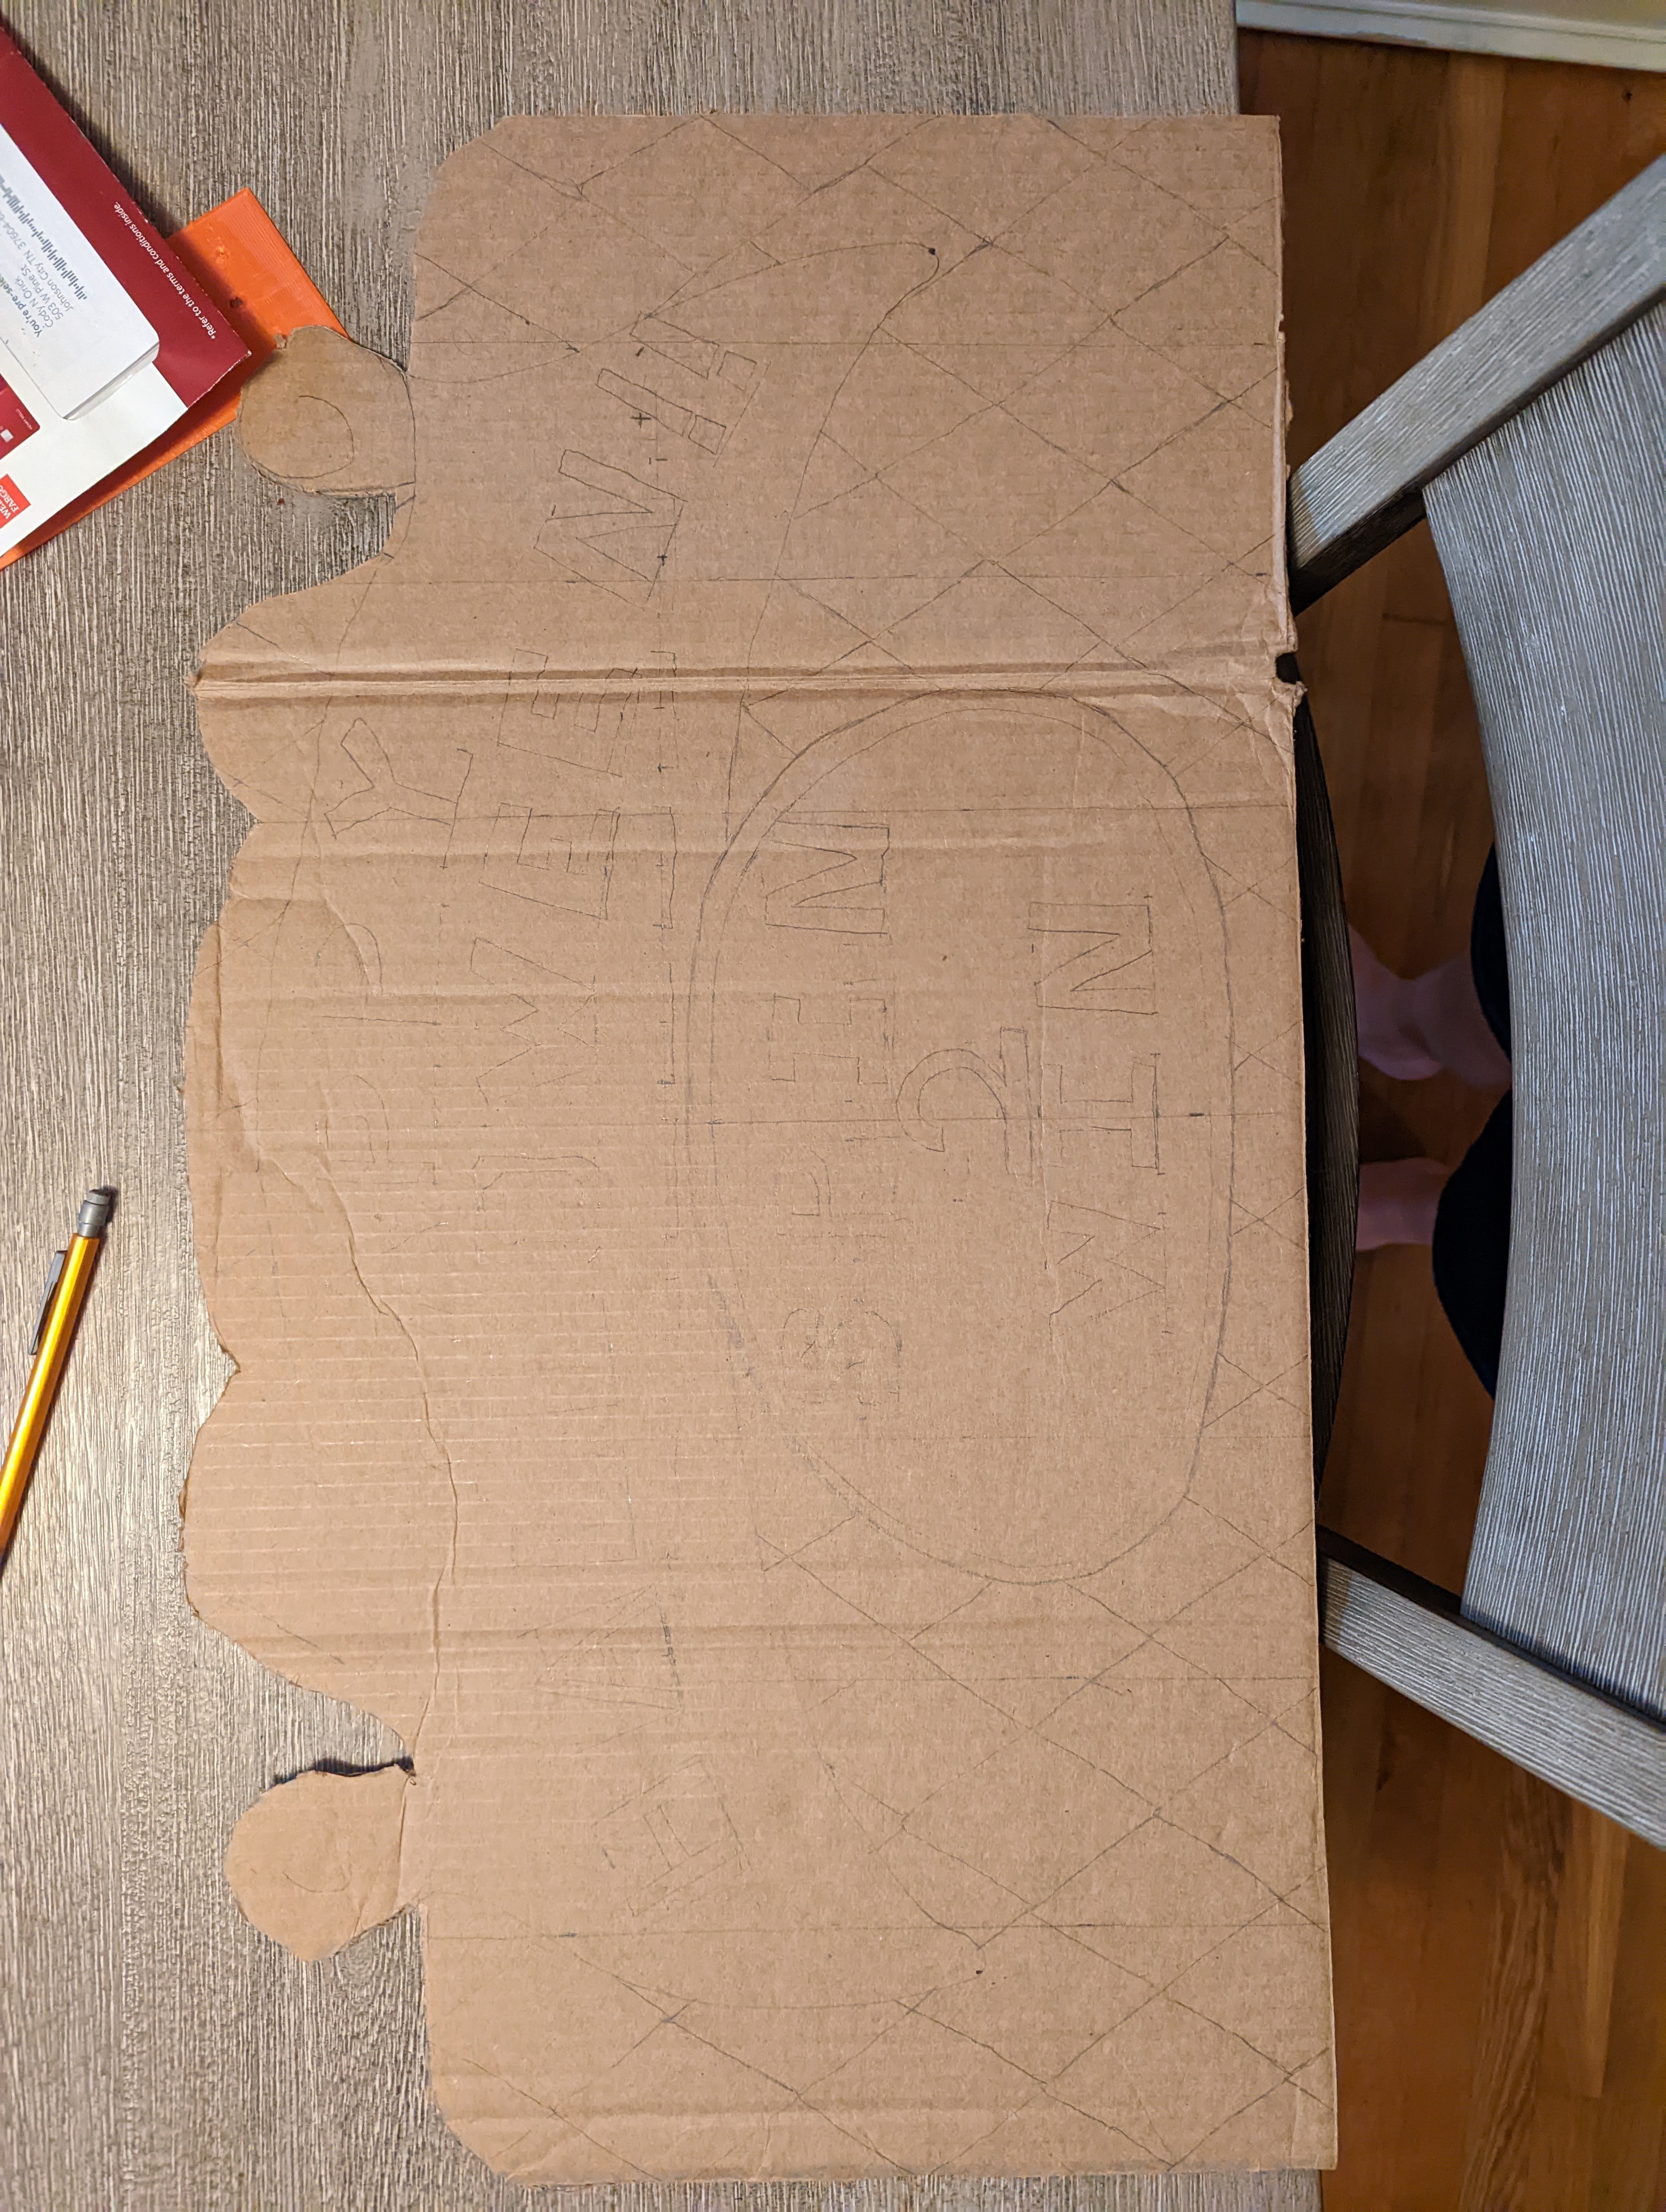
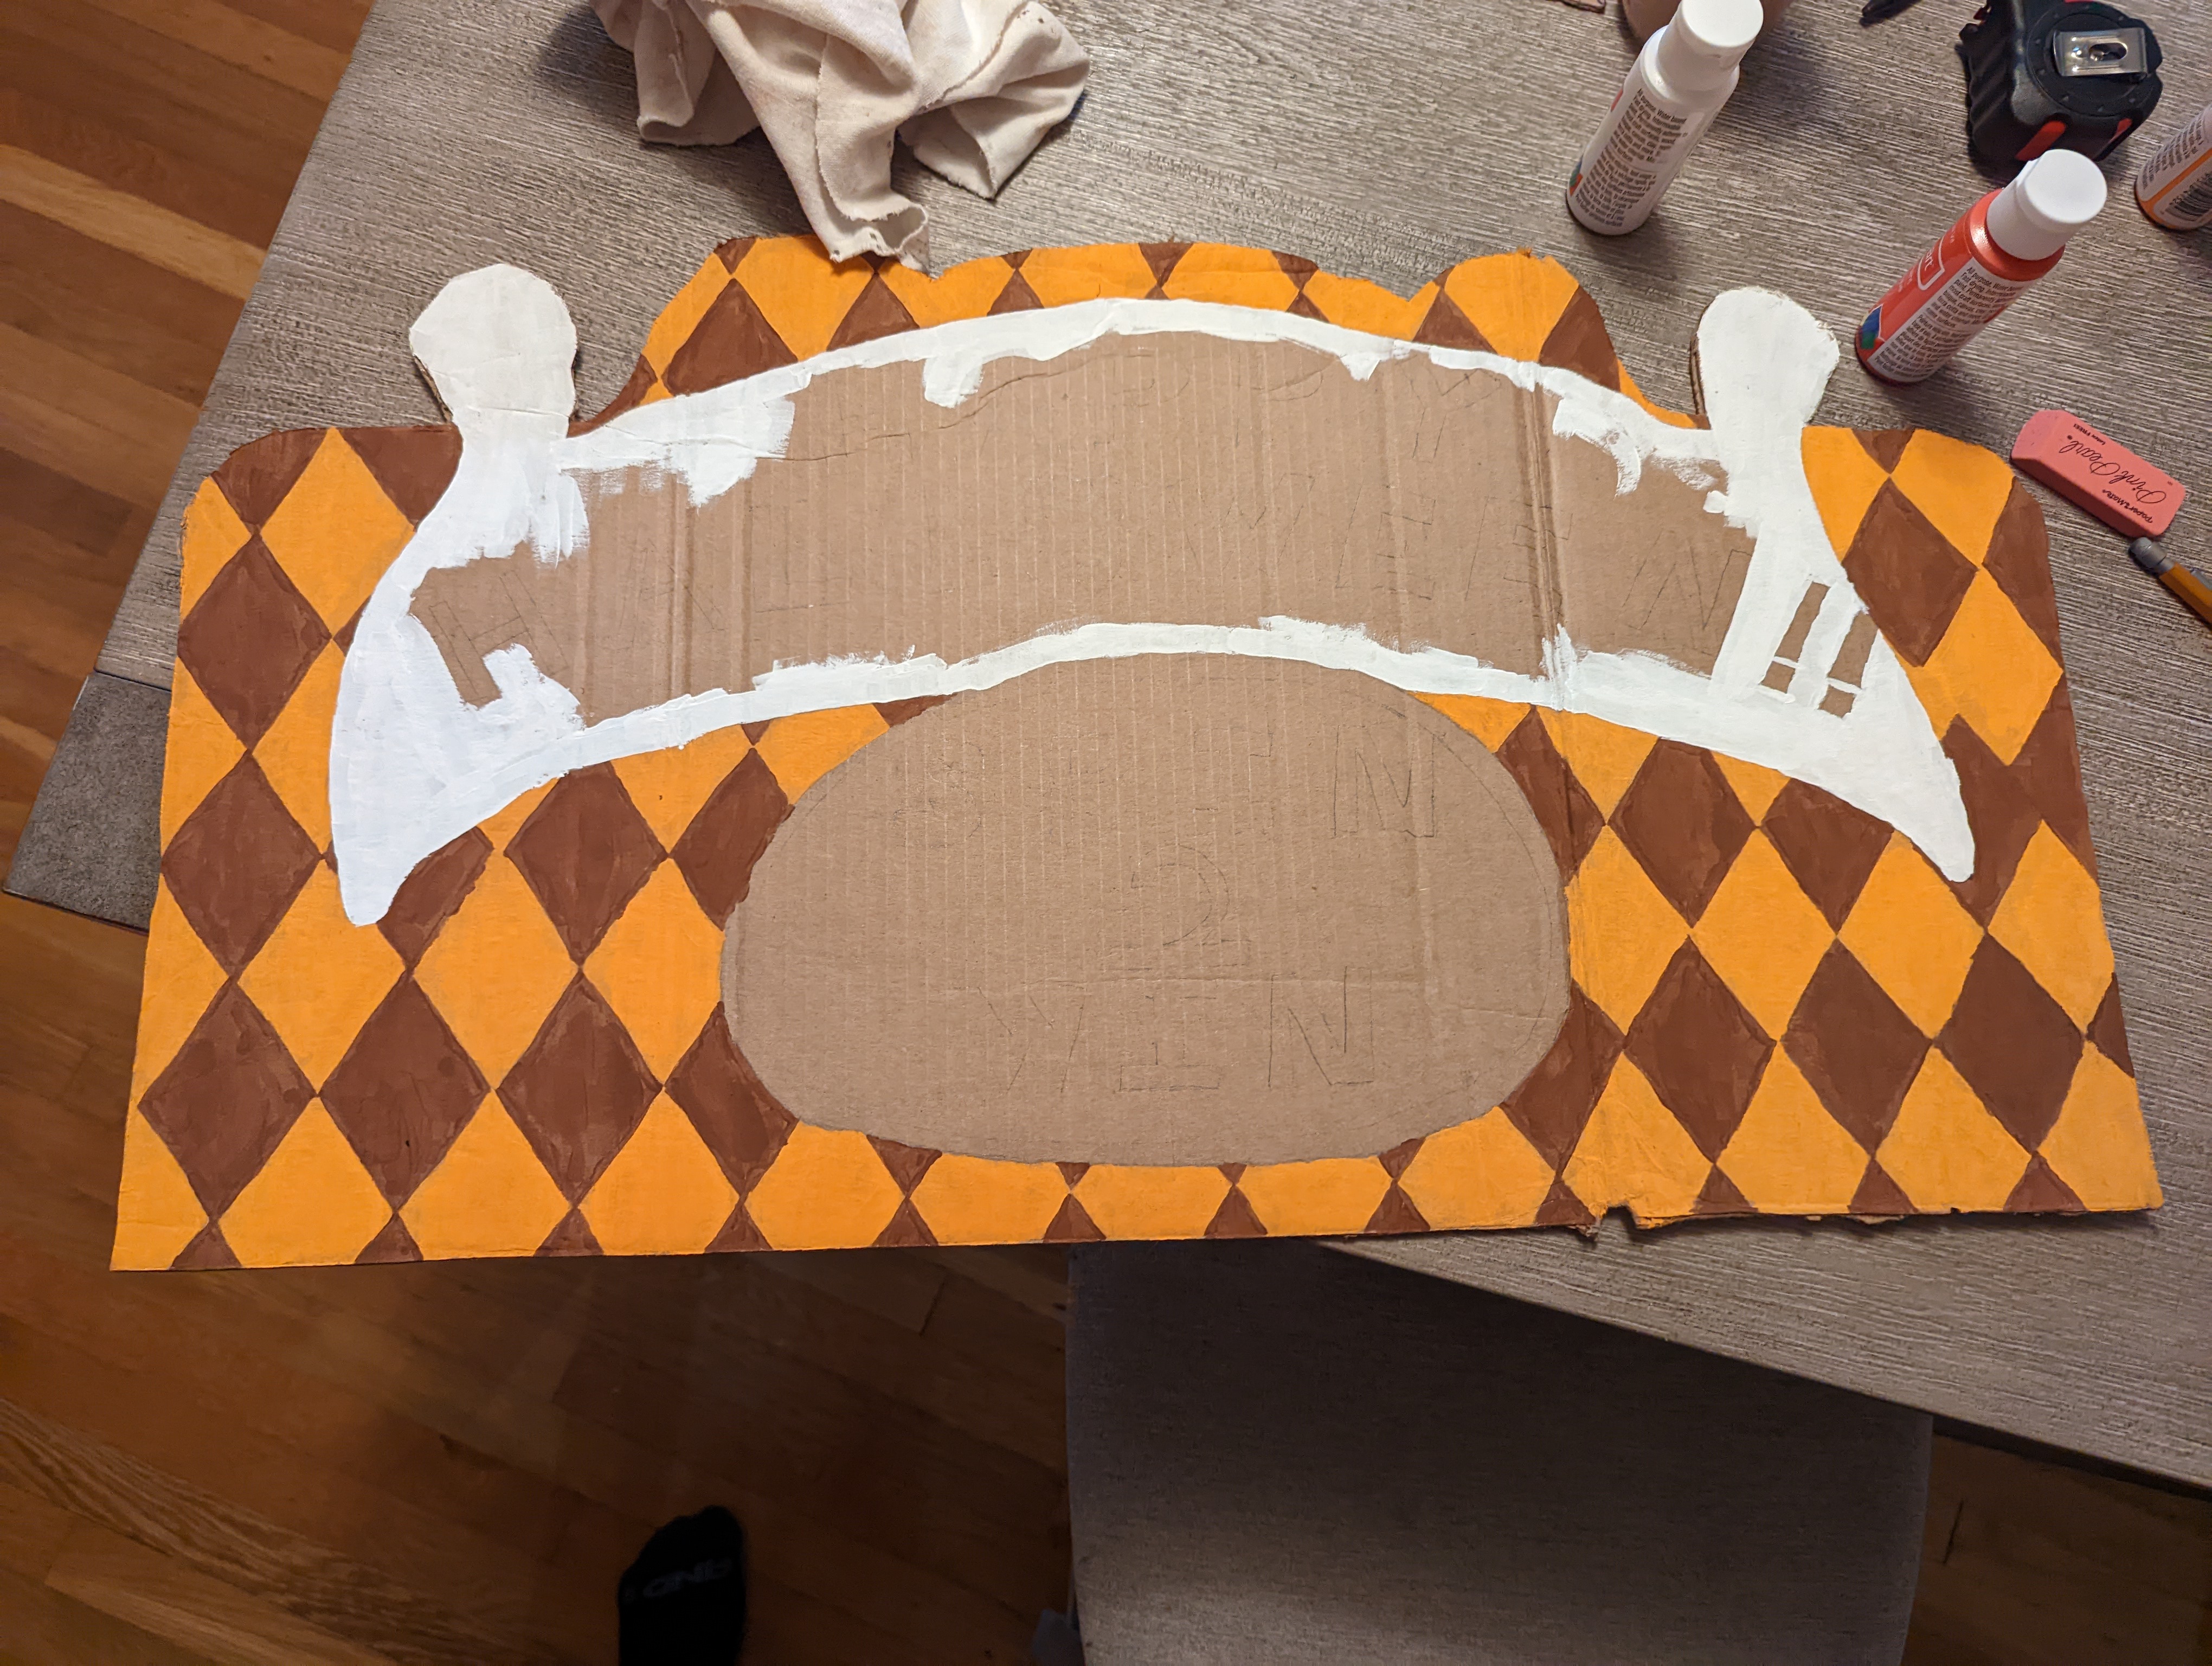
After a ton of testing and tweaking, I set out to make the old thing look just a little less ugly. I mounted both the monitor stand and the PVC holder to a single piece of plywood, then started cutting some cardboard. I created a facade with a cut-out for the screen and the button to hide all of the internals. Then, I started painting everything black.

With the facade finished, I made a small wooden frame for the back, and covered everything else up with black fabric, leaving myself a flap to open if something were to go wrong with the hardware on Halloween night.

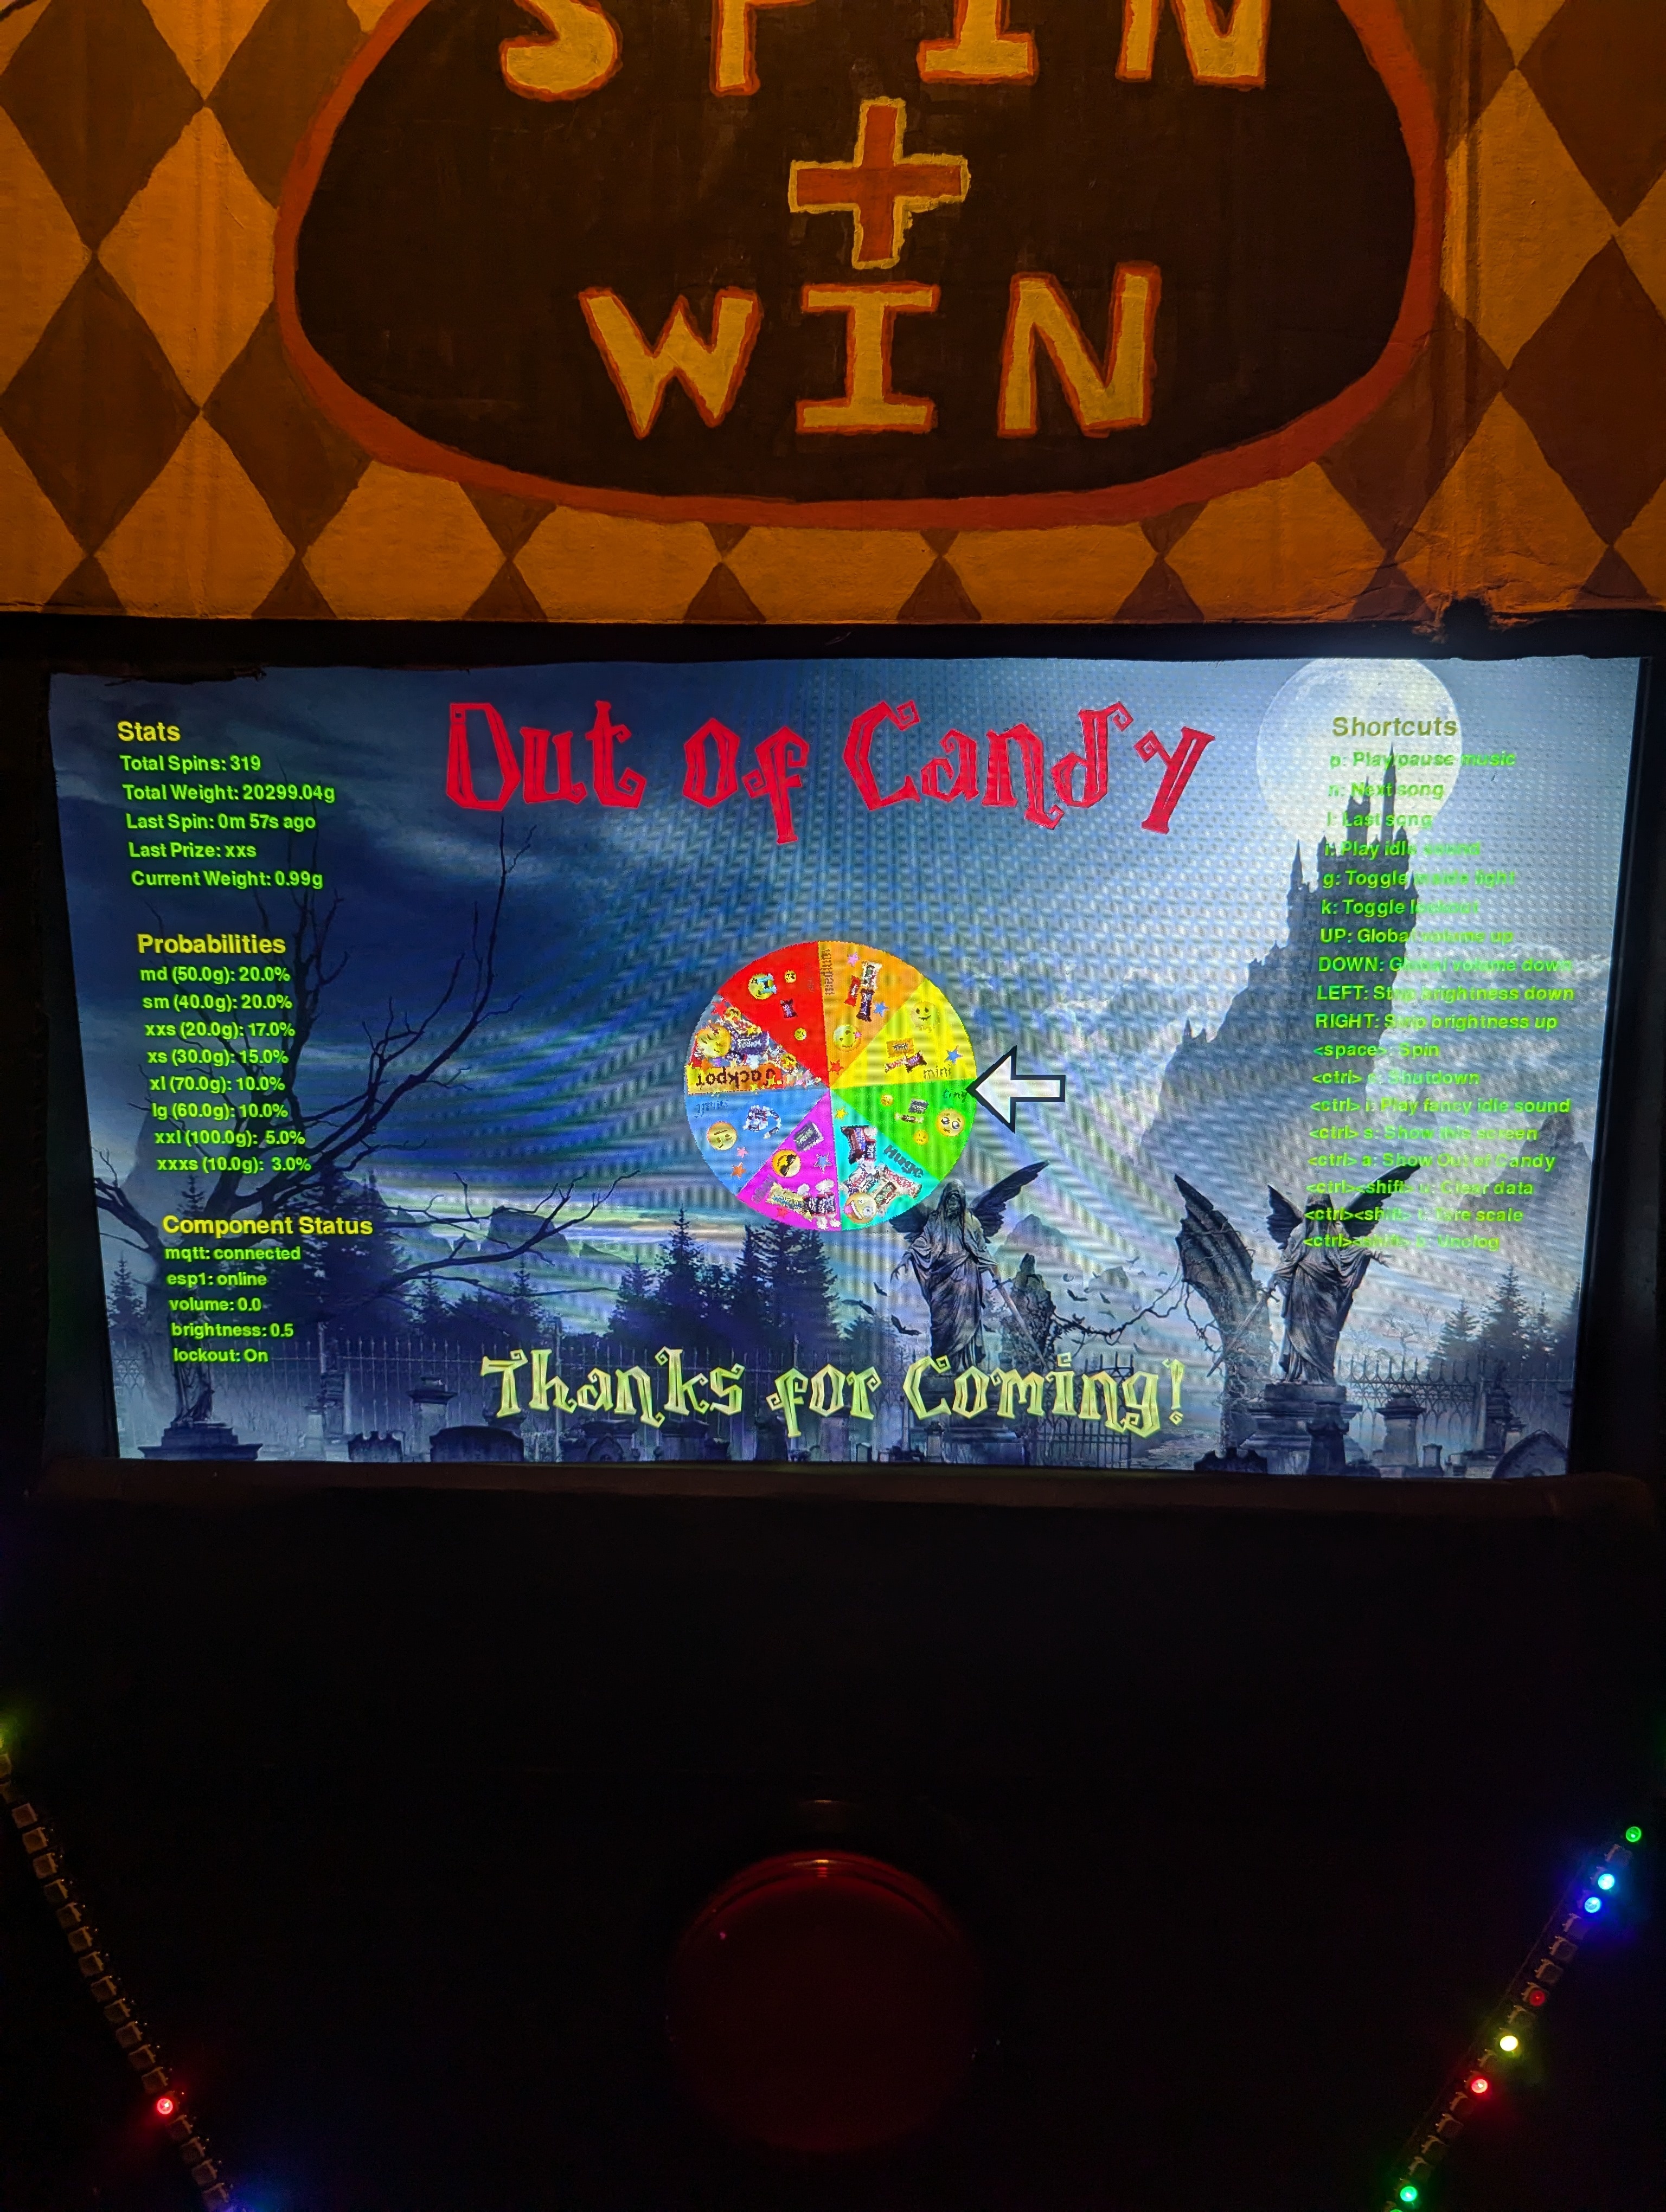
After prettifying the outside, I took some time to add some quality-of-life improvements to the software. I bought a wireless keyboard to have handy while the machine is running. I set up keyboard shortcuts to spin the wheel, to lower and raise the music volume, to skip or repeat songs, and just in case candy were to get stuck on Halloween, I added shortcuts to manually activate each motor. Each one has a regular mode that spins like normal to drop extra candy, as well as a slow mode that provides more torque in case there is ever something blocking the fan.
Also, related to software, I did a a little work in systemd on the PI to have the game start on boot. That way, you just need to plug it in to get started.
Final Thoughts
This was certainly the largest scoped project I’ve ever taken on. I had to learn quite a few new skills (3D design is not easy) and throw away multiple ideas through trial-and-error. But in the end, I think it was worth all the work.
Definitely check out the image gallery and other resources below, and if you have any ideas of what I should add for next year, let me know in the comments at the bottom of the page.
Resources
Gallery